Creating Your Account
- Visit the app and click Sign Up
The signup page presents you with a simple form to get started.
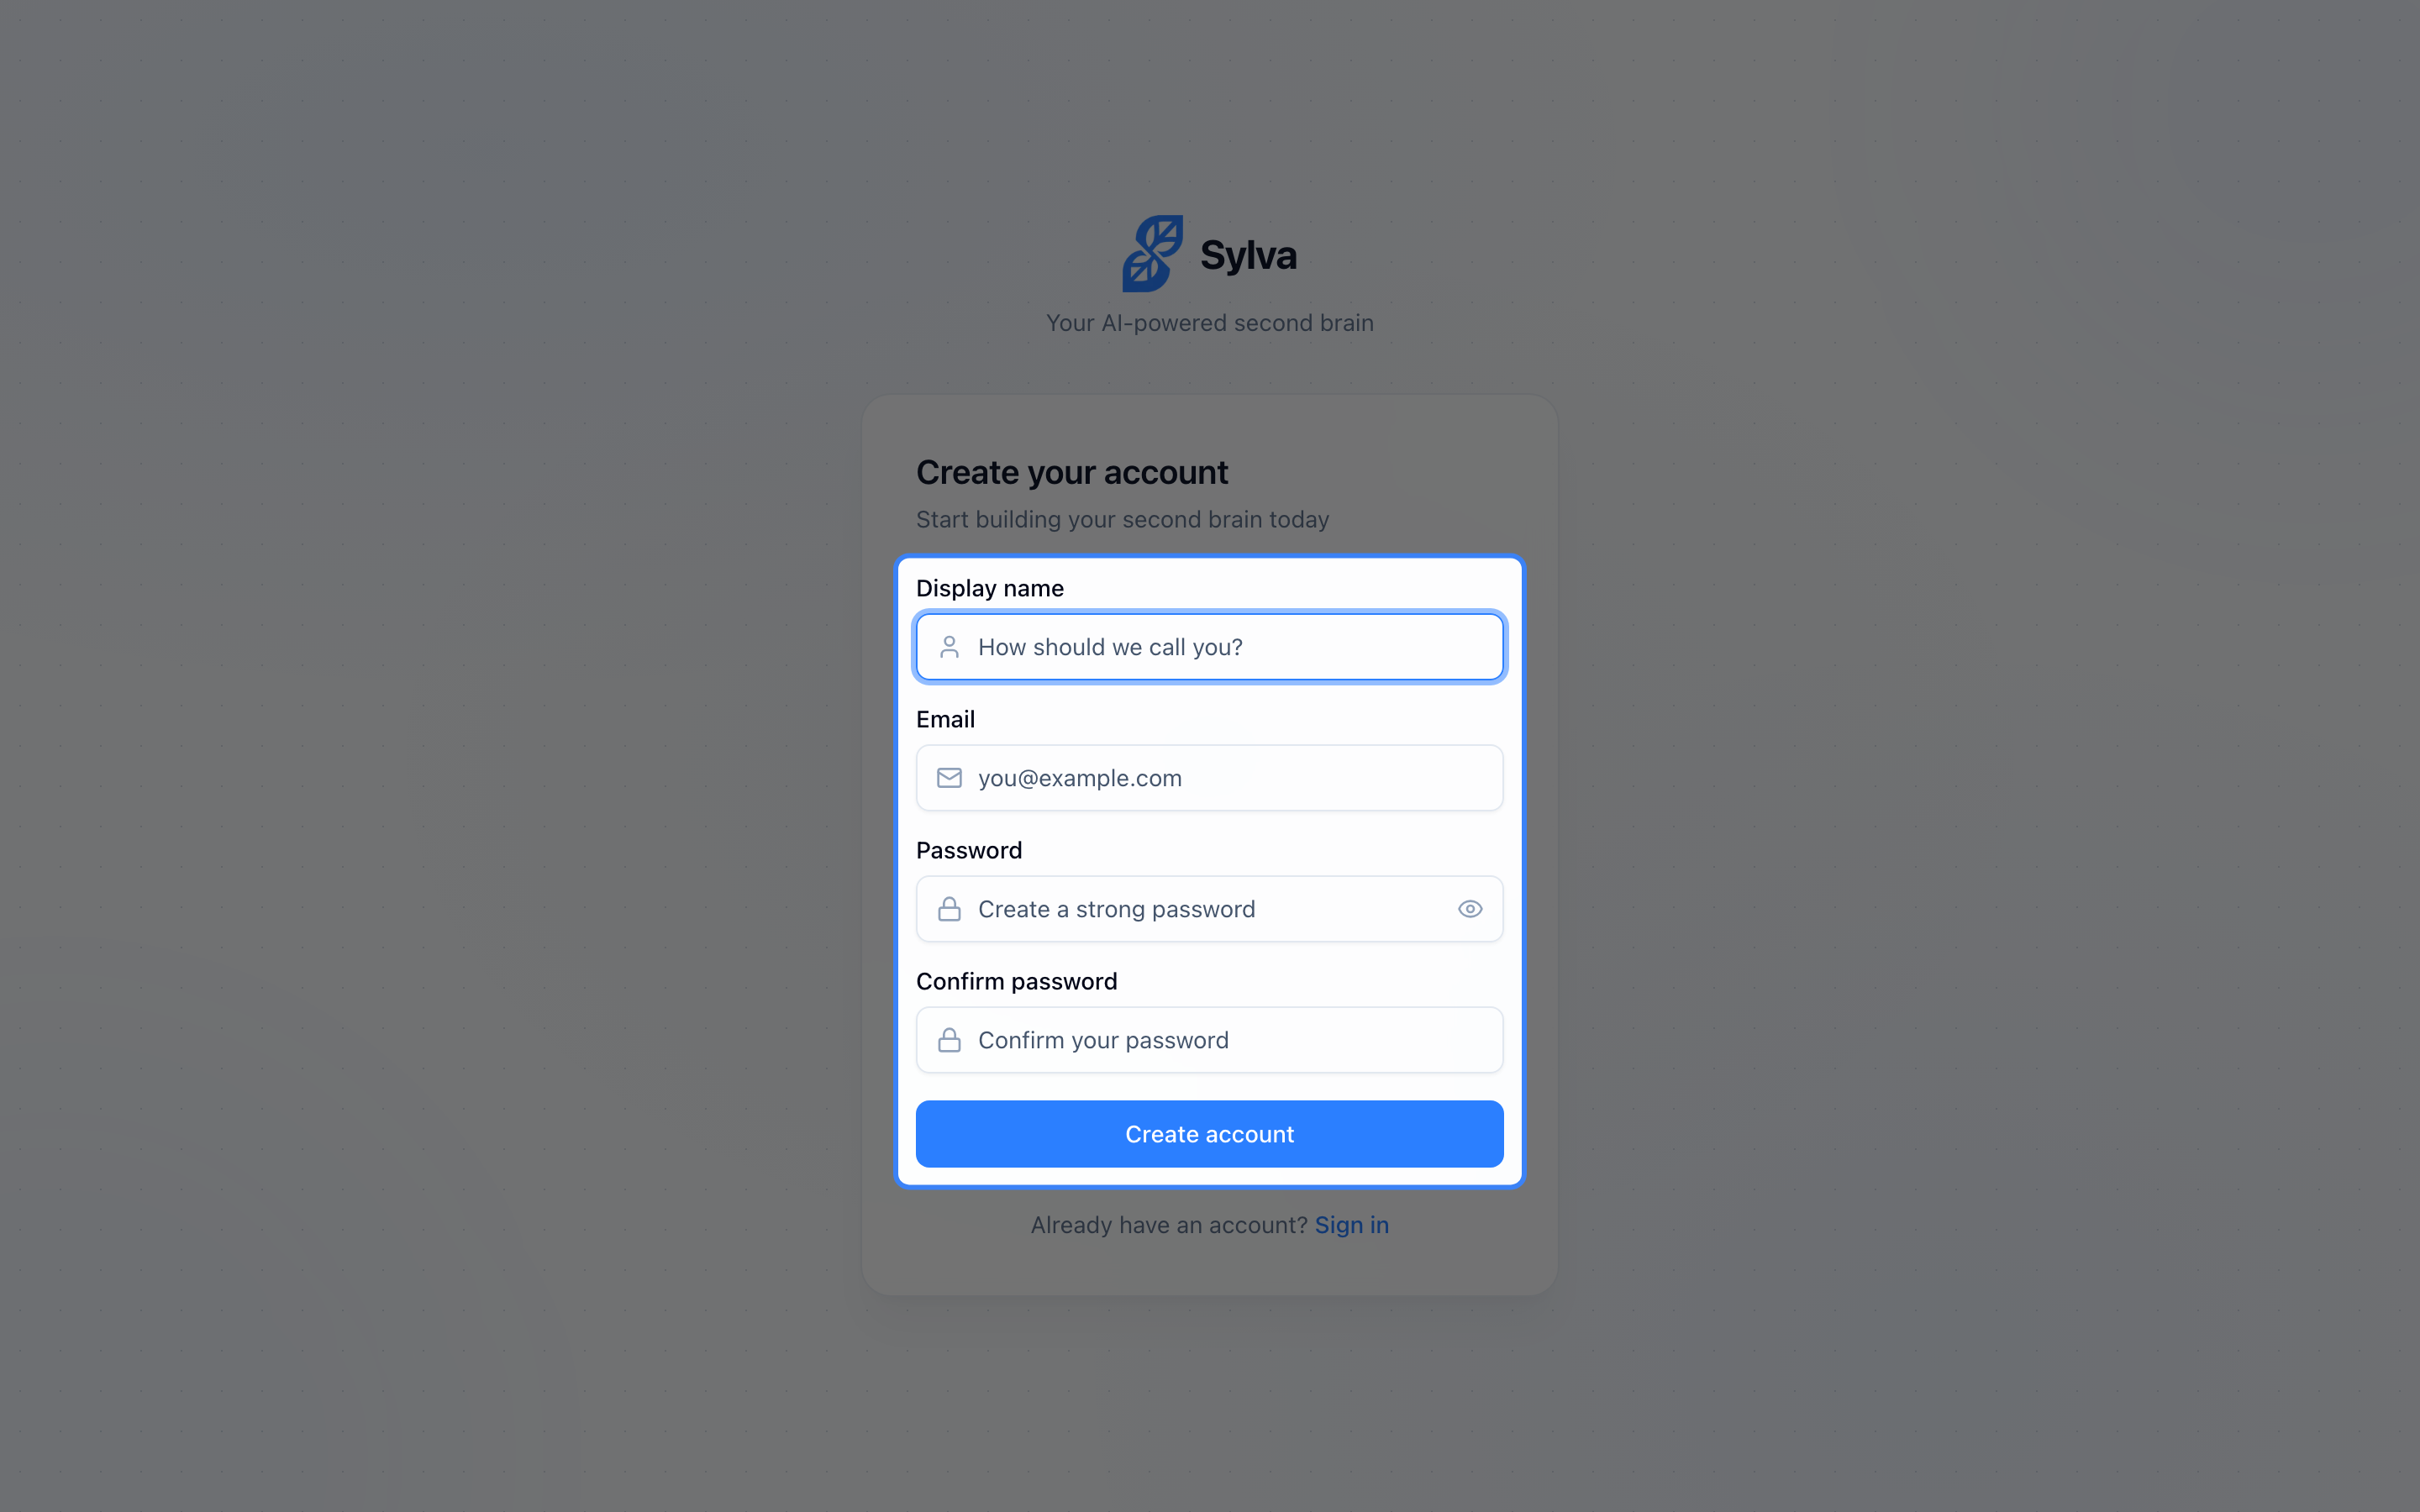
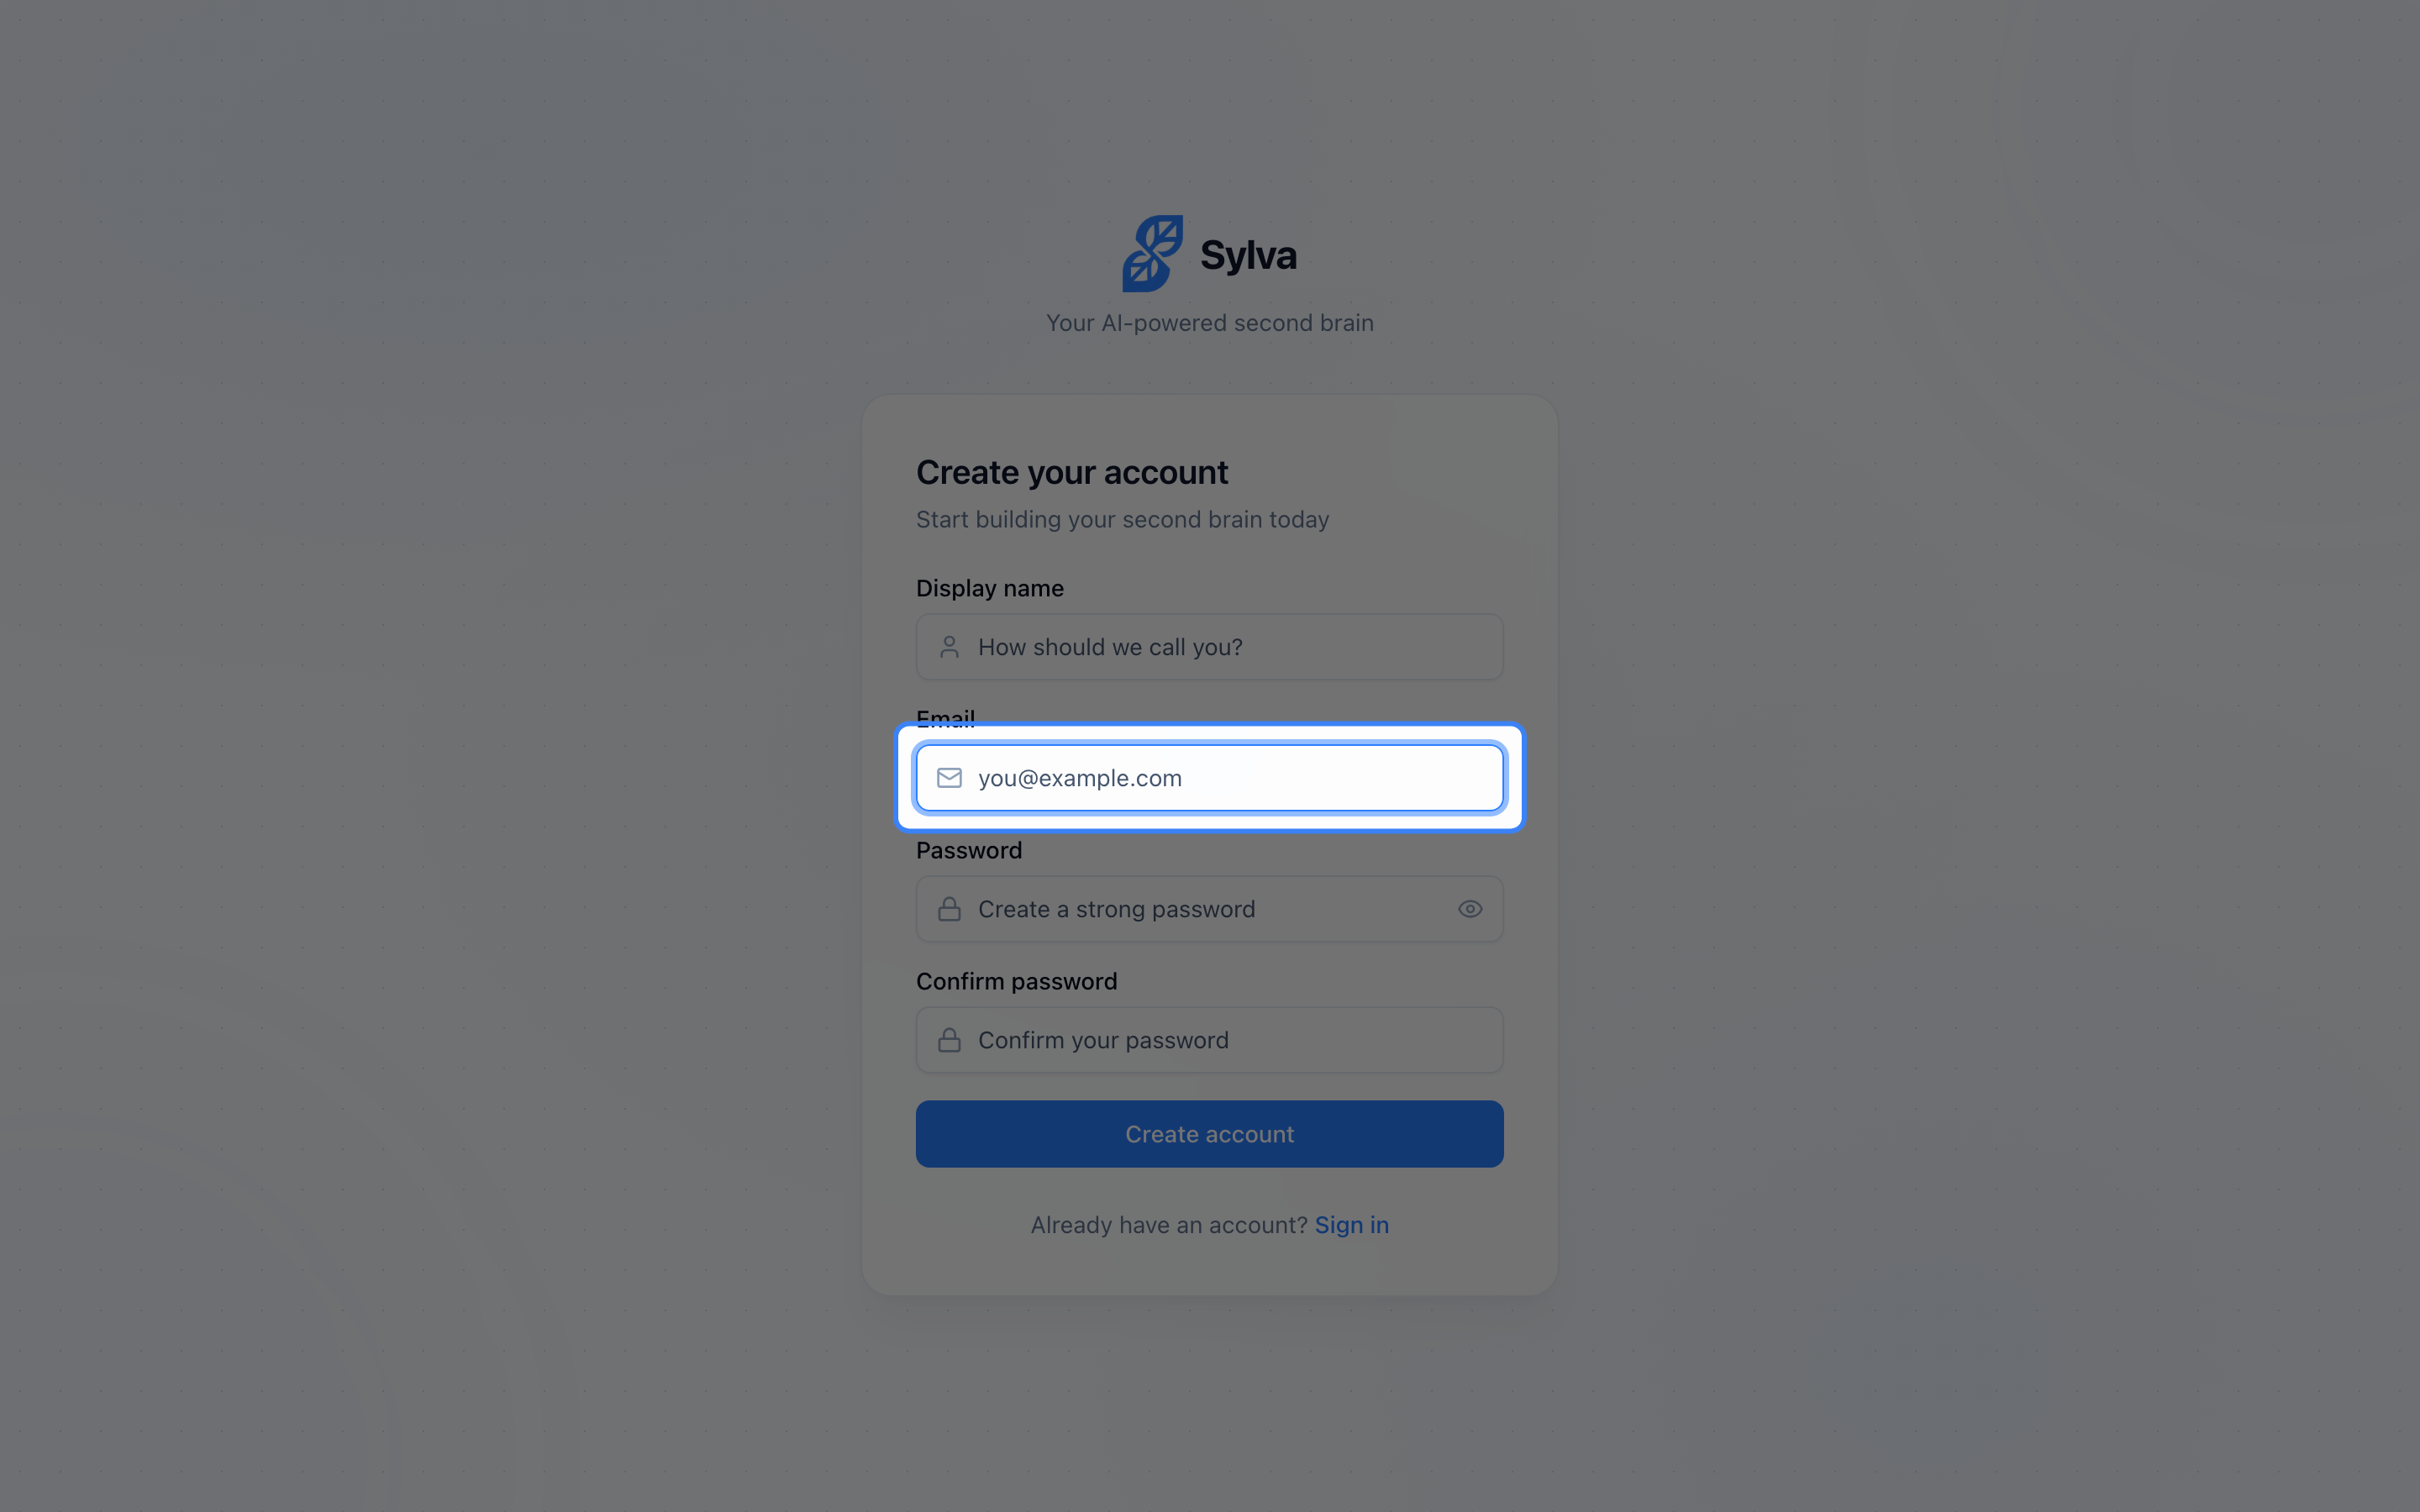
- Enter your email and create a password
- Check your email for a verification link and click it
- You'll be taken to the onboarding wizard to set up Sylva
Onboarding
When you first sign in, Sylva walks you through a short setup conversation:
- Introduction — Sylva asks about your work and what you'd like help with
- Setup Path — Choose between:
- Quick Setup — A brief overview to get you started fast
- Deep Dive — A longer conversation where Sylva learns about how you think, what kinds of problems you solve, and suggests thinking frameworks that match your style
- File Upload (optional) — Upload any documents you'd like Sylva to have on hand for future reference
- Summary — Sylva summarizes what it learned and saves your preferences
You can skip onboarding at any time and come back to it later from Settings > Account.
Email Capture
Sylva gives you a dedicated email intake address so you can forward emails straight into your knowledge base — no manual copying required. Any email you send or forward to your intake address gets captured automatically, with the subject line as the title and the email body as the content.
To set it up:
- Go to Settings > Integrations and find the Email Intake section
- Copy your default intake address — it's already created and ready to use
- Start forwarding emails to that address, or set up auto-forwarding rules in your email client
Your default address captures emails without a preset context or tag, so you can organize them later. If you want incoming emails to arrive pre-organized, create context-specific addresses that automatically route content to a particular context (Work or Personal) and optionally apply a tag. For example, you might create one address that files everything under Work with a Newsletters tag, and another that routes to Personal with a Receipts tag. Each address gets a unique email you can use as a separate forwarding destination.
When an email includes attachments — PDFs, images, documents — Sylva extracts and processes them automatically. Each attachment is uploaded to storage, its text content is extracted, and the result appears in an expandable accordion beneath the parent email. You don't need to download or open attachments separately; the extracted text is searchable alongside everything else in your knowledge base.

For a deeper walkthrough — including tips for Gmail and Outlook auto-forwarding rules and managing multiple intake addresses — see the Email Intake article.
Quick Start Tips
There are several fast ways to get content into Sylva without starting a full conversation:
- Quick Capture button — On mobile, tap the Quick Capture button in the header to jump straight to the capture form. It's always one tap away, no matter where you are in the app.

- Share sheet — If you install Sylva as a PWA (Progressive Web App), it registers as a share target on your device. When you're reading an article, viewing a PDF, or looking at an image in another app, tap Share and choose Sylva from the list. The shared content lands in Quick Capture, ready to review and save. This also works from your browser's native share menu on the web.
- Email intake — Forward emails directly to your Sylva intake address and they appear as captured content automatically. You can use your default address for general captures, or set up context- and tag-specific addresses so content is routed automatically. Find your intake addresses in Settings > Integrations. For full setup instructions, see the Email Intake article.
- App shortcuts — Use the Quick Capture shortcut from your device's app shortcuts (long-press the Sylva icon) to open the capture form instantly.
Quick Capture
Quick Capture gives you a fast way to save a thought, note, or link before it slips away — without starting a full conversation. Open it by navigating to the Capture page, tapping the Quick Capture button in the mobile header, or using the Quick Capture shortcut from your device's app shortcuts.
The capture form has three fields:
- Title (optional) — A short label for what this is about
- Content — The note, idea, or text you want to save
- URL (optional) — Click Add URL to attach a source link
Choose a context (Work or Personal) to keep the capture organized with the rest of your content, then click Save. You can also press Ctrl+Enter (or Cmd+Enter on Mac) to save without reaching for the mouse.
After saving, the form resets so you can capture another item immediately.

Sharing to Sylva from Other Apps
If you install Sylva as a PWA (Progressive Web App) on your device, it registers as a share target — meaning you can send content to Sylva directly from your phone's or computer's native share menu. When you're reading an article, viewing a PDF, or looking at an image in another app, tap Share and choose Sylva from the list of apps. The shared content — including the title, text, URL, and attached files (images, PDFs, and text files) — lands in Quick Capture, ready for you to review, tag with a context, and save.
You don't need the PWA to use sharing on desktop — your browser's built-in share menu works too. Any page or content you share to Sylva from the browser follows the same flow.
This is especially useful on mobile, where switching between apps to copy and paste is slow. Anything you'd normally share to a notes app, you can share to Sylva instead — and it becomes part of your searchable knowledge base.
Email Intake
You can forward emails directly to Sylva using your email intake addresses. Any email you send or forward to an intake address gets captured automatically, with the subject line as the title and the email body as the content. Forwarded emails become part of your knowledge base and are searchable like any other captured content.
This is especially handy for newsletters you want to reference later, booking confirmations, or important email threads you want Sylva to know about — without manually copying anything.
When an email includes attachments — PDFs, images, documents — Sylva processes them automatically. Each attachment is uploaded to storage, its text content is extracted, and the result is displayed in an expandable accordion beneath the parent email. You don't need to download or open attachments separately; the extracted text is right there in the captured email, ready to read and searchable alongside everything else in your knowledge base.
Default vs. Context-Specific Addresses
Sylva gives you two types of intake addresses:
- Default address — Your base intake address (something like yourname+abc123@intake.sylva.app). Emails sent here are captured without a preset context or tag — you can organize them later. This address is created automatically and always available.
- Context-specific addresses — Additional addresses you create that automatically route incoming emails to a specific context (Work or Personal) and optionally apply a tag. For example, you might create an address that sends everything to your Work context with a Newsletters tag, and another that routes to Personal with a Receipts tag.
The power of context-specific addresses is that content arrives pre-organized. Instead of forwarding everything to one address and sorting later, you set up the routing once and every email lands exactly where it belongs.
Setting Up Multiple Intake Addresses
- Go to Settings > Integrations and find the Email Intake section
- Your default address is already listed — you can copy it and start forwarding emails right away
- Click the button to add a new address
- Choose a context — Work or Personal
- Optionally choose a tag from the dropdown — the list filters to show tags that match your selected context
- Save the new address

Each new address gets a unique email that you can copy and use as a forwarding destination. You can create as many context-specific addresses as you need — one per project, one per email account, or however you prefer to slice it.
To remove a context-specific address you no longer need, click the delete button next to it. The default address can't be removed.
For a deeper walkthrough of Email Intake — including tips for setting up auto-forwarding rules in Gmail and Outlook — see the Email Intake article.
How Sylva Learns About You
The onboarding conversation isn't throwaway small talk — Sylva actively learns from it. Everything you share during onboarding — your role, how you think, what you're working on — becomes part of Sylva's understanding of you. This happens through two mechanisms:
- The onboarding conversation itself — Sylva extracts observations from what you say, just like it does from any ongoing conversation. Mention that you manage a team of eight or that you prefer bullet-point summaries, and Sylva remembers
- Custom instructions — Anything you add in Settings > AI & Voice gets converted into seed observations in your User Soul — the profile Sylva builds to understand who you are and how to communicate with you. These seed observations act as a baseline so Sylva doesn't start from zero, even before you've had a single conversation
Together, these two sources populate your initial set of User Soul observations the moment onboarding completes. If the Soul system is enabled for your account, it activates immediately — Sylva starts using those observations to shape its tone, priorities, and responses from your very first post-onboarding conversation. There's no warm-up period; the context you provide during onboarding is live right away.
The Soul System
The Soul system is what makes Sylva feel like it genuinely knows you — not as a static profile, but as a living understanding that evolves over time. Two background agents power this:
- Soul — Extract runs every 15 minutes, analyzing your recent conversations for behavioral observations — your communication style, preferences, boundaries, and how you like information presented. You don't need to explicitly tell Sylva these things; it picks them up naturally from the way you interact.
- Soul — Synthesize runs weekly, consolidating those accumulated observations into coherent soul documents. It applies decay to temporary patterns (a stressful week doesn't permanently change your profile) and supersedes contradictory observations when your preferences evolve.
The result is a communication profile that Sylva builds and maintains automatically. Over time, Sylva adapts its tone, detail level, and priorities to match how you actually work — without you configuring anything. When you update your custom instructions in Settings > AI & Voice, Sylva logs those changes as new observations too, so your profile stays current whether the learning comes from conversation or explicit direction.
You can view and explore your soul profile at Settings > Soul.
Your Self Entity
During onboarding, Sylva creates a self entity — a record that represents you in Sylva's knowledge graph. This is distinct from the people, companies, and projects Sylva tracks on your behalf. Your self entity ties together everything Sylva knows about you: your preferences, your role, your goals, and the observations it extracts over time. You can see and manage the people and entities Sylva tracks — including your own — on the Entities page.
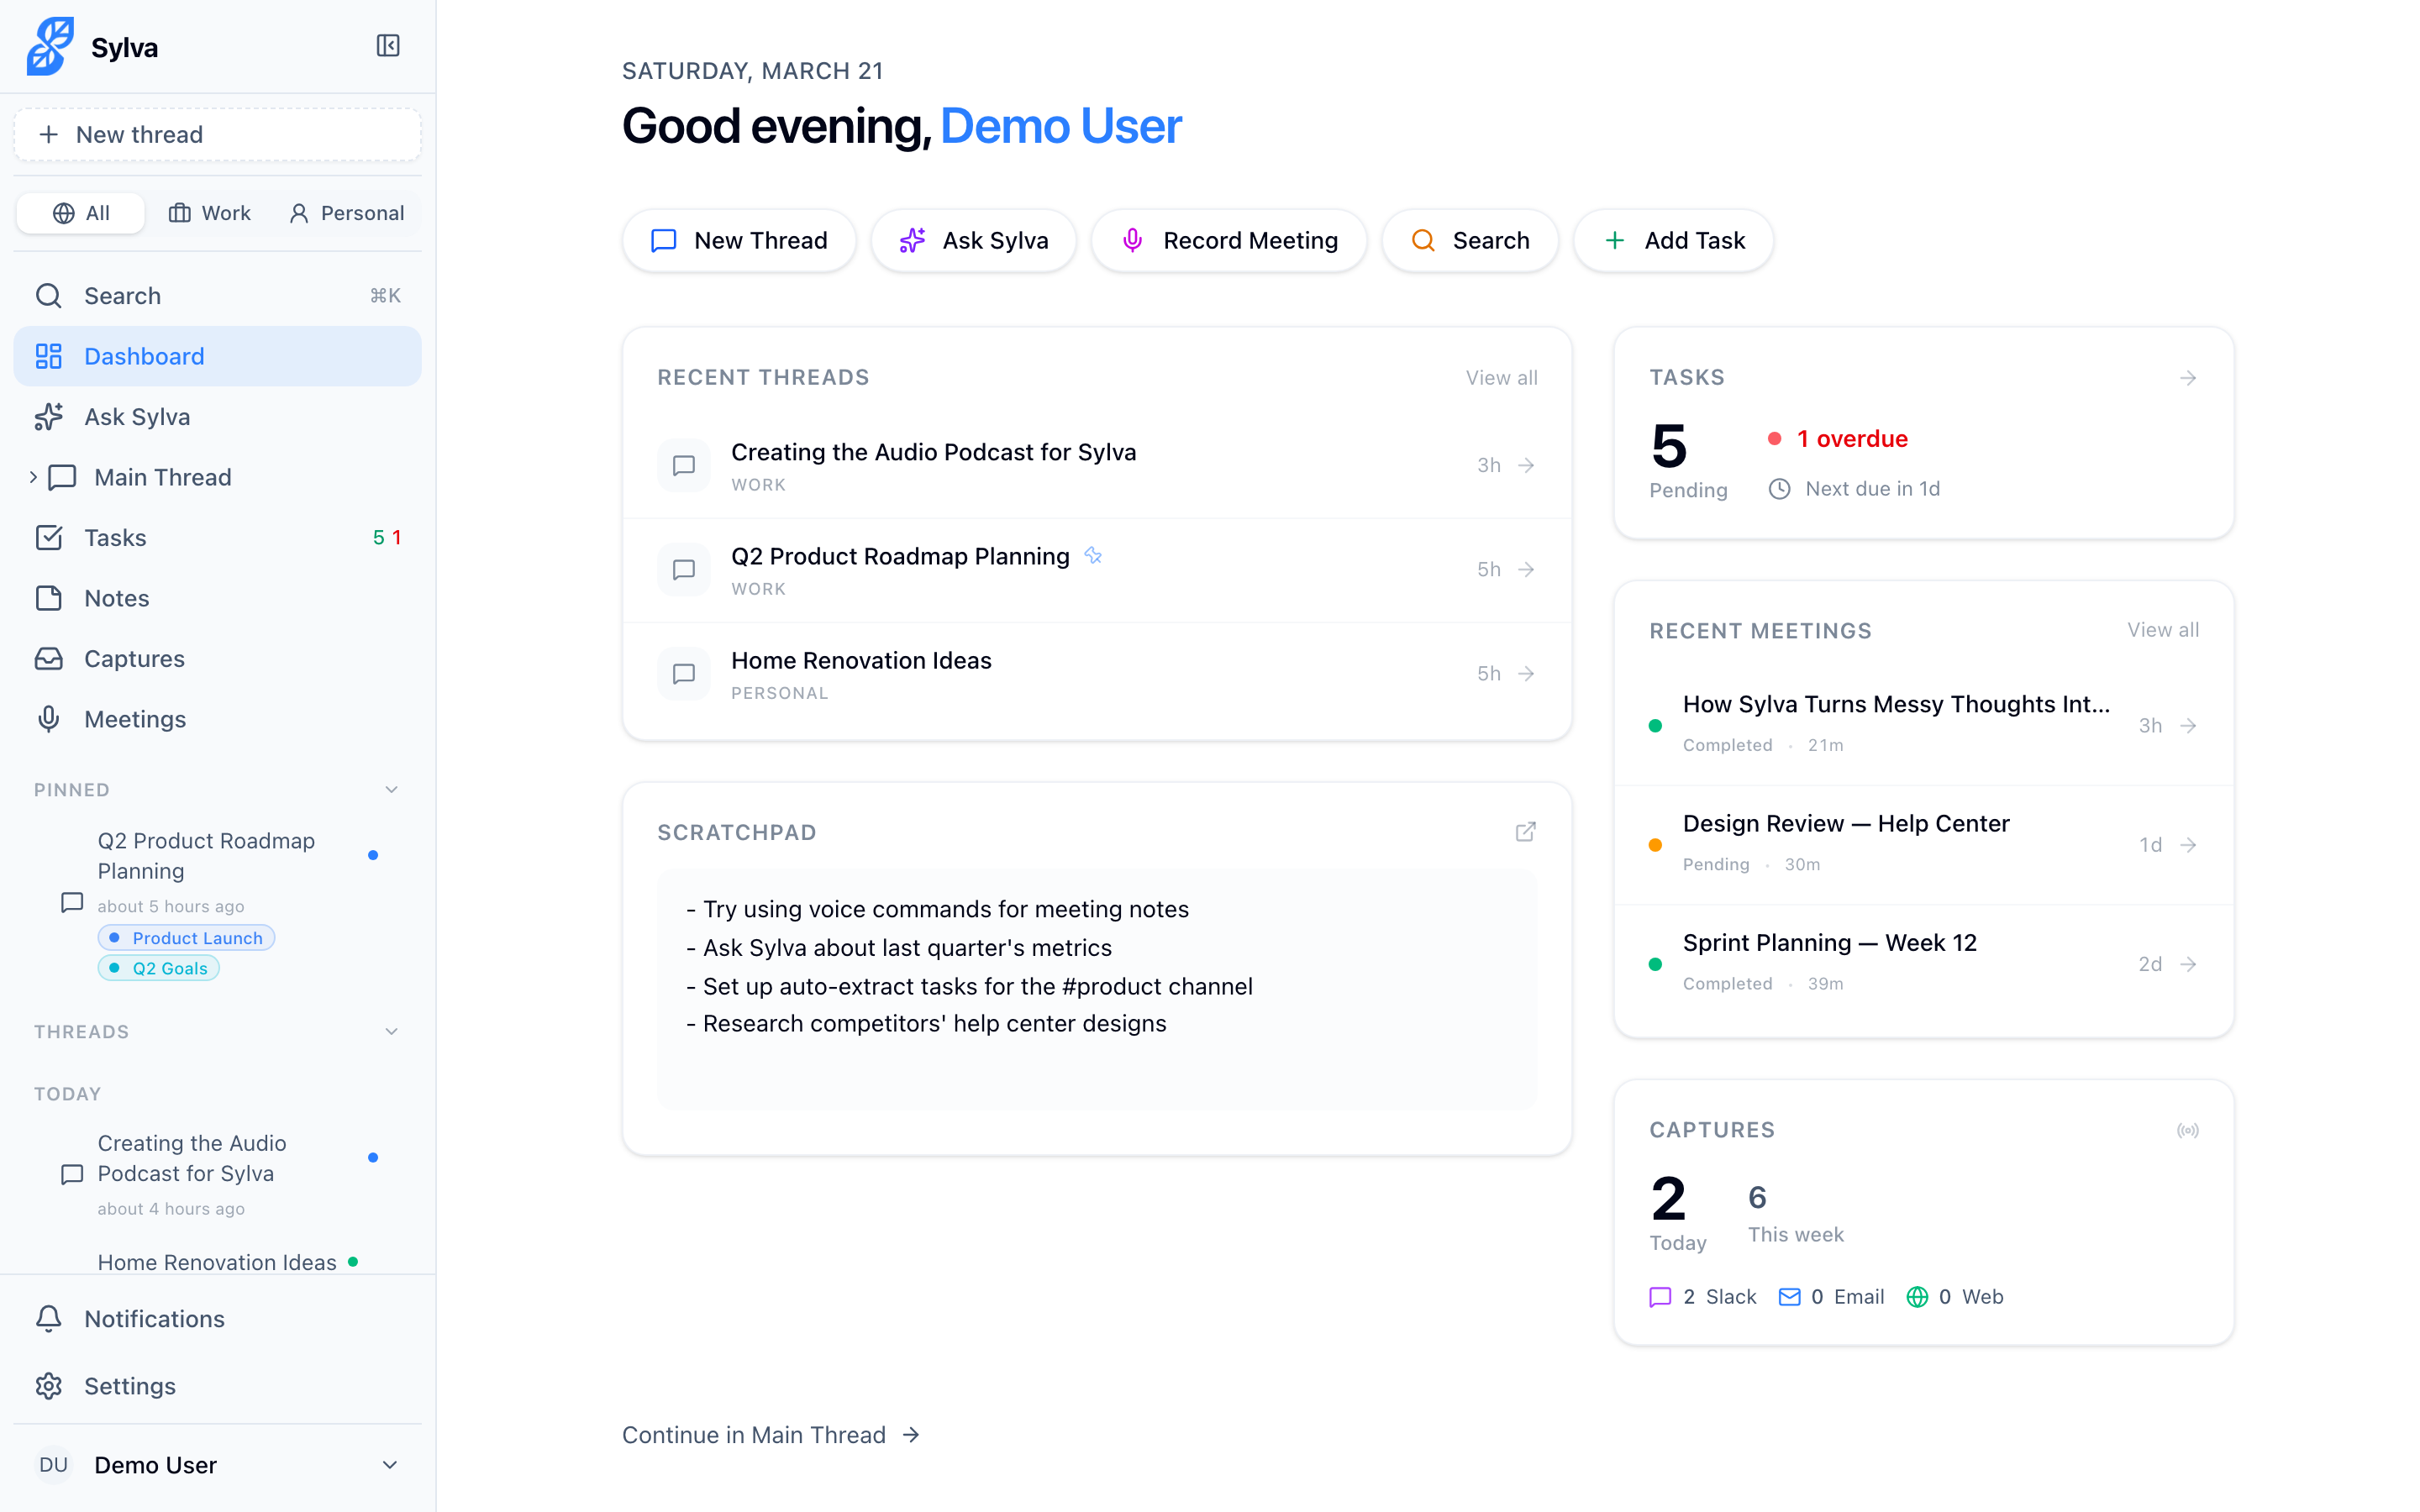
Once onboarding is complete, you'll land on the Dashboard — your home base in Sylva.
Homepage Behavior
Your preferred homepage — Chat or Dashboard — controls what you see when you open Sylva from a bookmark or your home screen without a specific path. Set it in Settings > Account.
Sylva always honors direct navigation. If you tap a link, bookmark, or notification that points to a specific page — like /chat or /dashboard — you land on that exact page, regardless of your homepage preference. The homepage setting only applies when Sylva doesn't have a more specific destination to take you to.
Meeting Recordings
When you record a meeting in Sylva, the audio is protected by a local backup stored on your device. If the app crashes, your browser closes unexpectedly, or your network connection drops mid-recording, Sylva automatically recovers the recording and uploads it once you're back online. You won't lose audio data — even on slow or unreliable connections.