Sylva is a Progressive Web App (PWA), which means you can install it on your computer or phone for a more native app-like experience.
How to Install
When you visit Sylva, you may see an "Install" or "Add to Home Screen" prompt. Click it to install.
Here is what Sylva looks like running as an installed app on your device.
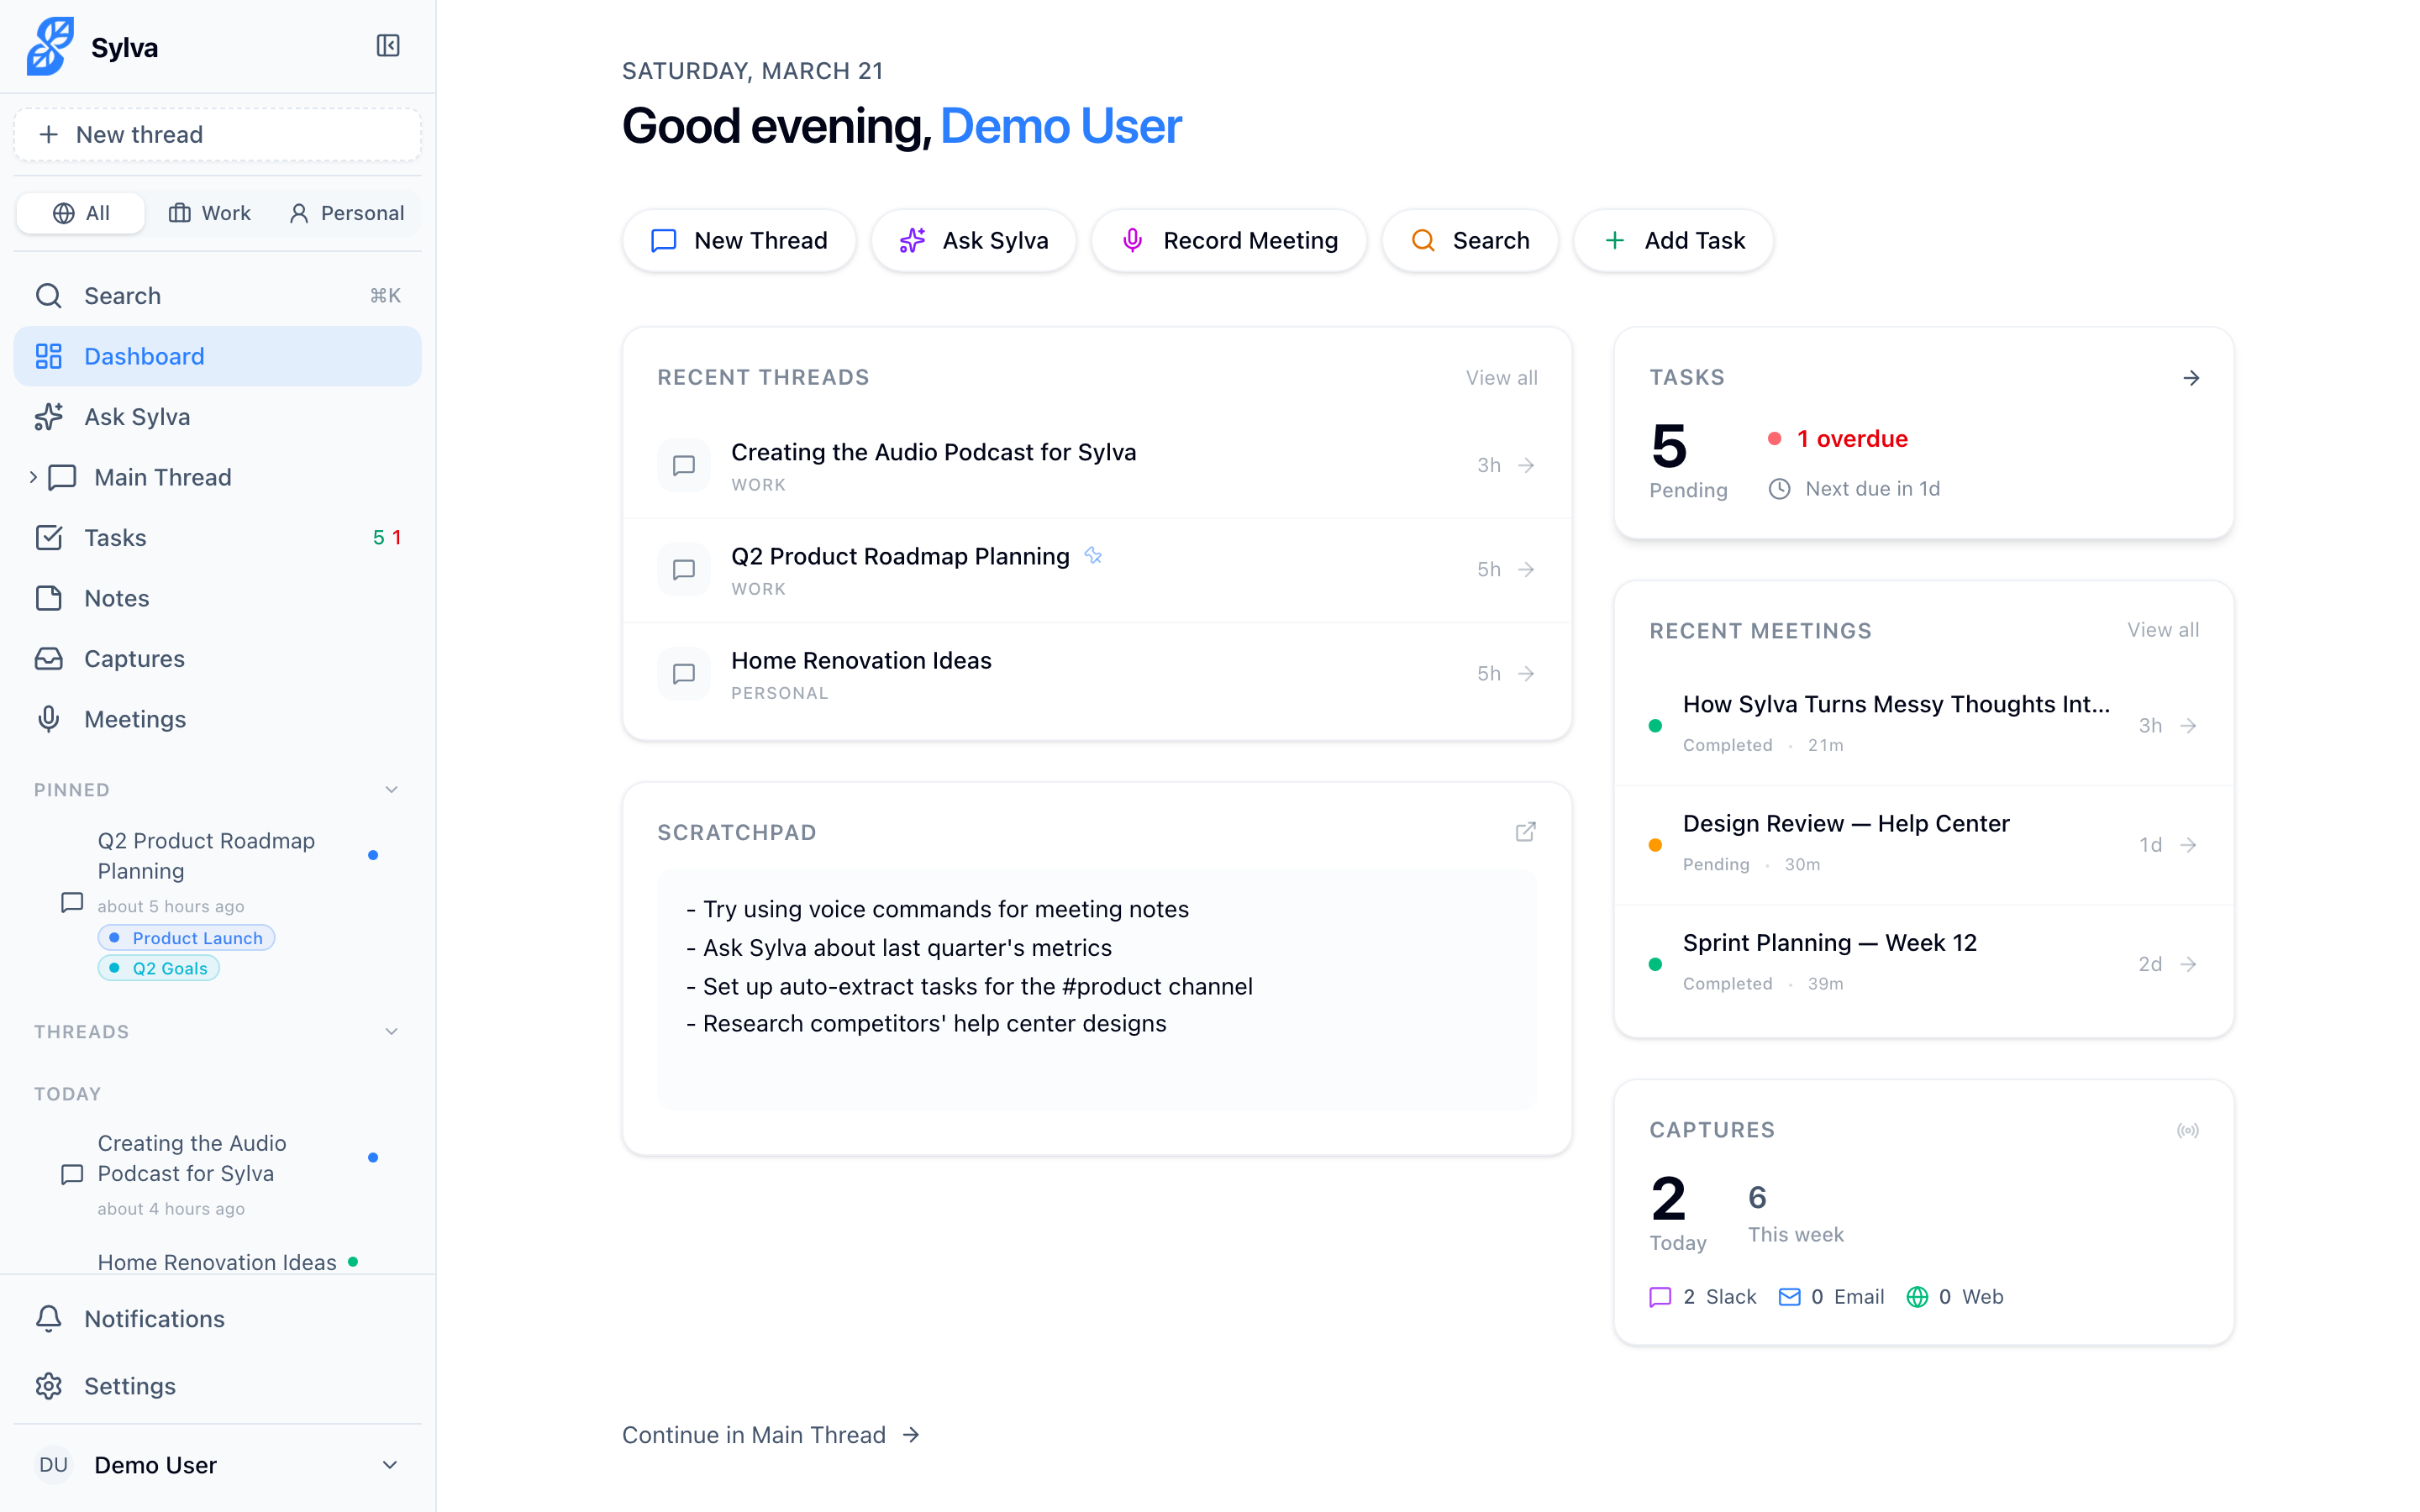
What You Get
- Sylva opens in its own window — no browser toolbar or tabs
- You get an app icon on your desktop or home screen
- Push notifications work even when the app isn't open
- An offline page appears if you lose your internet connection, so you know what's happening
- When you launch the app, it opens to your preferred homepage (Dashboard or Main Thread) — set this in Settings > Account
- You can share content directly into Sylva from any other app (see Share to Sylva below)
- On Android, long-pressing the Sylva icon reveals app shortcuts — including Quick Capture — so you can jump straight to common actions without opening the full app first
Once installed, you get the full app experience without any browser chrome cluttering your screen.

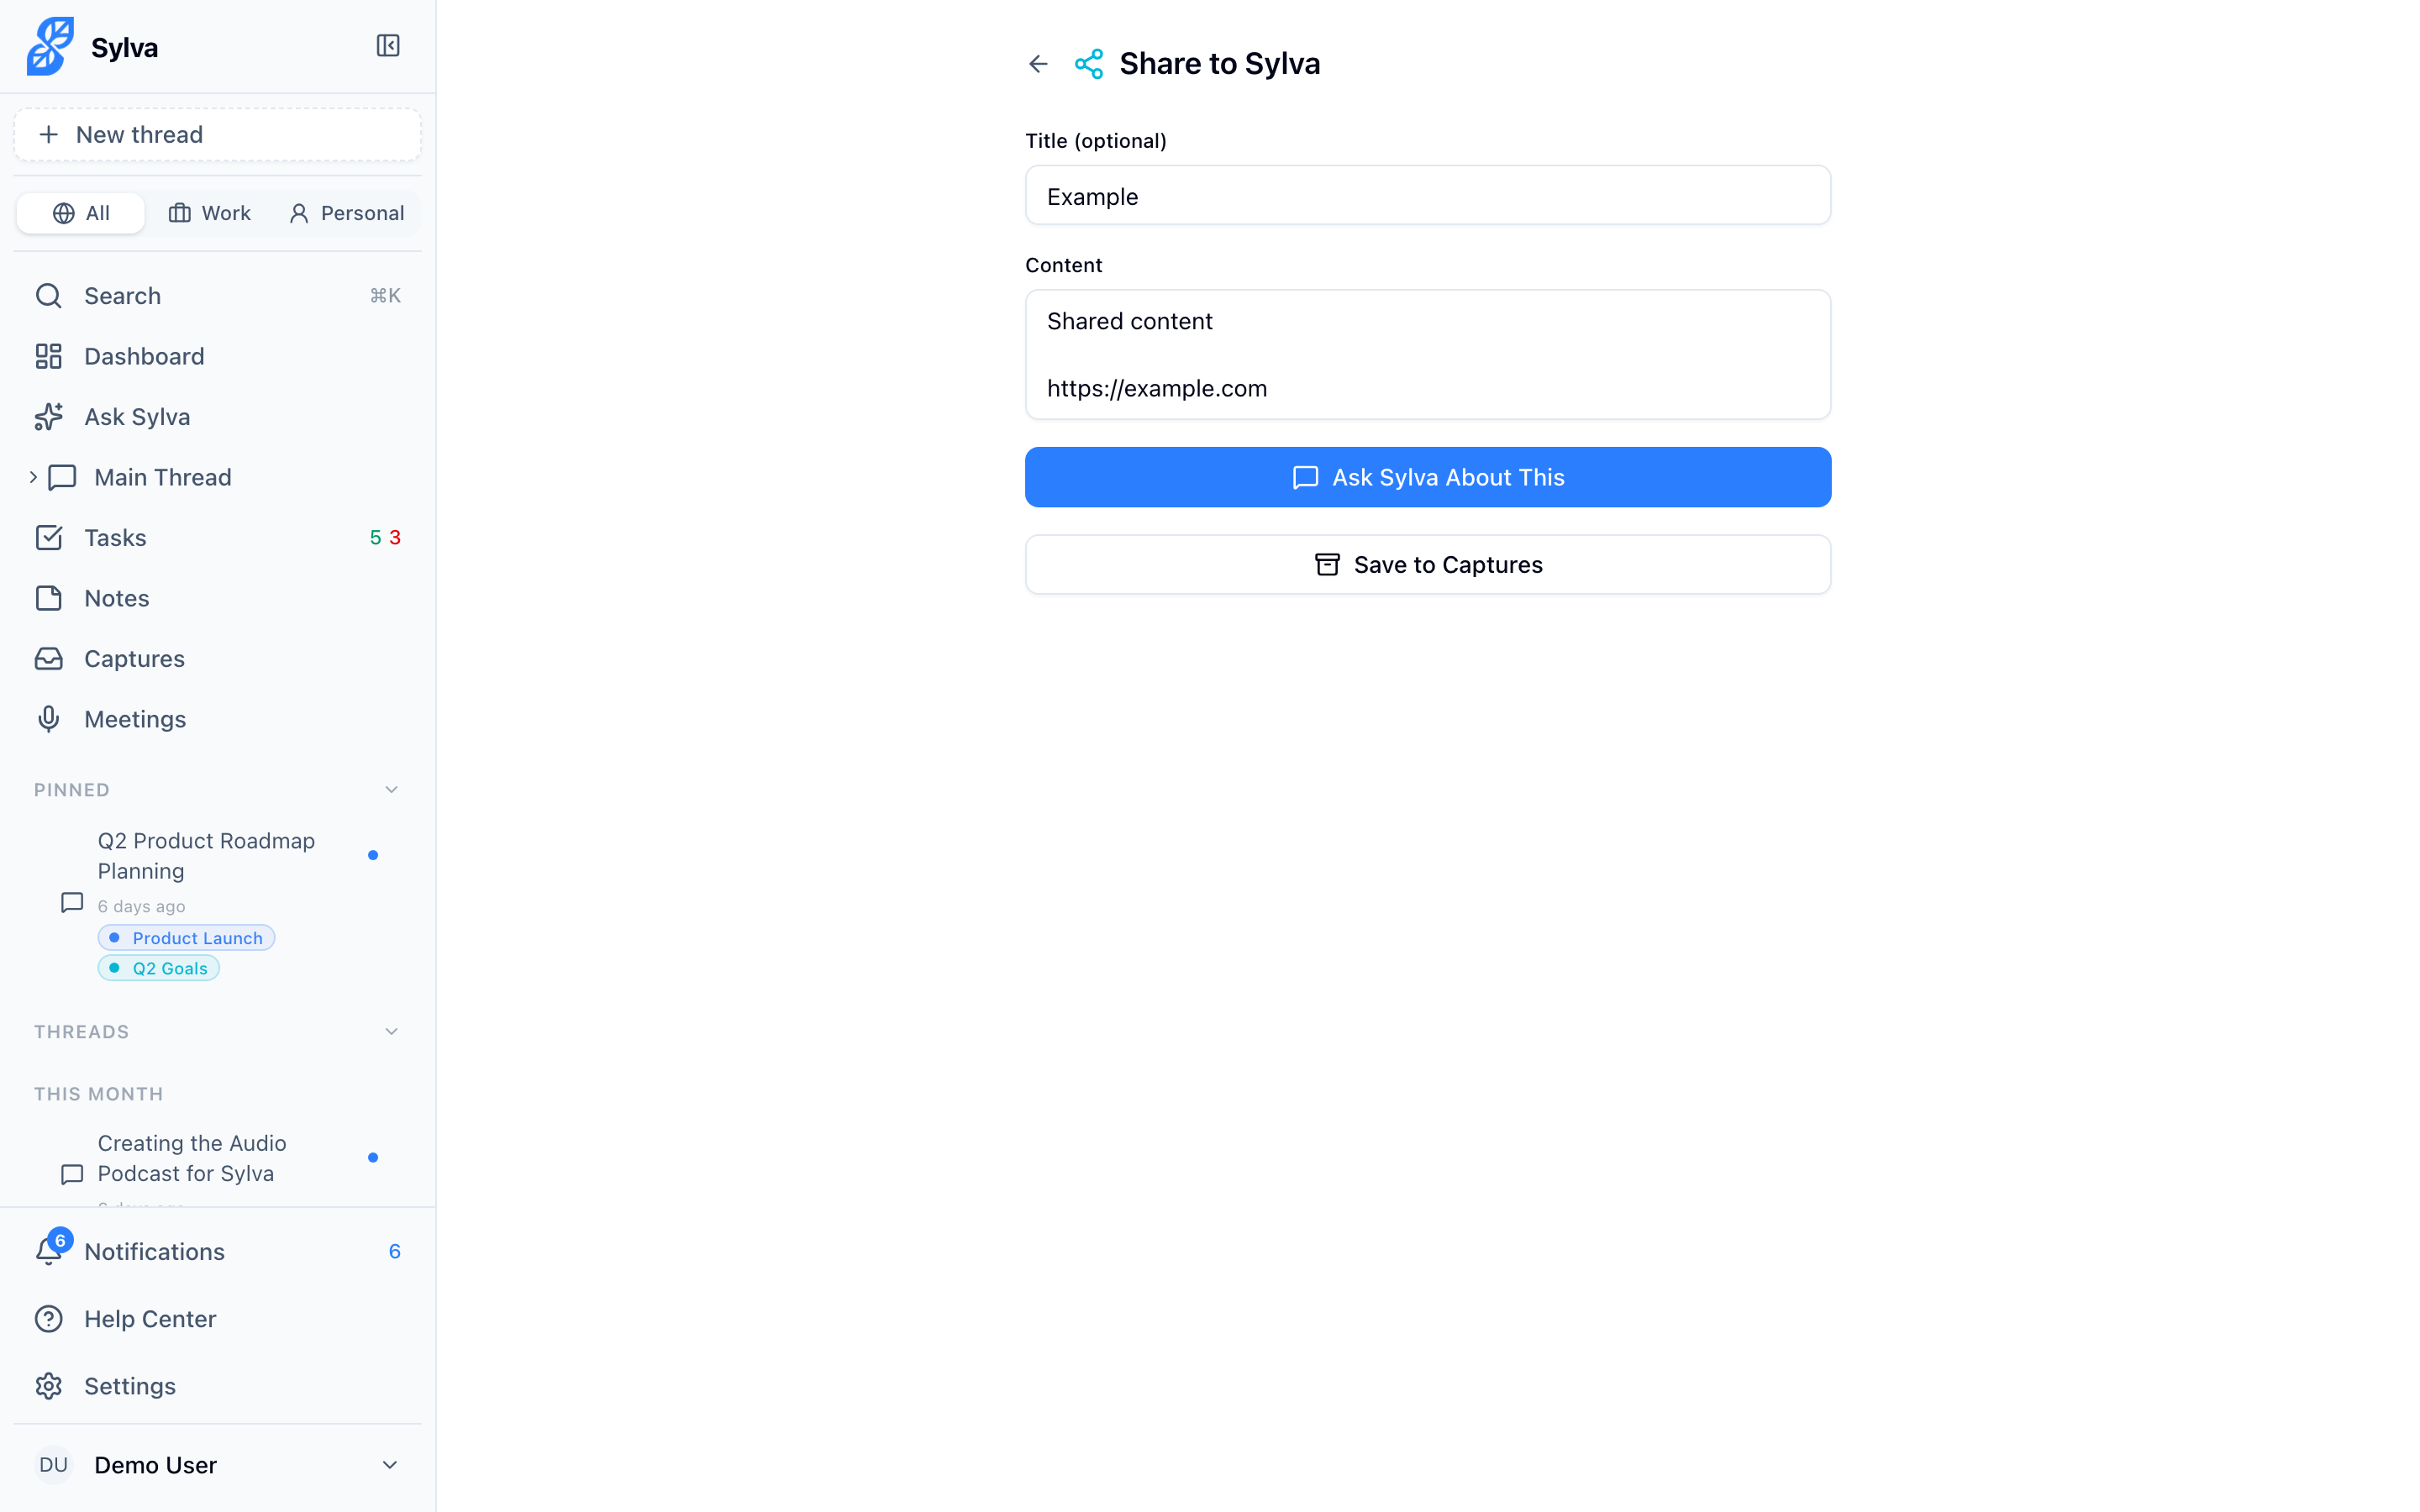
Share to Sylva
Once you install Sylva as a PWA, it registers as a share target on your device. This means Sylva appears in your operating system's native share menu — on Android, it shows up system-wide in the share sheet alongside apps like Messages, Mail, and Notes; on iOS, it appears in the Safari share sheet. When you come across an article, photo, link, snippet of text, or anything else worth saving, you can send it straight into Sylva without switching apps or copy-pasting.
Sylva accepts shared text, URLs, images, PDFs, and text files. When another app sends content via the share sheet, Sylva receives whatever combination of title, text, URL, and attached files that app provides — so you can share everything from a web page to a photo to a PDF document.
Here's how it works on different platforms:
- Android — Tap the Share button in any app (browser, Twitter, Slack, Photos, etc.), then choose Sylva from the share sheet. Because Sylva registers as a system-wide share target, it appears anywhere the native share menu does — not only in browsers
- iOS — Tap the Share button in Safari or other apps that use the iOS share sheet, then choose Sylva
- Desktop (Chrome, Edge) — Right-click or use the share menu in supported apps and select Sylva. On macOS and Windows, this works once Sylva is installed as a PWA
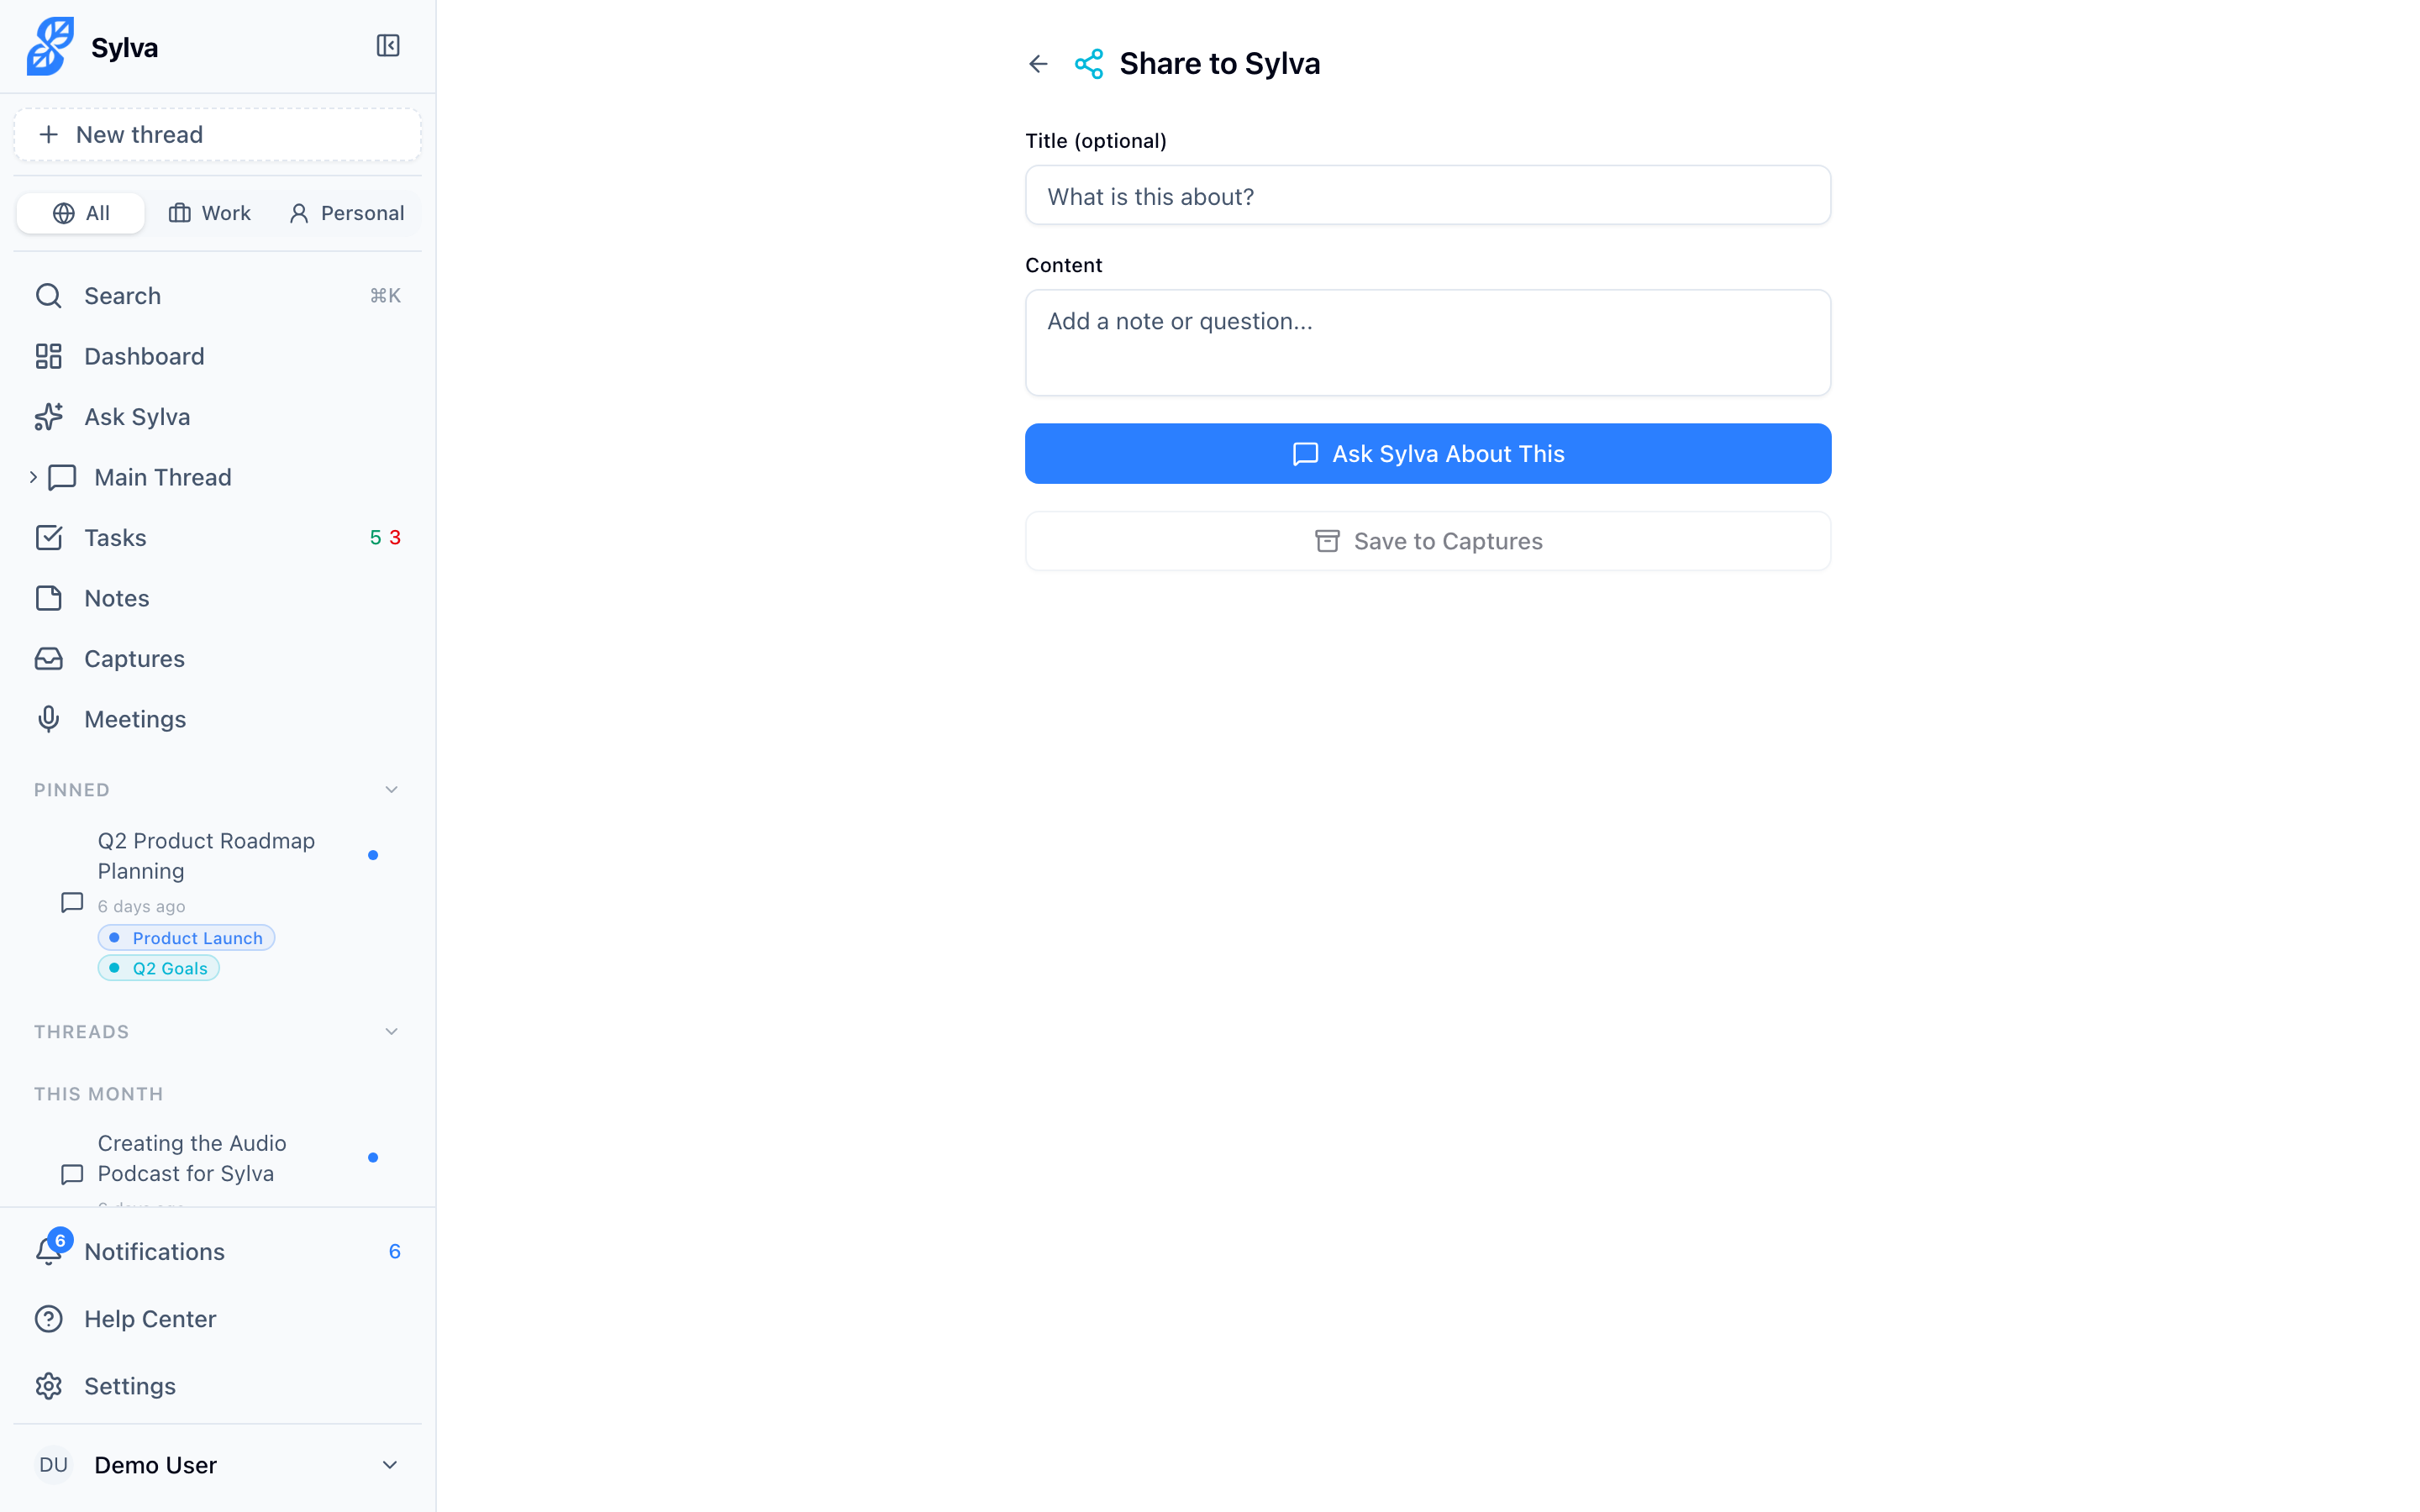
When content arrives via share, Sylva opens the /share page and maps the incoming data into a capture form. The originating app sends up to three pieces of information — a title, text, and URL — and Sylva pre-fills the corresponding fields so you can review everything before saving. For example, sharing a web page from your browser typically fills in the page title, a text snippet or description, and the page URL. Sharing a tweet might fill in just the tweet text and a link.
You can edit any of the pre-filled fields, add a Context (Work or Personal), or discard the capture entirely. From the share page you have two options for what to do with the content:
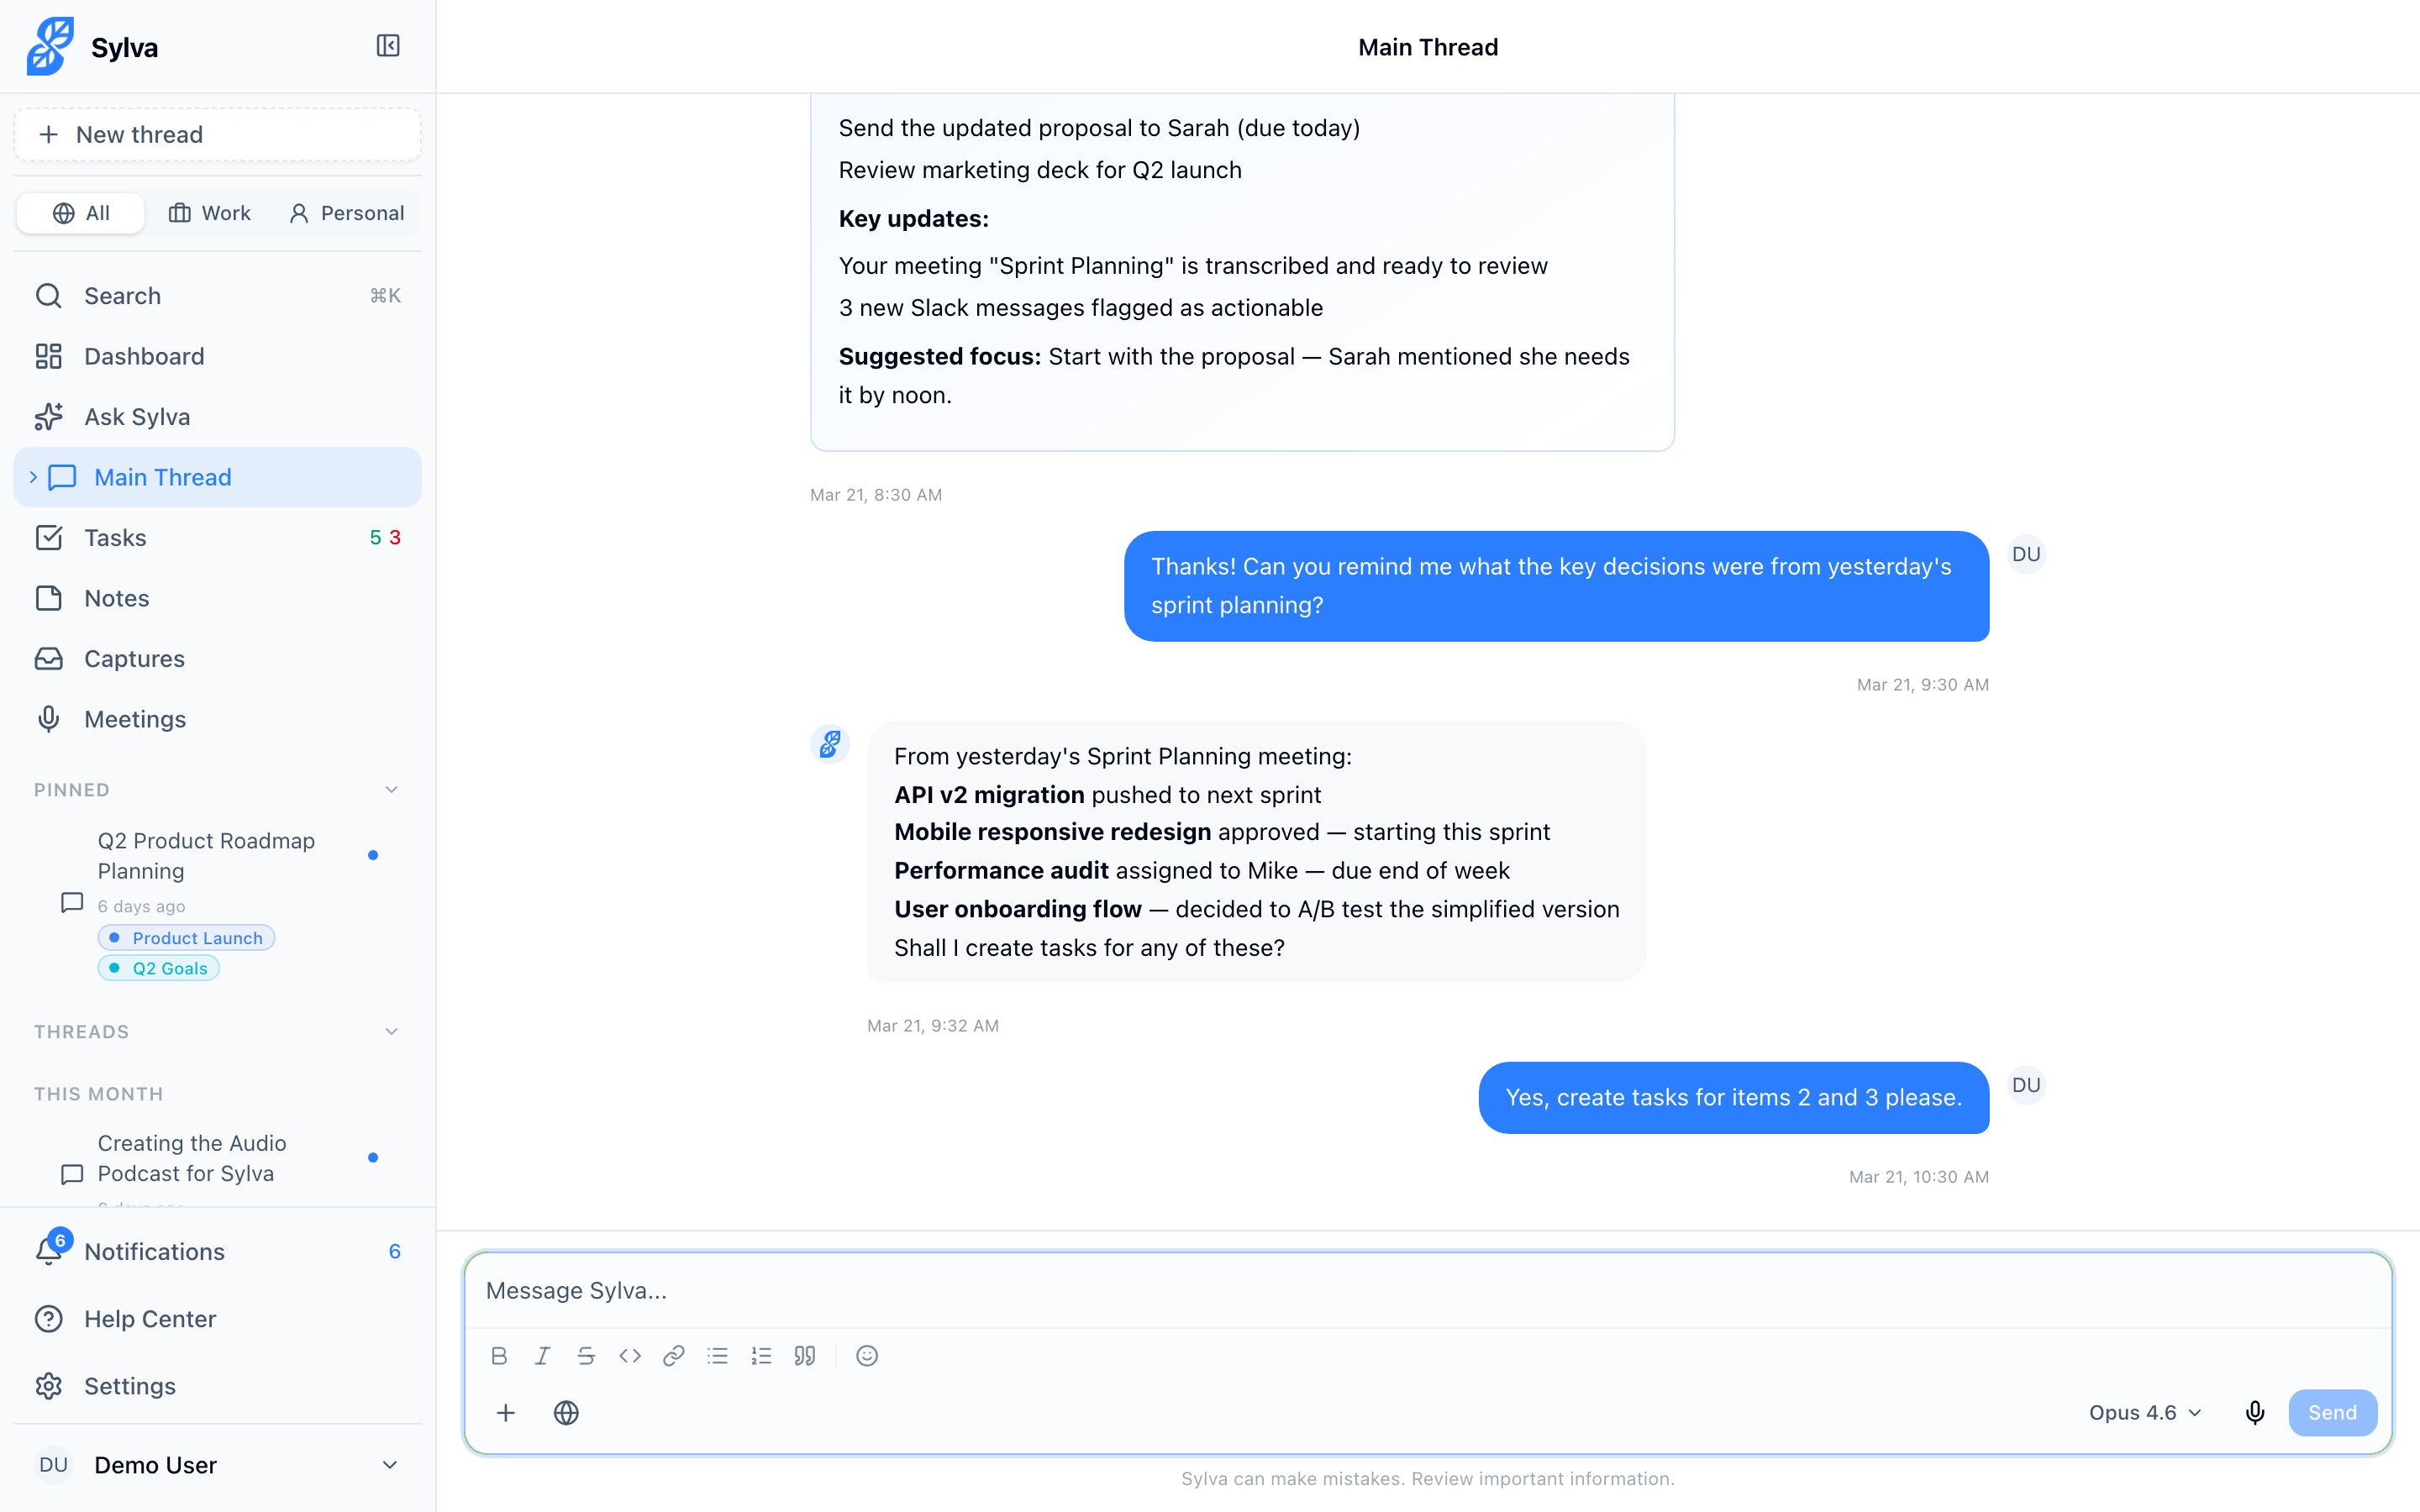
- Ask Sylva — Sends the shared content (including any attached files) to your Main Thread chat so you can have a conversation about it. Use this when you want Sylva to summarize an article, analyze an image, extract action items from a document, or do anything else that benefits from AI assistance
- Save to Captures — Saves the content as a capture, the same way it worked before. Use this when you want to file something away for later without needing an immediate response
Nothing is saved or sent until you explicitly choose one of these actions, so you always have a chance to review and adjust.
Sharing Files to Sylva
You can share files — photos, PDFs, text files — from other apps directly into Sylva using your device's native share sheet. This is especially useful when you want Sylva to analyze or discuss a file you're looking at in another app without manually downloading and uploading it.
Here's the flow:
- In any app (Photos, Files, a PDF reader, etc.), tap Share and choose Sylva
- Sylva opens the /share page with your files shown as thumbnails. Any text or URL the originating app included appears in the pre-filled fields
- Review the content and remove any files you don't want by tapping the X on their thumbnail
- Choose Ask Sylva to send the files to your Main Thread, or Save to Captures to file them away
When you choose Ask Sylva, the shared files appear as attachments in the chat input of your Main Thread. You can add a message for context — "Summarize this PDF" or "What's in this screenshot?" — then send. Sylva processes the files and responds in the conversation.
How file storage works behind the scenes: When another app shares files to Sylva, the service worker intercepts them and stores them temporarily in a local browser cache. The files stay in this cache until you take action — either sending them to chat or saving them as a capture. Once you choose an action, the cache is cleared automatically. If you close the share page without choosing an action, the files remain in the cache and are picked up the next time you open the share page. This means you won't lose shared files if you accidentally navigate away before acting on them.
Quick Capture
The /capture page is a lightweight entry point for saving thoughts, notes, links, or anything you want Sylva to remember. You don't need to start a conversation or navigate to a specific section — open it, type, and save.
The Quick Capture shortcut appears in your operating system's app shortcuts menu. On Android, long-press the Sylva app icon to see it — tap Quick Capture to go directly to /capture, bypassing the dashboard entirely. On Android, Quick Capture also appears as a home screen shortcut after installation, giving you one-tap access to the capture page without long-pressing the app icon first. On desktop, right-click the Sylva icon in your taskbar or dock for the same shortcut. This is useful when you need to jot something down fast.
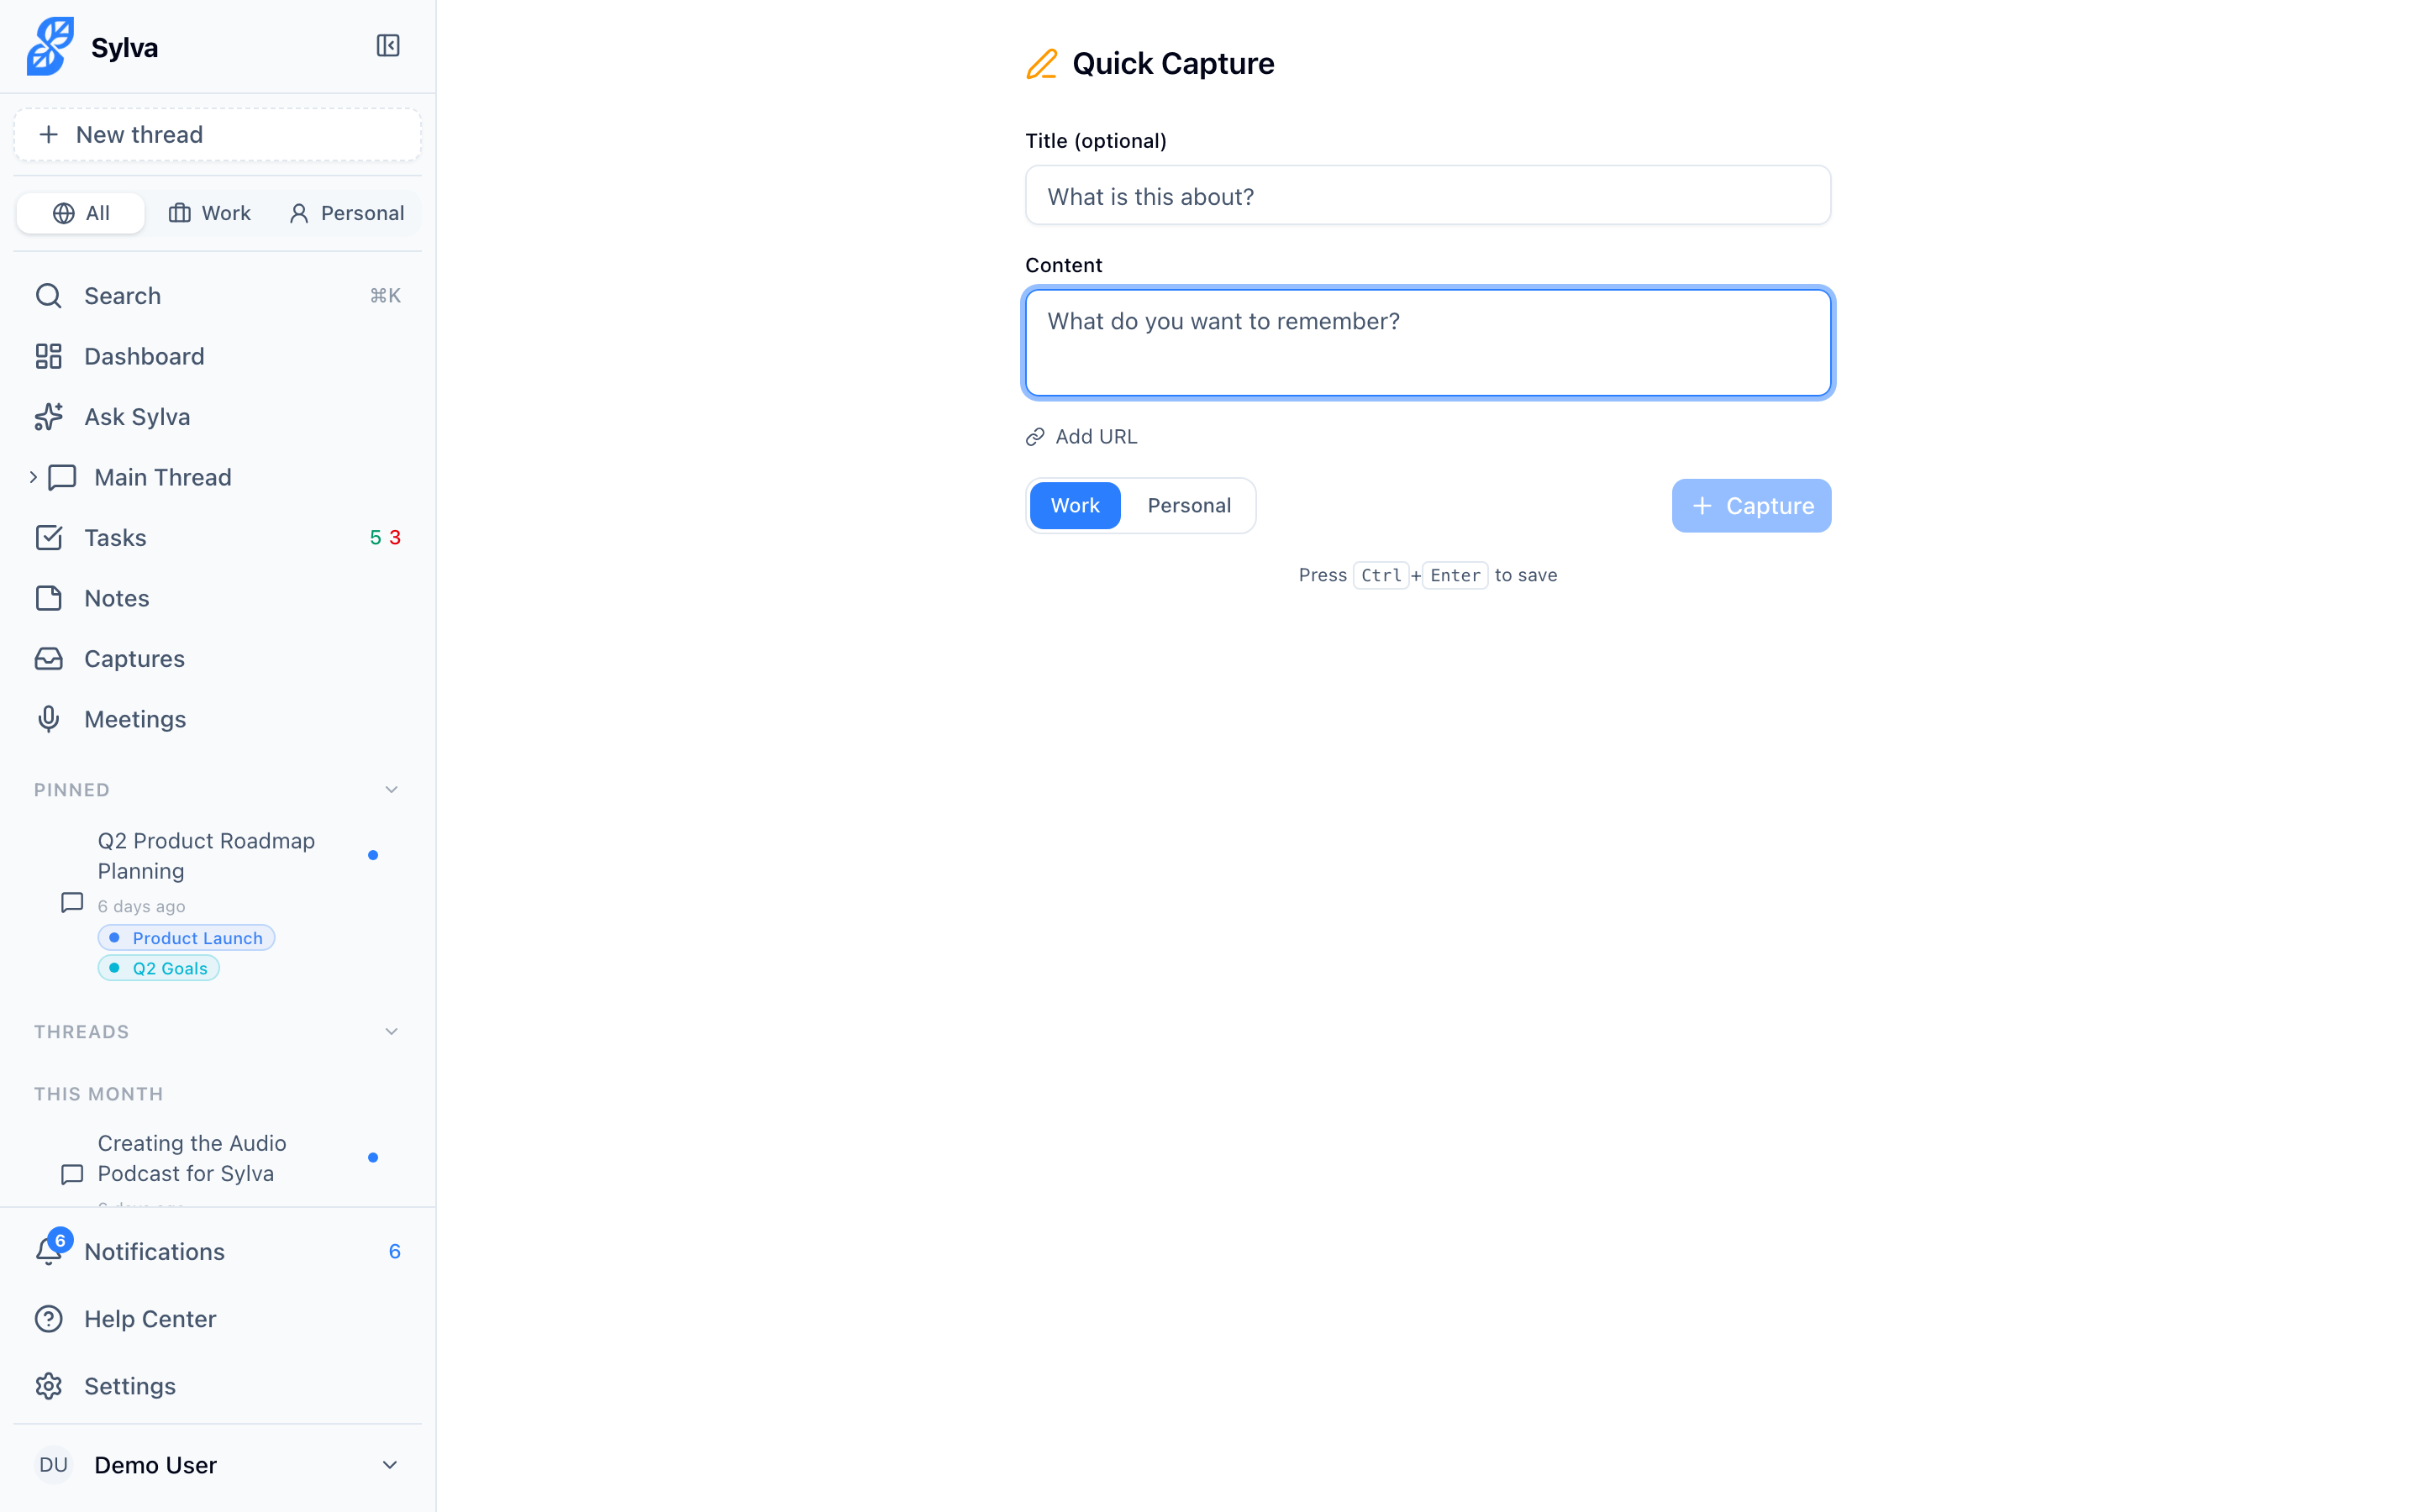
The capture form includes:
- Title (optional) — A short label for the capture
- Content (required) — The main body of what you want to save
- URL (optional) — Click Add URL to attach a source link
- Context — Choose Work or Personal to categorize the capture. This defaults to Work and works the same way context works everywhere else in Sylva — your capture shows up in the right place alongside related tasks, communications, and notes
Save with the Save button, or press Ctrl+Enter (Windows/Linux) or ⌘+Enter (Mac) to save without reaching for the mouse. After saving, the form resets so you can capture something else immediately.


Cold Start Redirect
The first time you open the PWA each session — a "cold start" — the app briefly displays a full-screen overlay while it automatically redirects you to your preferred homepage (Dashboard or Main Thread). This overlay prevents a visual flash of the wrong page before the redirect completes. It only appears once per session; every subsequent navigation within the same session behaves normally with no overlay.
Crash Recovery and Offline Recording
Sylva uses IndexedDB — a browser-based local database — to store meeting recording data directly on your device while a recording is in progress. This means if your browser crashes, your computer restarts, or you lose internet connectivity mid-meeting, Sylva can recover the recording data when you reopen the app. Without this safeguard, an unexpected interruption could mean losing your entire meeting transcript.
IndexedDB is always available when you install Sylva as a PWA. If you use Sylva in a regular browser tab instead, IndexedDB is typically enabled by default — but some browser configurations, privacy extensions, or strict cookie settings can disable it. If offline recording and crash recovery aren't working, check that your browser allows IndexedDB storage:
- Chrome — Go to
chrome://settings/content/siteDataand confirm Sylva's domain is allowed to store data - Safari — Open Settings > Privacy and make sure Prevent cross-site tracking isn't blocking local storage for Sylva
- Firefox — Go to
about:preferences#privacyand verify that custom settings aren't restricting site data
For the most reliable experience — especially if you record meetings regularly — install Sylva as a PWA. The installed app has full, uninterrupted access to IndexedDB regardless of browser-level privacy settings, so crash recovery works every time.