Sylva's recording screen has several options that help you capture cleaner audio — whether you're in a live meeting, listening to a presentation, or switching between a headset and your laptop mic.
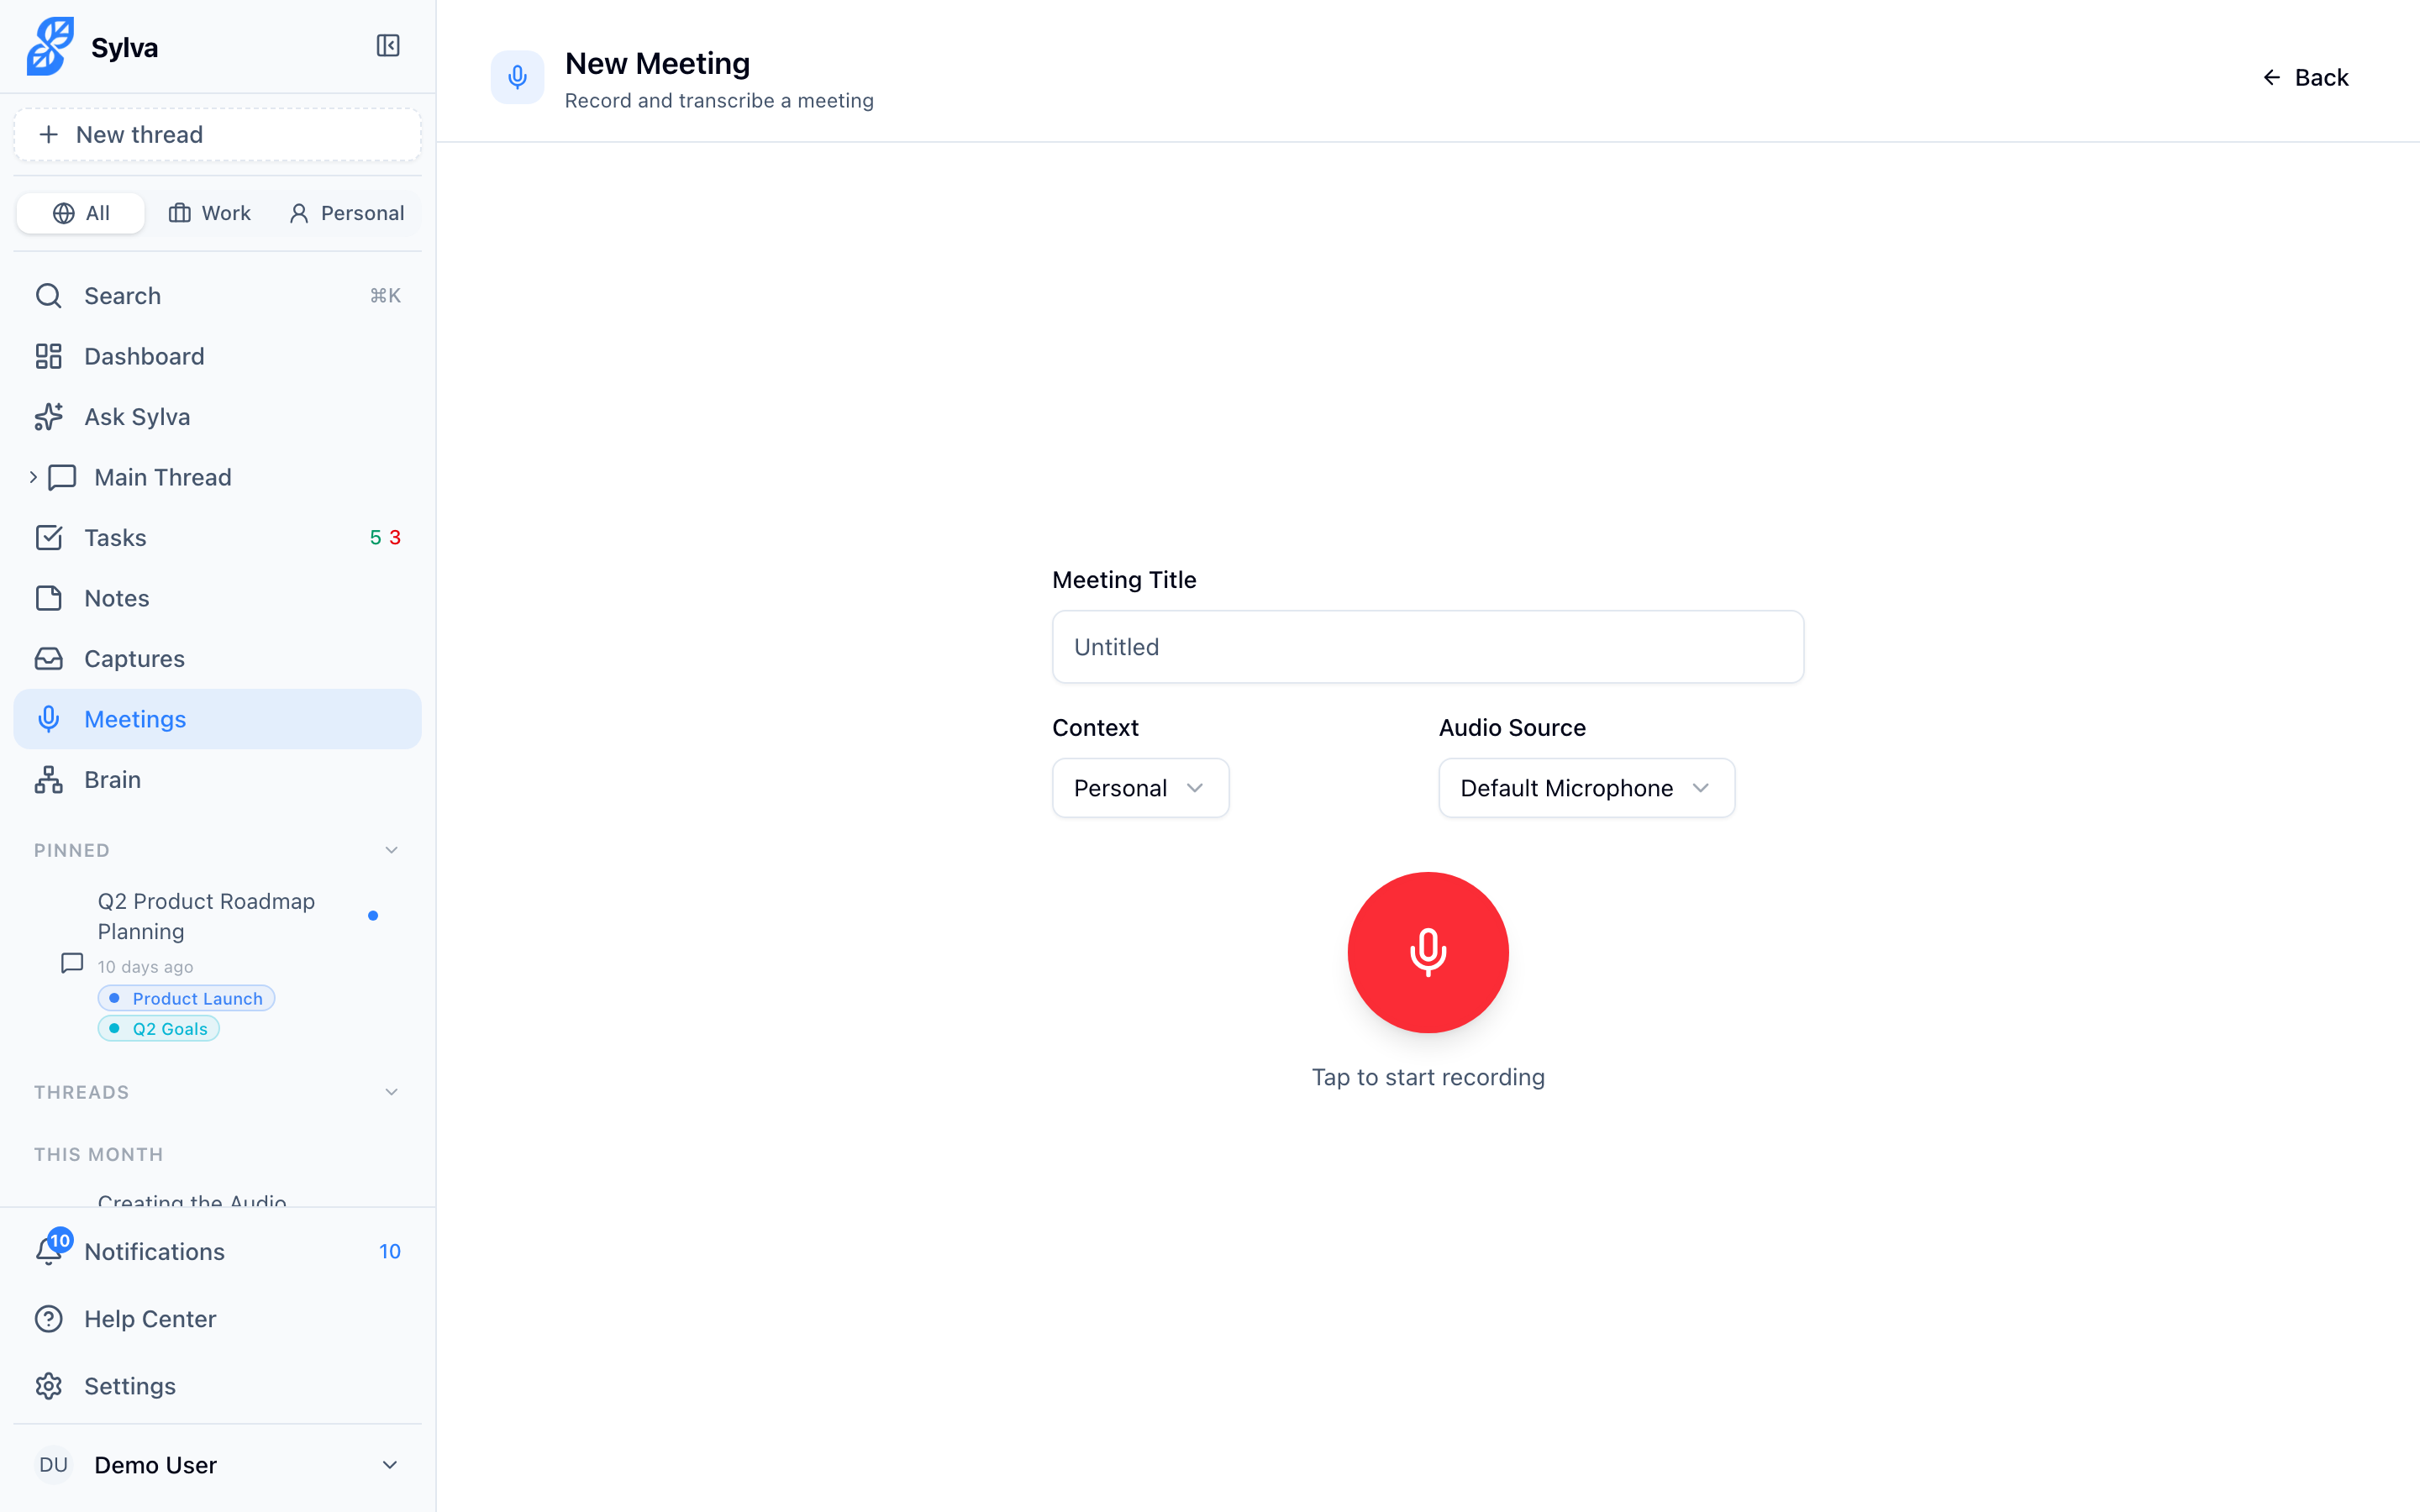
Choosing Your Microphone
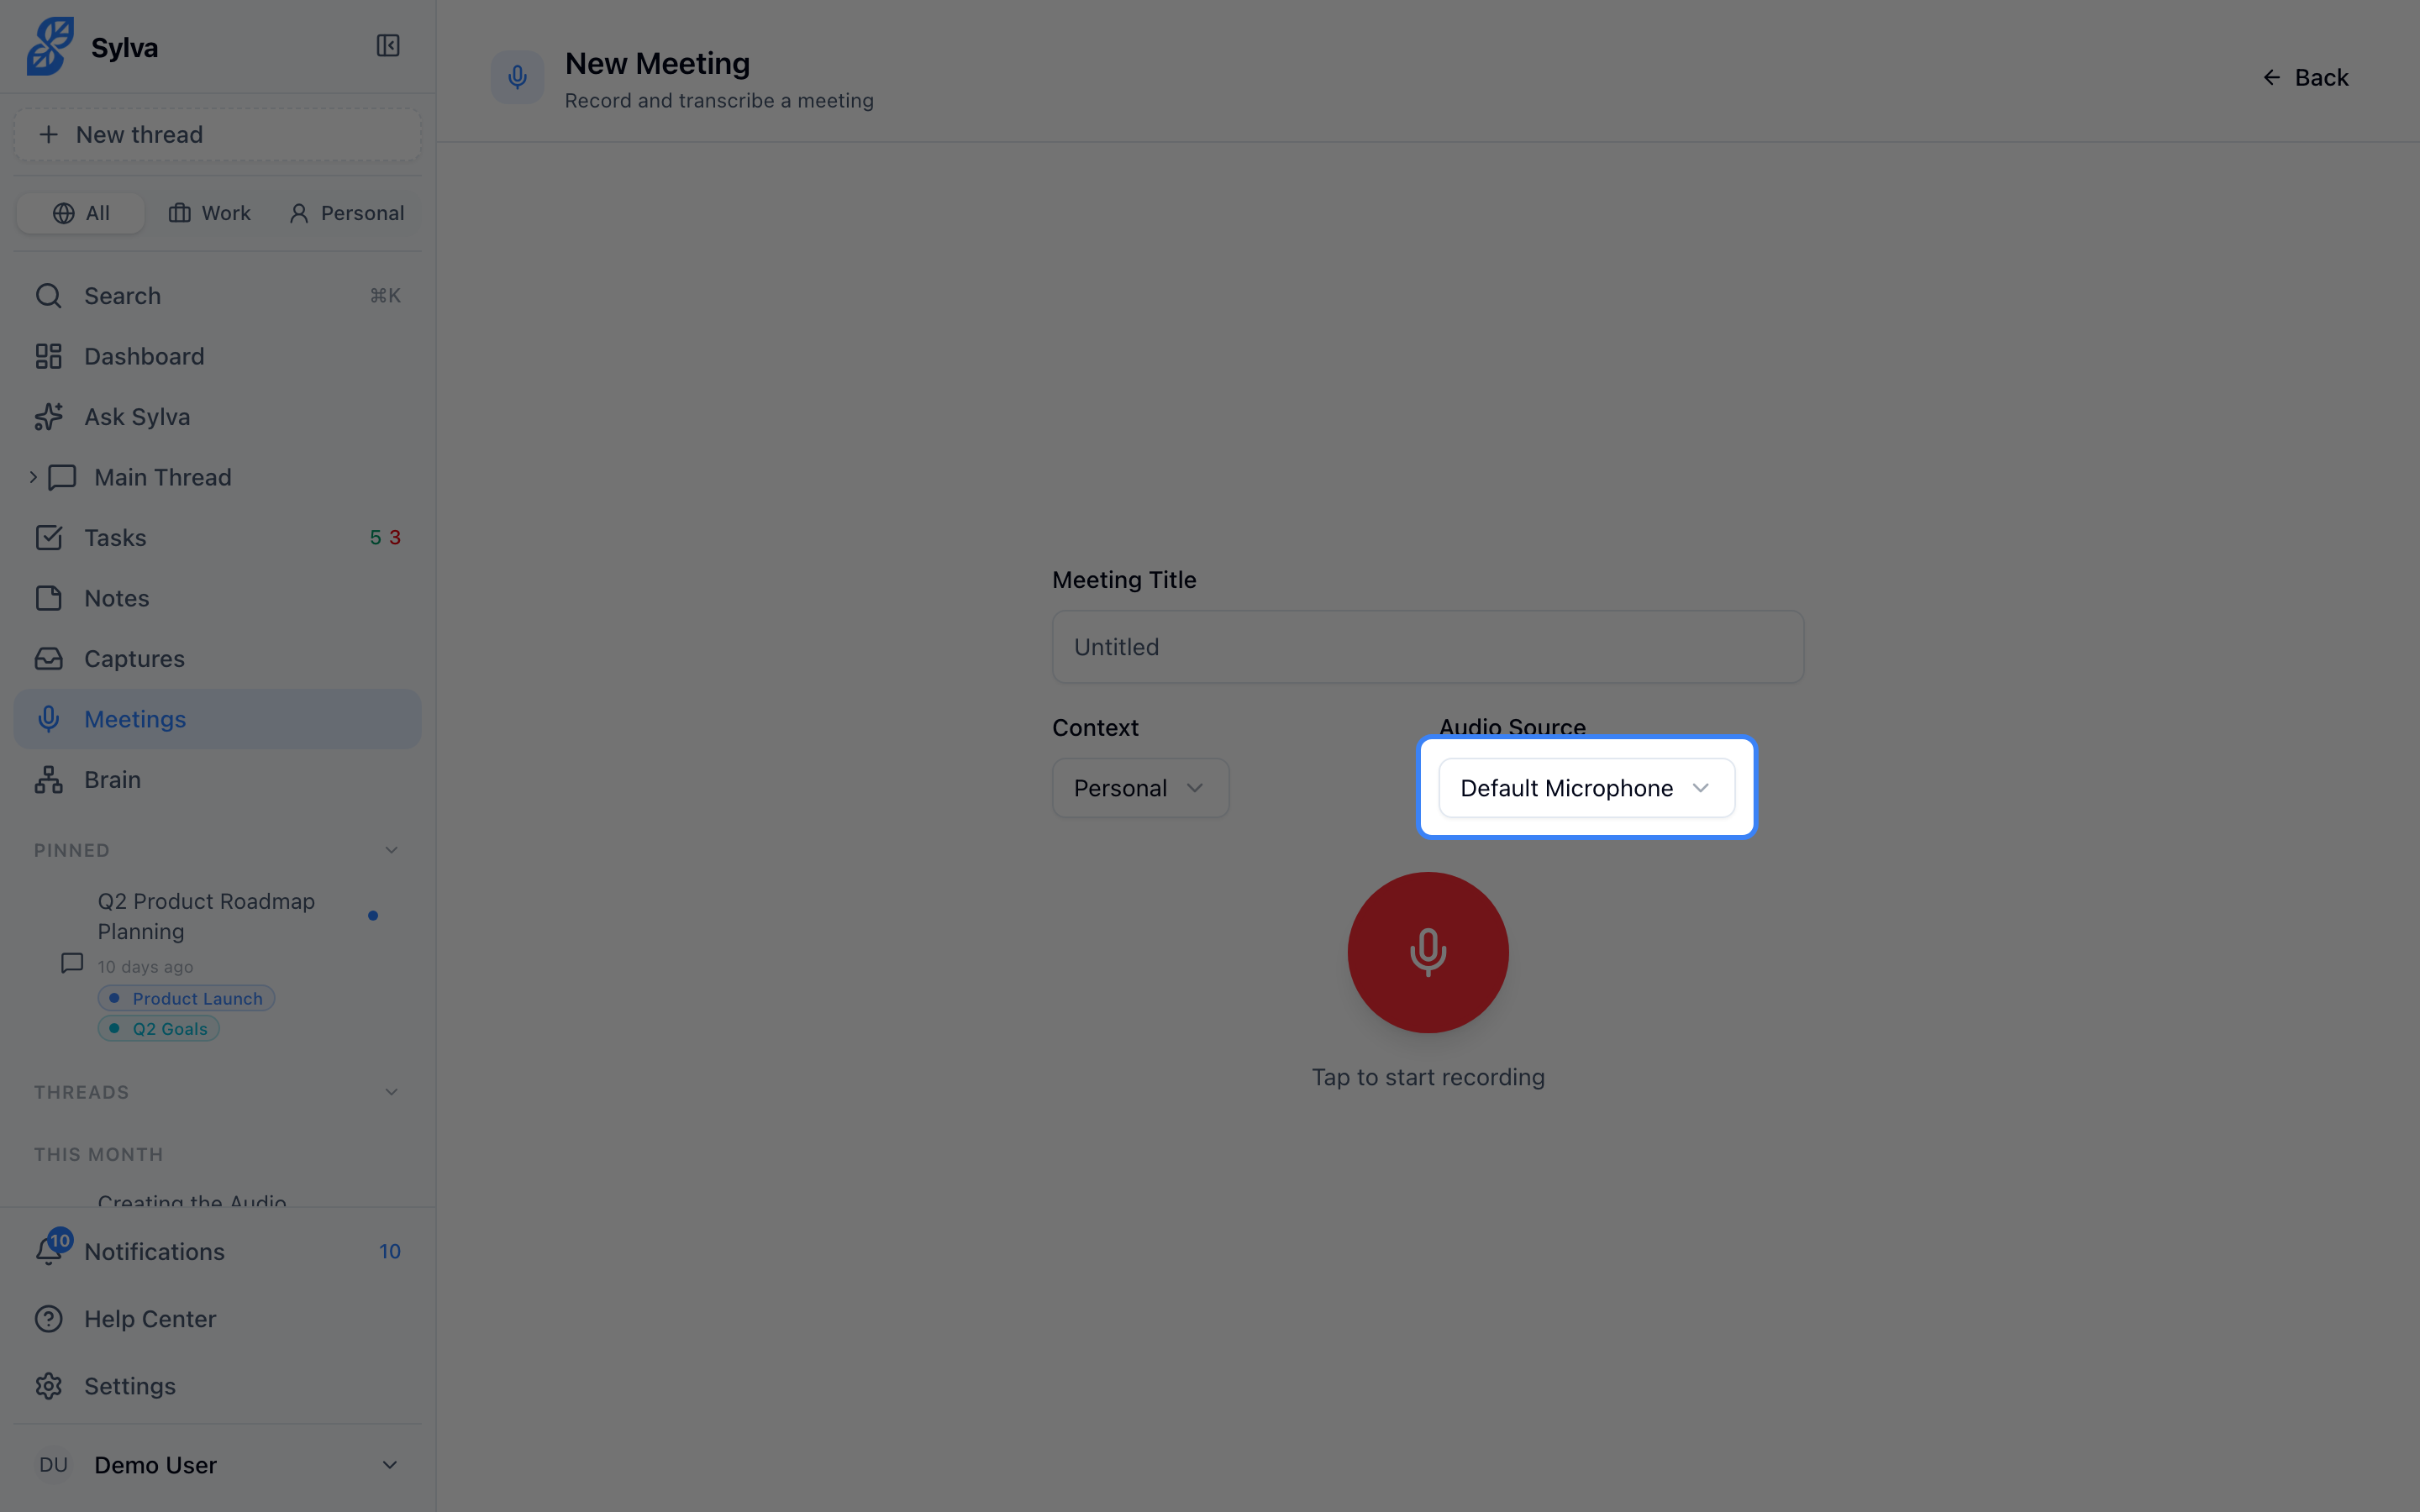
By default, Sylva uses your system's default audio input device. If you're using a headset, external microphone, or conference speaker, you'll want to switch to that device explicitly so the recording captures the best audio.
- On the New Recording page, find the Microphone dropdown
- Click it to see all available input devices
- Select the device you want to use

Sylva remembers your selection for the current session. If you unplug a device or switch inputs mid-session, re-check this dropdown before starting your next recording.
Recording System Audio
Sometimes you need to capture audio playing through your computer — a speaker presentation on Zoom, an online course video, or a webinar you want transcribed later. Sylva supports this through system audio capture.
- Open the Audio Source dropdown on the New Recording page
- Select System Audio
- Your browser will open a system picker asking which screen or window to share
- In the system picker, check the Share audio checkbox before clicking Share
- Start your recording — Sylva now captures whatever audio is playing through the selected source
This works well for any scenario where the sound you want to capture is coming from your computer rather than a physical microphone.
Troubleshooting System Audio
If you don't hear any audio in your recording after using system audio mode, check these common issues:
- "Share audio" wasn't checked — The browser's screen-sharing picker includes a Share audio checkbox, usually at the bottom of the dialog. It's unchecked by default. Without it, the browser shares the video feed only and Sylva receives silence.
- External monitor selected as source — Some screen sources — particularly external monitors — don't support audio capture at the OS level. If you're sharing an external display and getting no audio, try selecting a specific browser tab or application window instead.
- Browser permissions — Make sure your browser has permission to access screen sharing. Chrome and Edge handle this most reliably; Safari has limited support for system audio capture.
Organizing with Context
The Context field on the recording page lets you tag a meeting as Work or Personal before you start. This is optional, but it keeps your meetings organized alongside your tasks and other content that use the same categories.

You can also change the context after the meeting is saved by editing the meeting details.
Pausing and Resuming
You can pause a recording without stopping it — useful for side conversations, coffee breaks, or any moment you don't want captured in the transcript.
- During an active recording, click the Pause button
- The recording timer pauses and Sylva stops capturing audio
- When you're ready, click Resume to continue recording from where you left off

The final transcript and audio file are stitched together as one continuous recording with the paused sections removed. This keeps your transcript clean and your audio file smaller.