The Notes page gives you a single place to find every note across all your threads and topics. Instead of digging through individual threads to find something Sylva captured, you can browse, search, and filter all your notes from one screen.
How Notes Work
Notes can be created in three ways:
- Automatically — As you chat, Sylva captures important decisions, meeting recaps, and key information as notes. You can control this behavior in Settings > AI & Voice under Auto-Capture Notes:
- Auto (default) — Sylva captures notes on its own whenever it spots something worth saving
- Ask first — Sylva suggests saving a note and waits for you to confirm
- Manual — Notes are only created when you use the Generate Note button on a thread
- From a thread — Open the notes menu on any thread and click Generate Note to have Sylva create a structured summary
- From scratch — Click the New Note button on the Notes page to open a full editor and write your own note from a blank canvas
How File Uploads Work
When you attach a file to a note or message, Sylva uploads it directly from your browser to secure storage — bypassing the application server entirely. This means you're no longer constrained by the previous 4.5 MB file size limit and can upload significantly larger files.
Here's what happens when you upload a file:
- Your browser sends the file directly to Supabase Storage over a secure connection
- Sylva creates an attachment record linking the file to your note or message
- Sylva automatically processes the file based on its type:
- Documents (PDFs, Word files, etc.) — Sylva extracts the text content, making the document searchable across your notes and threads
- Images — Sylva generates an AI-powered description of the image, giving you context when you search or browse later
While uploading, you'll see a real-time progress indicator that shows both the current phase — Preparing, Uploading, or Saving — and the upload percentage, so you always know where things stand.

File names are sanitized on upload — special characters are removed or replaced with safe alternatives. This ensures compatibility across devices and prevents issues with storage or download links. Your original file content is preserved exactly as-is; only the file name is adjusted.
Email Attachments
When emails with attachments are captured through the email intake system, Sylva groups those attachments under the parent email as a collapsible accordion. This keeps your notes list clean — you see the email itself as the primary entry, and expand it to reveal the attached files when you need them.
Each attachment displays a file type indicator so you can tell at a glance what you're looking at:
- [Document] — PDFs, Word files, spreadsheets, and other text-based documents
- [Image] — Photos, screenshots, diagrams, and other image files
- [File] — Any other file type that doesn't fall into the categories above
Click the accordion header to expand or collapse the attachment group. The attachments are processed the same way as any other file upload — documents have their text extracted for search, and images get AI-generated descriptions.

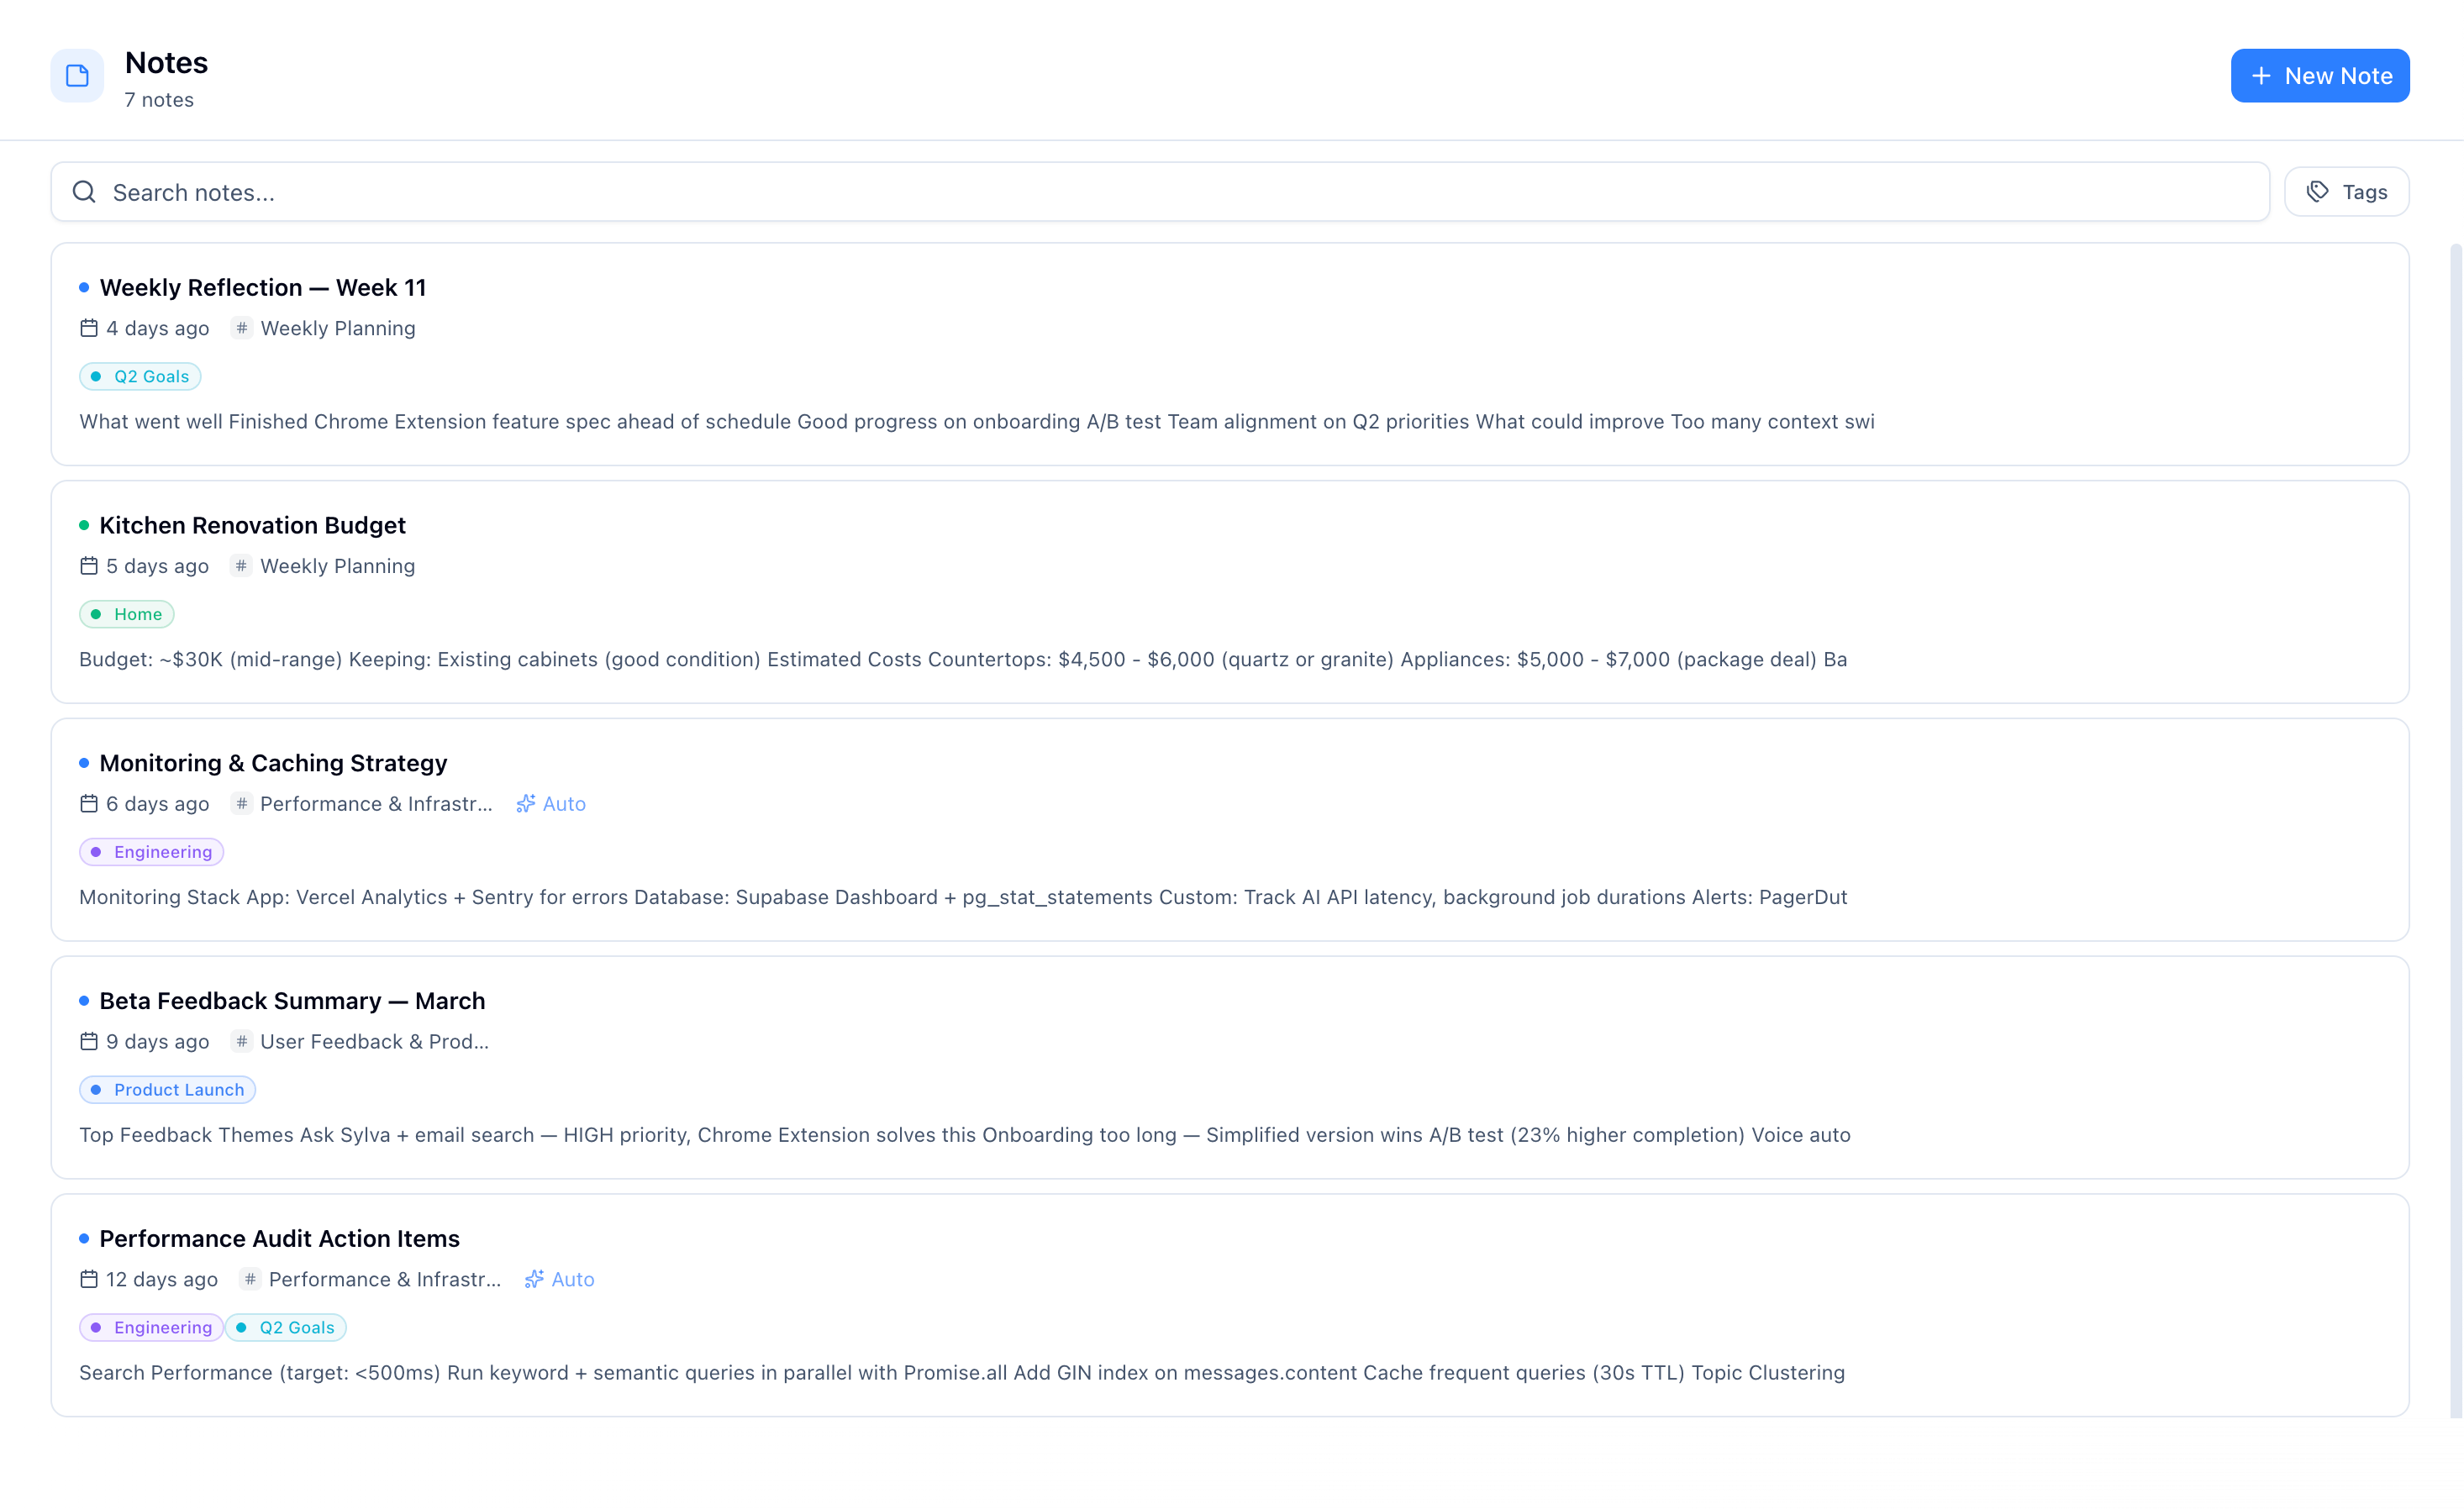
Browsing Notes
On the Notes page, you'll see your notes displayed as cards, each showing:
- The note title and a preview of its content
- When it was created
- Where it came from (which topic or thread)
- An Auto badge if it was generated by Sylva (notes you write yourself won't have this badge)
Notes respect your context filter — switch between Work, Personal, or All to see only the notes that belong to that context.
Searching and Filtering Notes
Use the search bar at the top of the Notes page to find notes by keyword. Search looks across note titles and content, so you can quickly locate that decision or takeaway you're looking for.

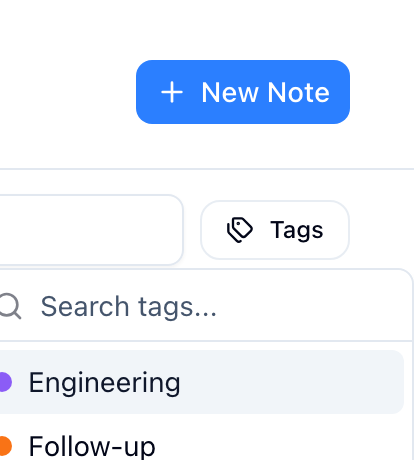
Next to the search bar, there's a tag filter button. Click it to filter notes by one or more tags — only notes with matching tags will be shown. This is especially useful when you've tagged notes by project or topic and want to focus on just one area.
Click on any note card to open its full content in a detail view where you can read, edit, or export it.
Creating and Editing Notes
To create a new note, click the New Note button at the top of the Notes page. This opens a full-page editor where you can give your note a title and start writing.


The editor gives you two ways to format your content:
- Visual editor — A toolbar at the top lets you format text without knowing any special syntax. You'll find buttons for headings, bold, italic, strikethrough, bullet lists, numbered lists, task lists (with checkboxes), blockquotes, code blocks, and horizontal rules.
- Markdown shortcuts — If you're comfortable with markdown, you can type formatting directly. For example, type
##to start a heading,**text**to bold,-to start a bullet list, or`code`for inline code. The editor converts these as you type. - Source mode — Click the code icon on the far right of the toolbar to switch to raw markdown view. This shows the plain markdown text so you can edit it directly. Click the icon again to switch back to the visual editor.
Tags — Below the title, you'll see a tag picker button. Click it to assign tags to your note. Selected tags appear as colored badges next to the picker. Tags are saved automatically along with your content.
Auto-save — Your changes save automatically as you type (including tag changes). You'll see a "Saving..." indicator in the top corner, followed by "Saved" once complete. You can also press Cmd+S (Mac) or Ctrl+S (Windows) to force an immediate save.
Editing existing notes — Open any note and click the Edit button to modify it. This works for both notes you wrote yourself and notes that Sylva generated automatically.