Sylva's Intake System lets you push data in from the tools you already use — email, GitHub, any app with an API, or your device's share sheet — so everything lands in one place without you having to copy-paste or context-switch.
Email Intake
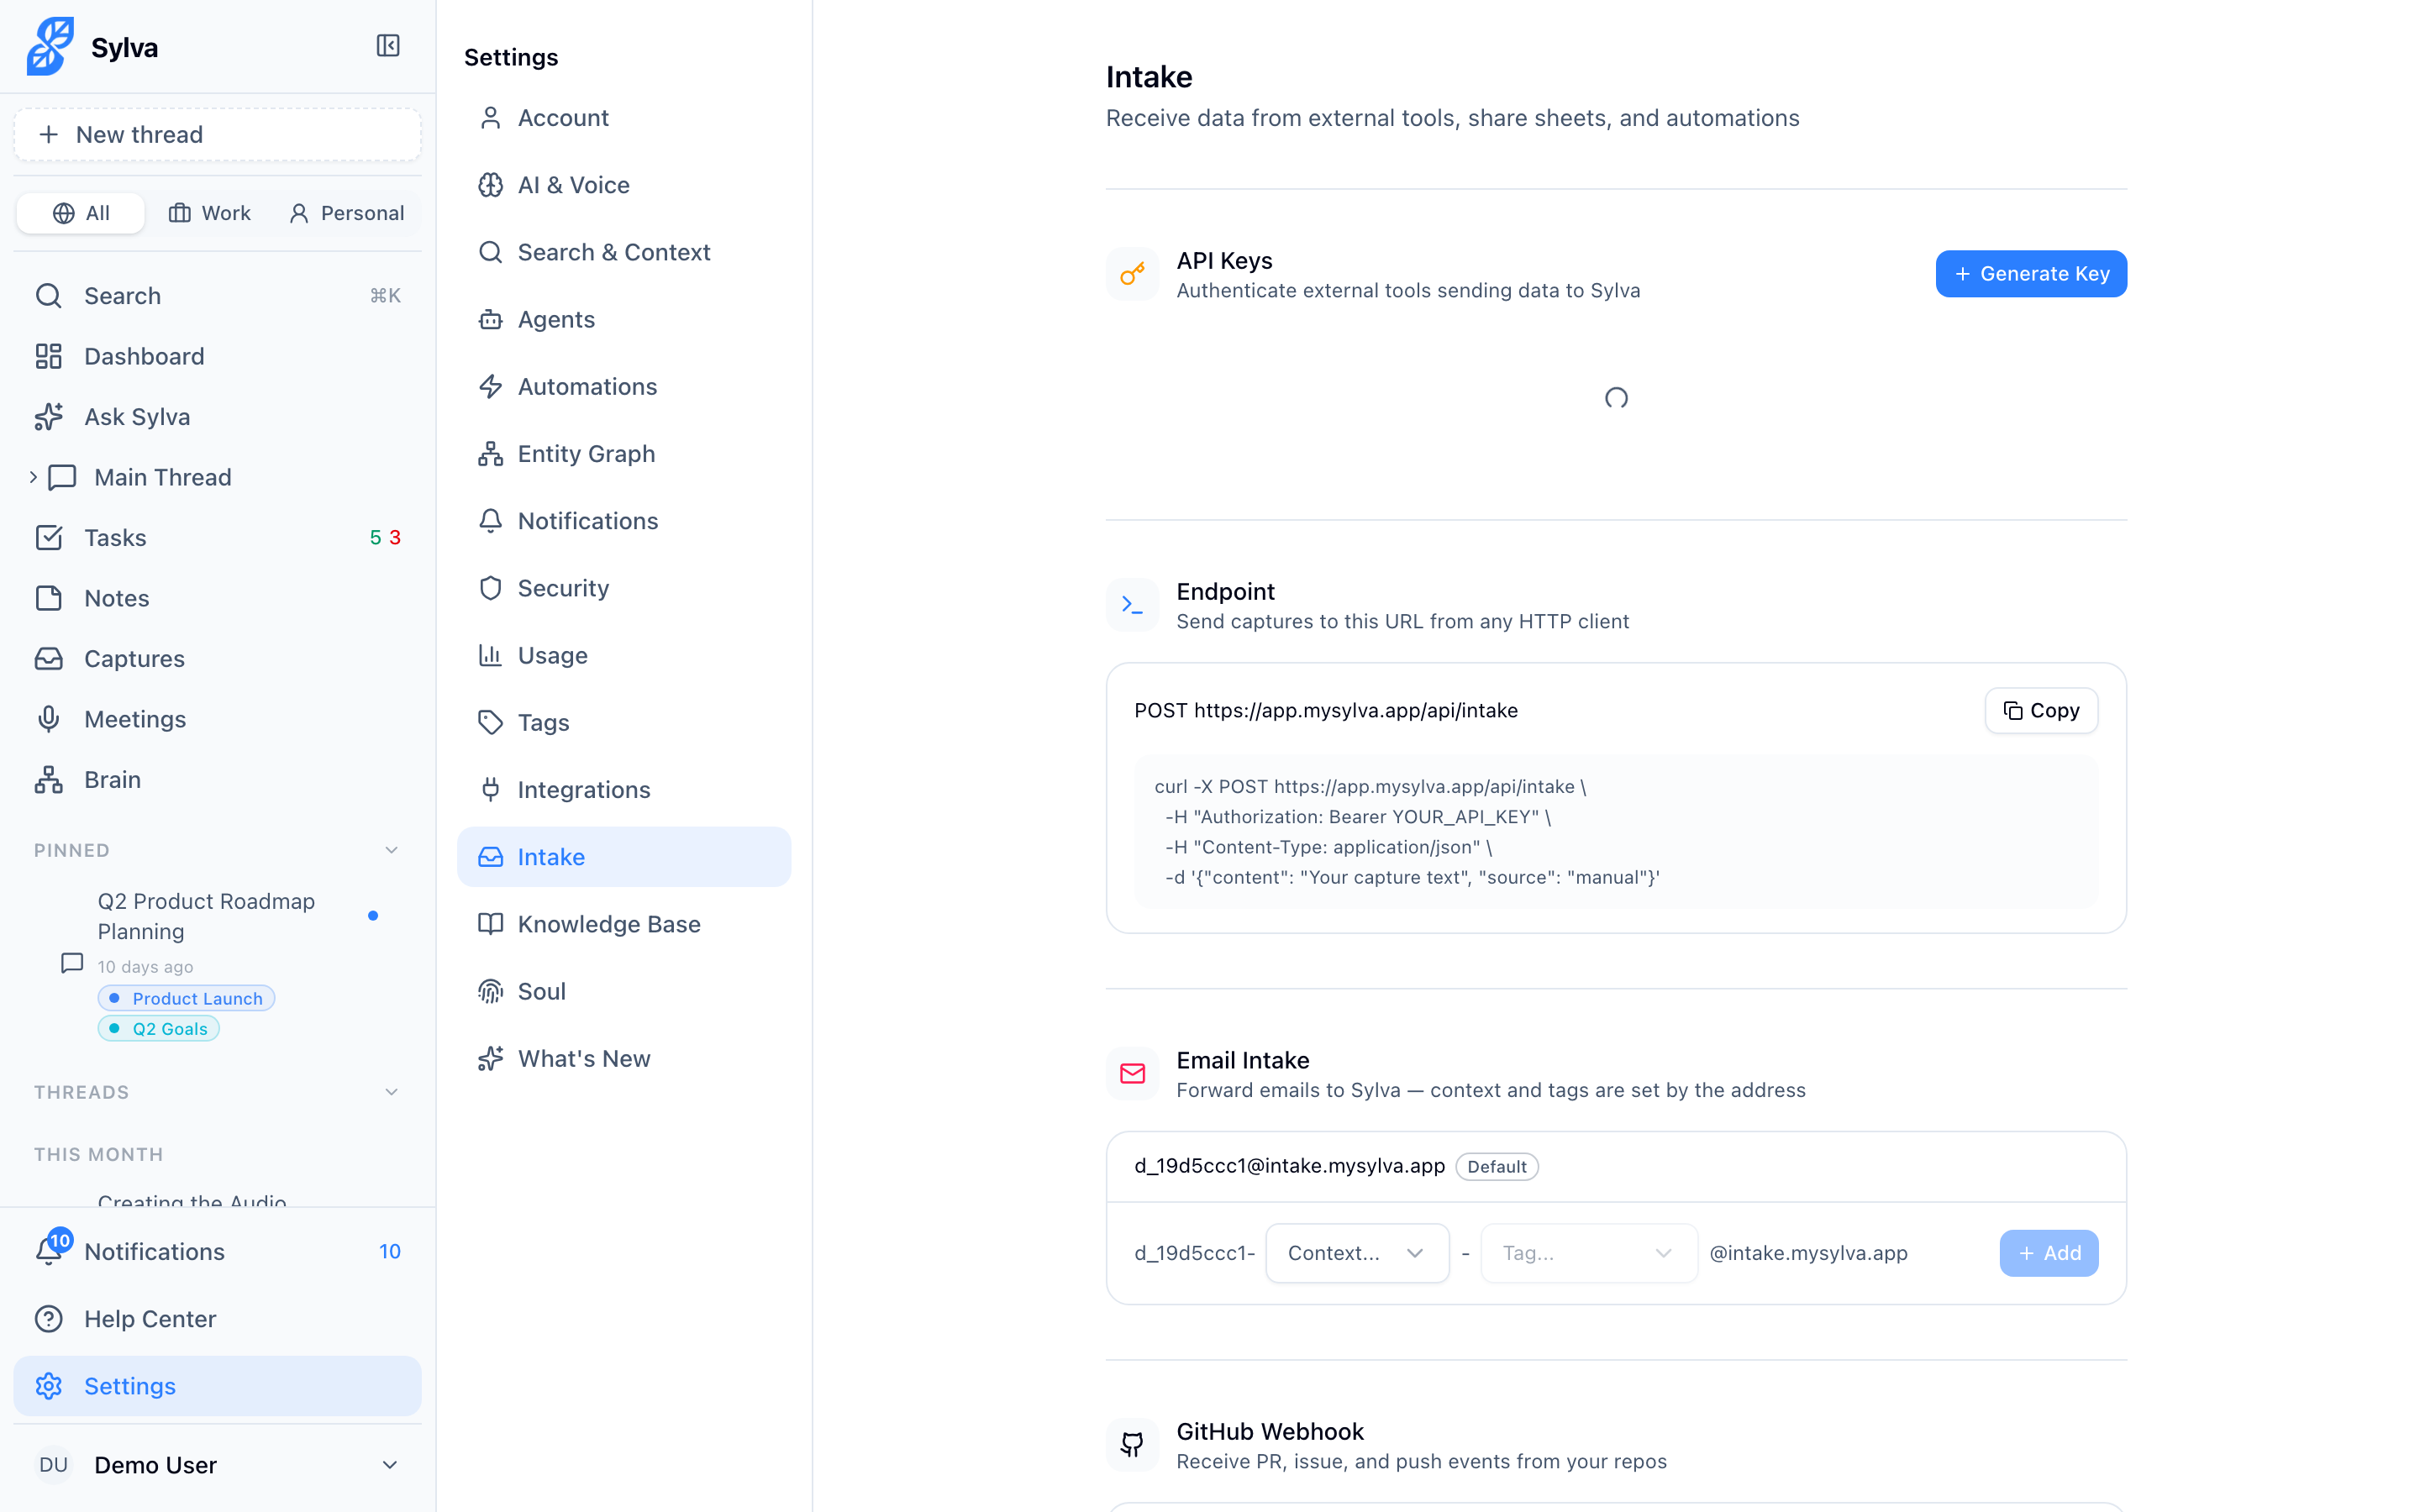
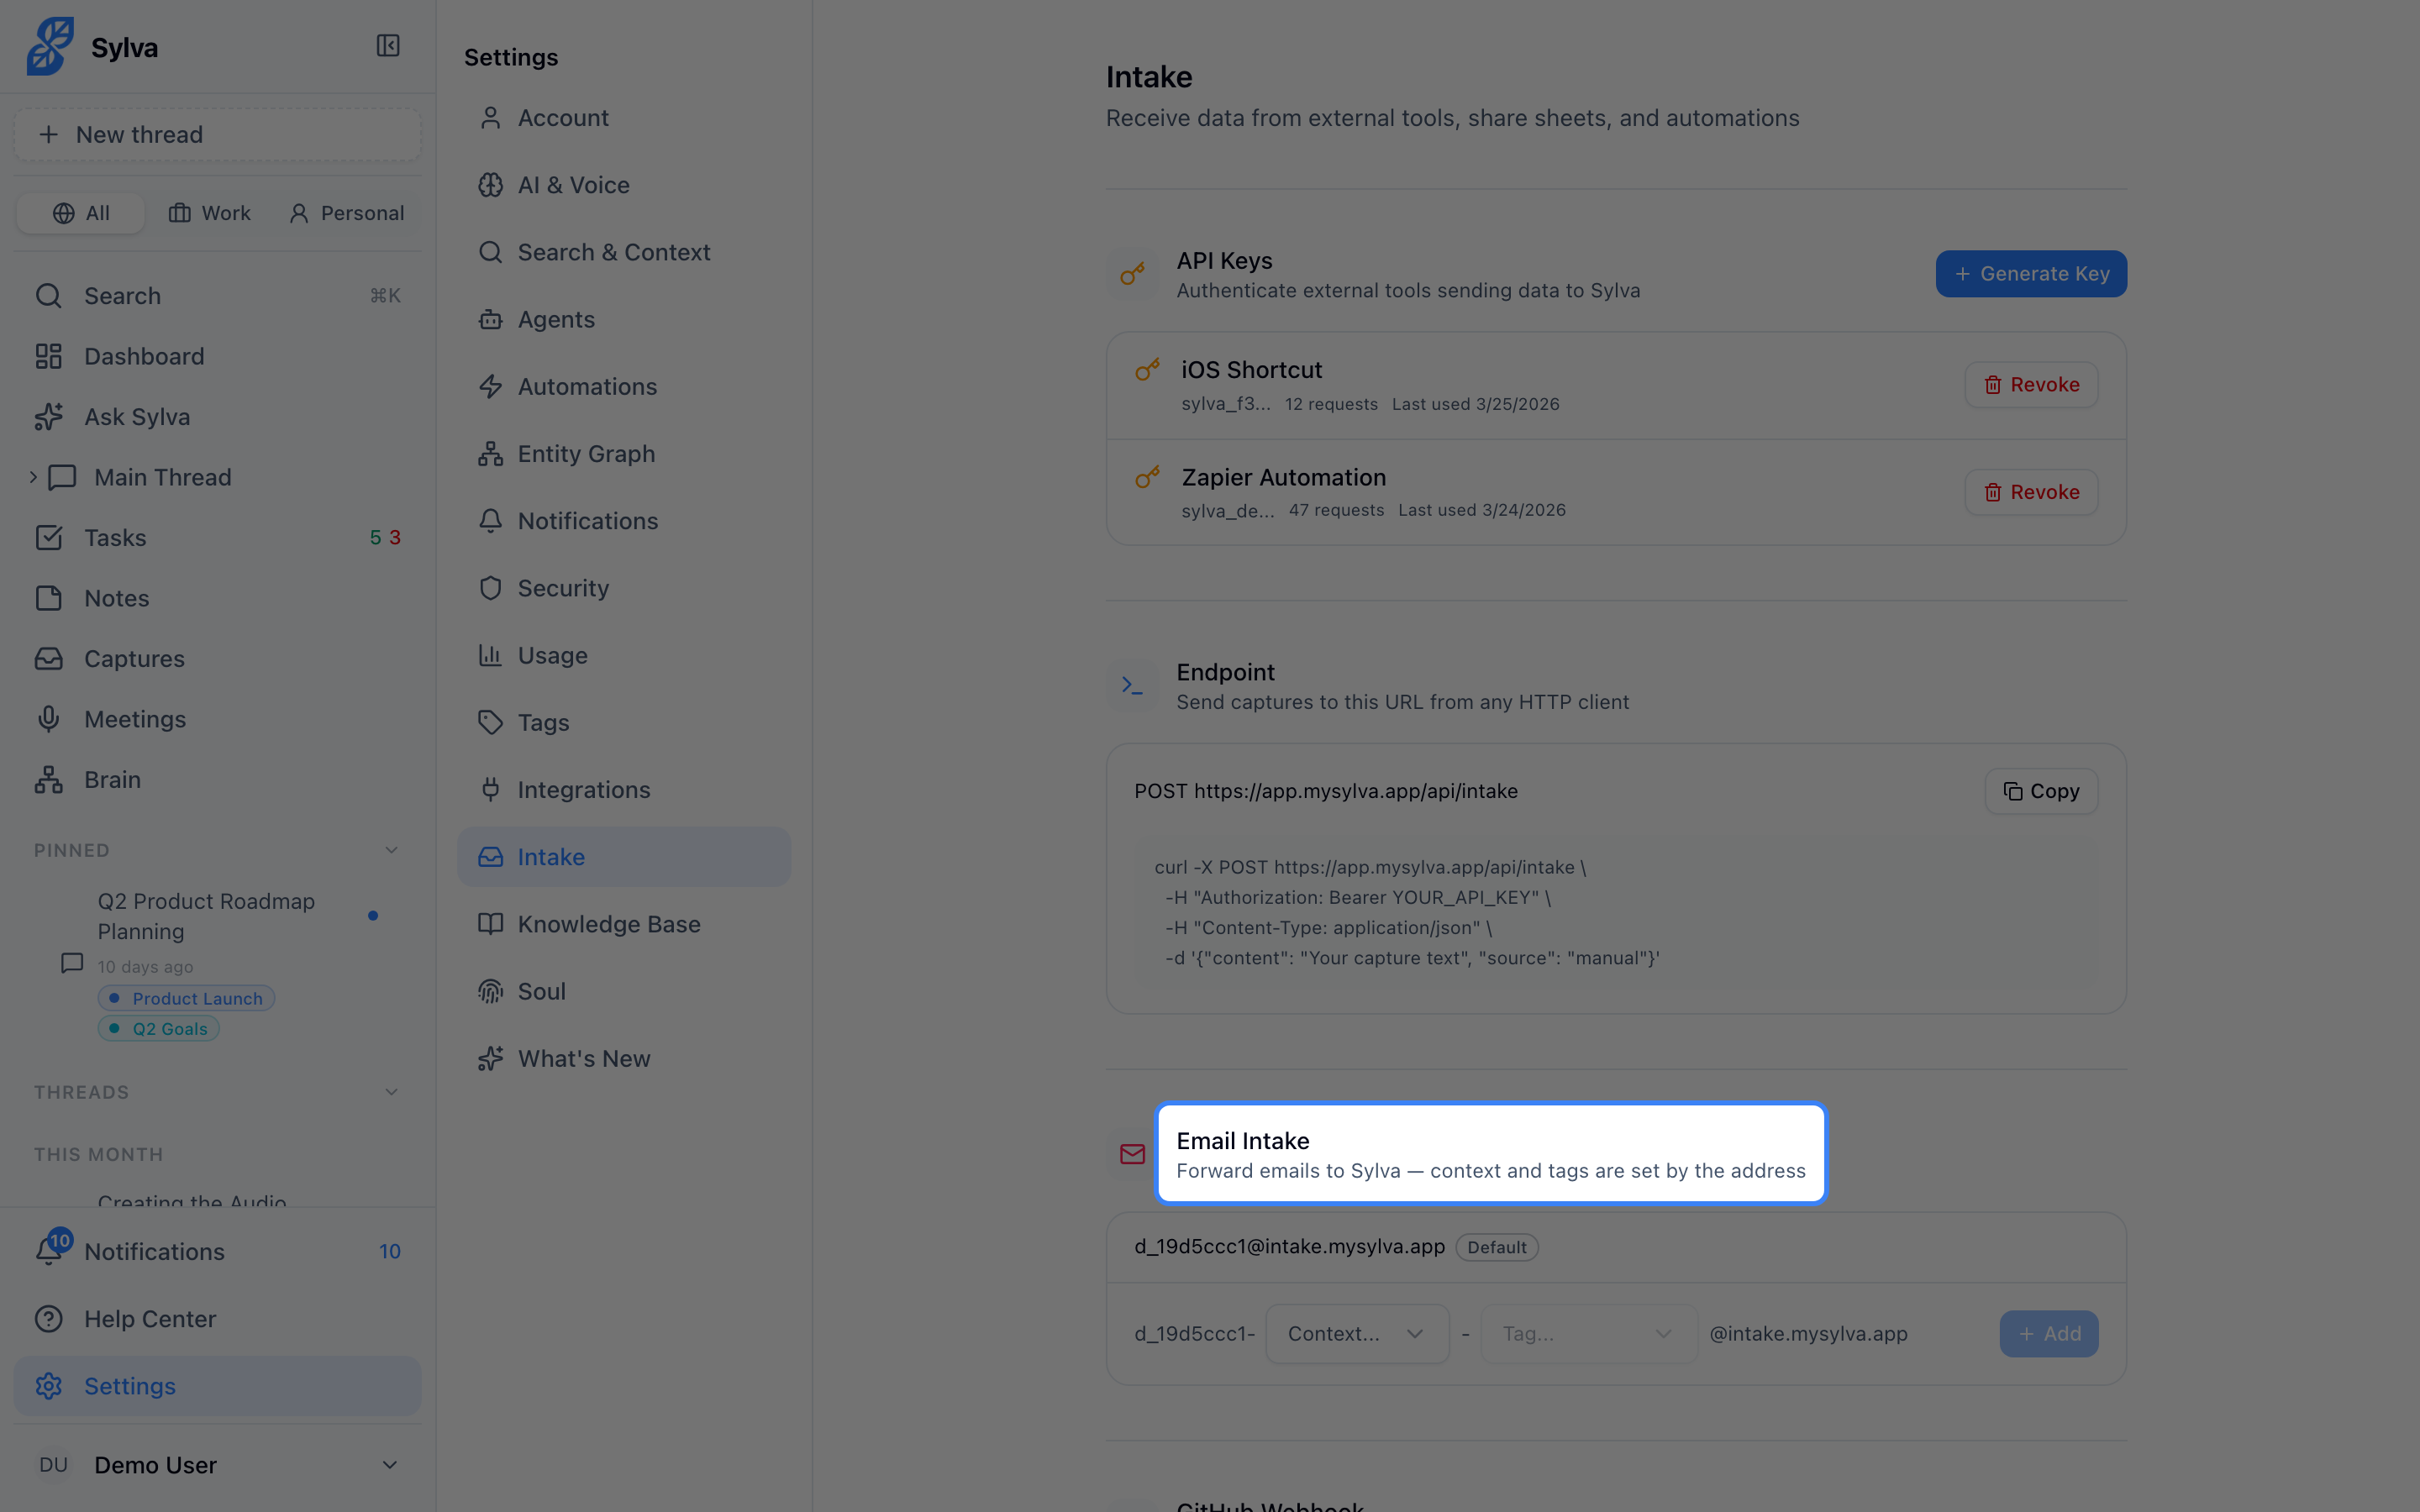
Every Sylva account gets a unique intake email address (something like j_abc123@intake.mysylva.app). Forward any email to this address and it appears as a capture in Sylva, ready to be searched, summarized, or turned into tasks.
To find your intake address, go to Settings > Intake and look for the Email Intake section. Copy the address and use it anywhere — set up auto-forwarding rules in Gmail or Outlook, forward individual threads manually, or add it as a BCC on outgoing messages you want to track.
Forwarded emails preserve the subject, body, and sender information. Sylva's AI processes them the same way it handles any other capture — you can ask questions about them in chat, extract tasks, or let them feed your knowledge base.
Rate limit: 100 emails per hour per intake address. If you exceed this, additional emails are queued and processed once the window resets.
GitHub Webhooks
Connect a GitHub repository to Sylva and relevant development activity flows in automatically — useful for staying on top of project progress without living in GitHub.
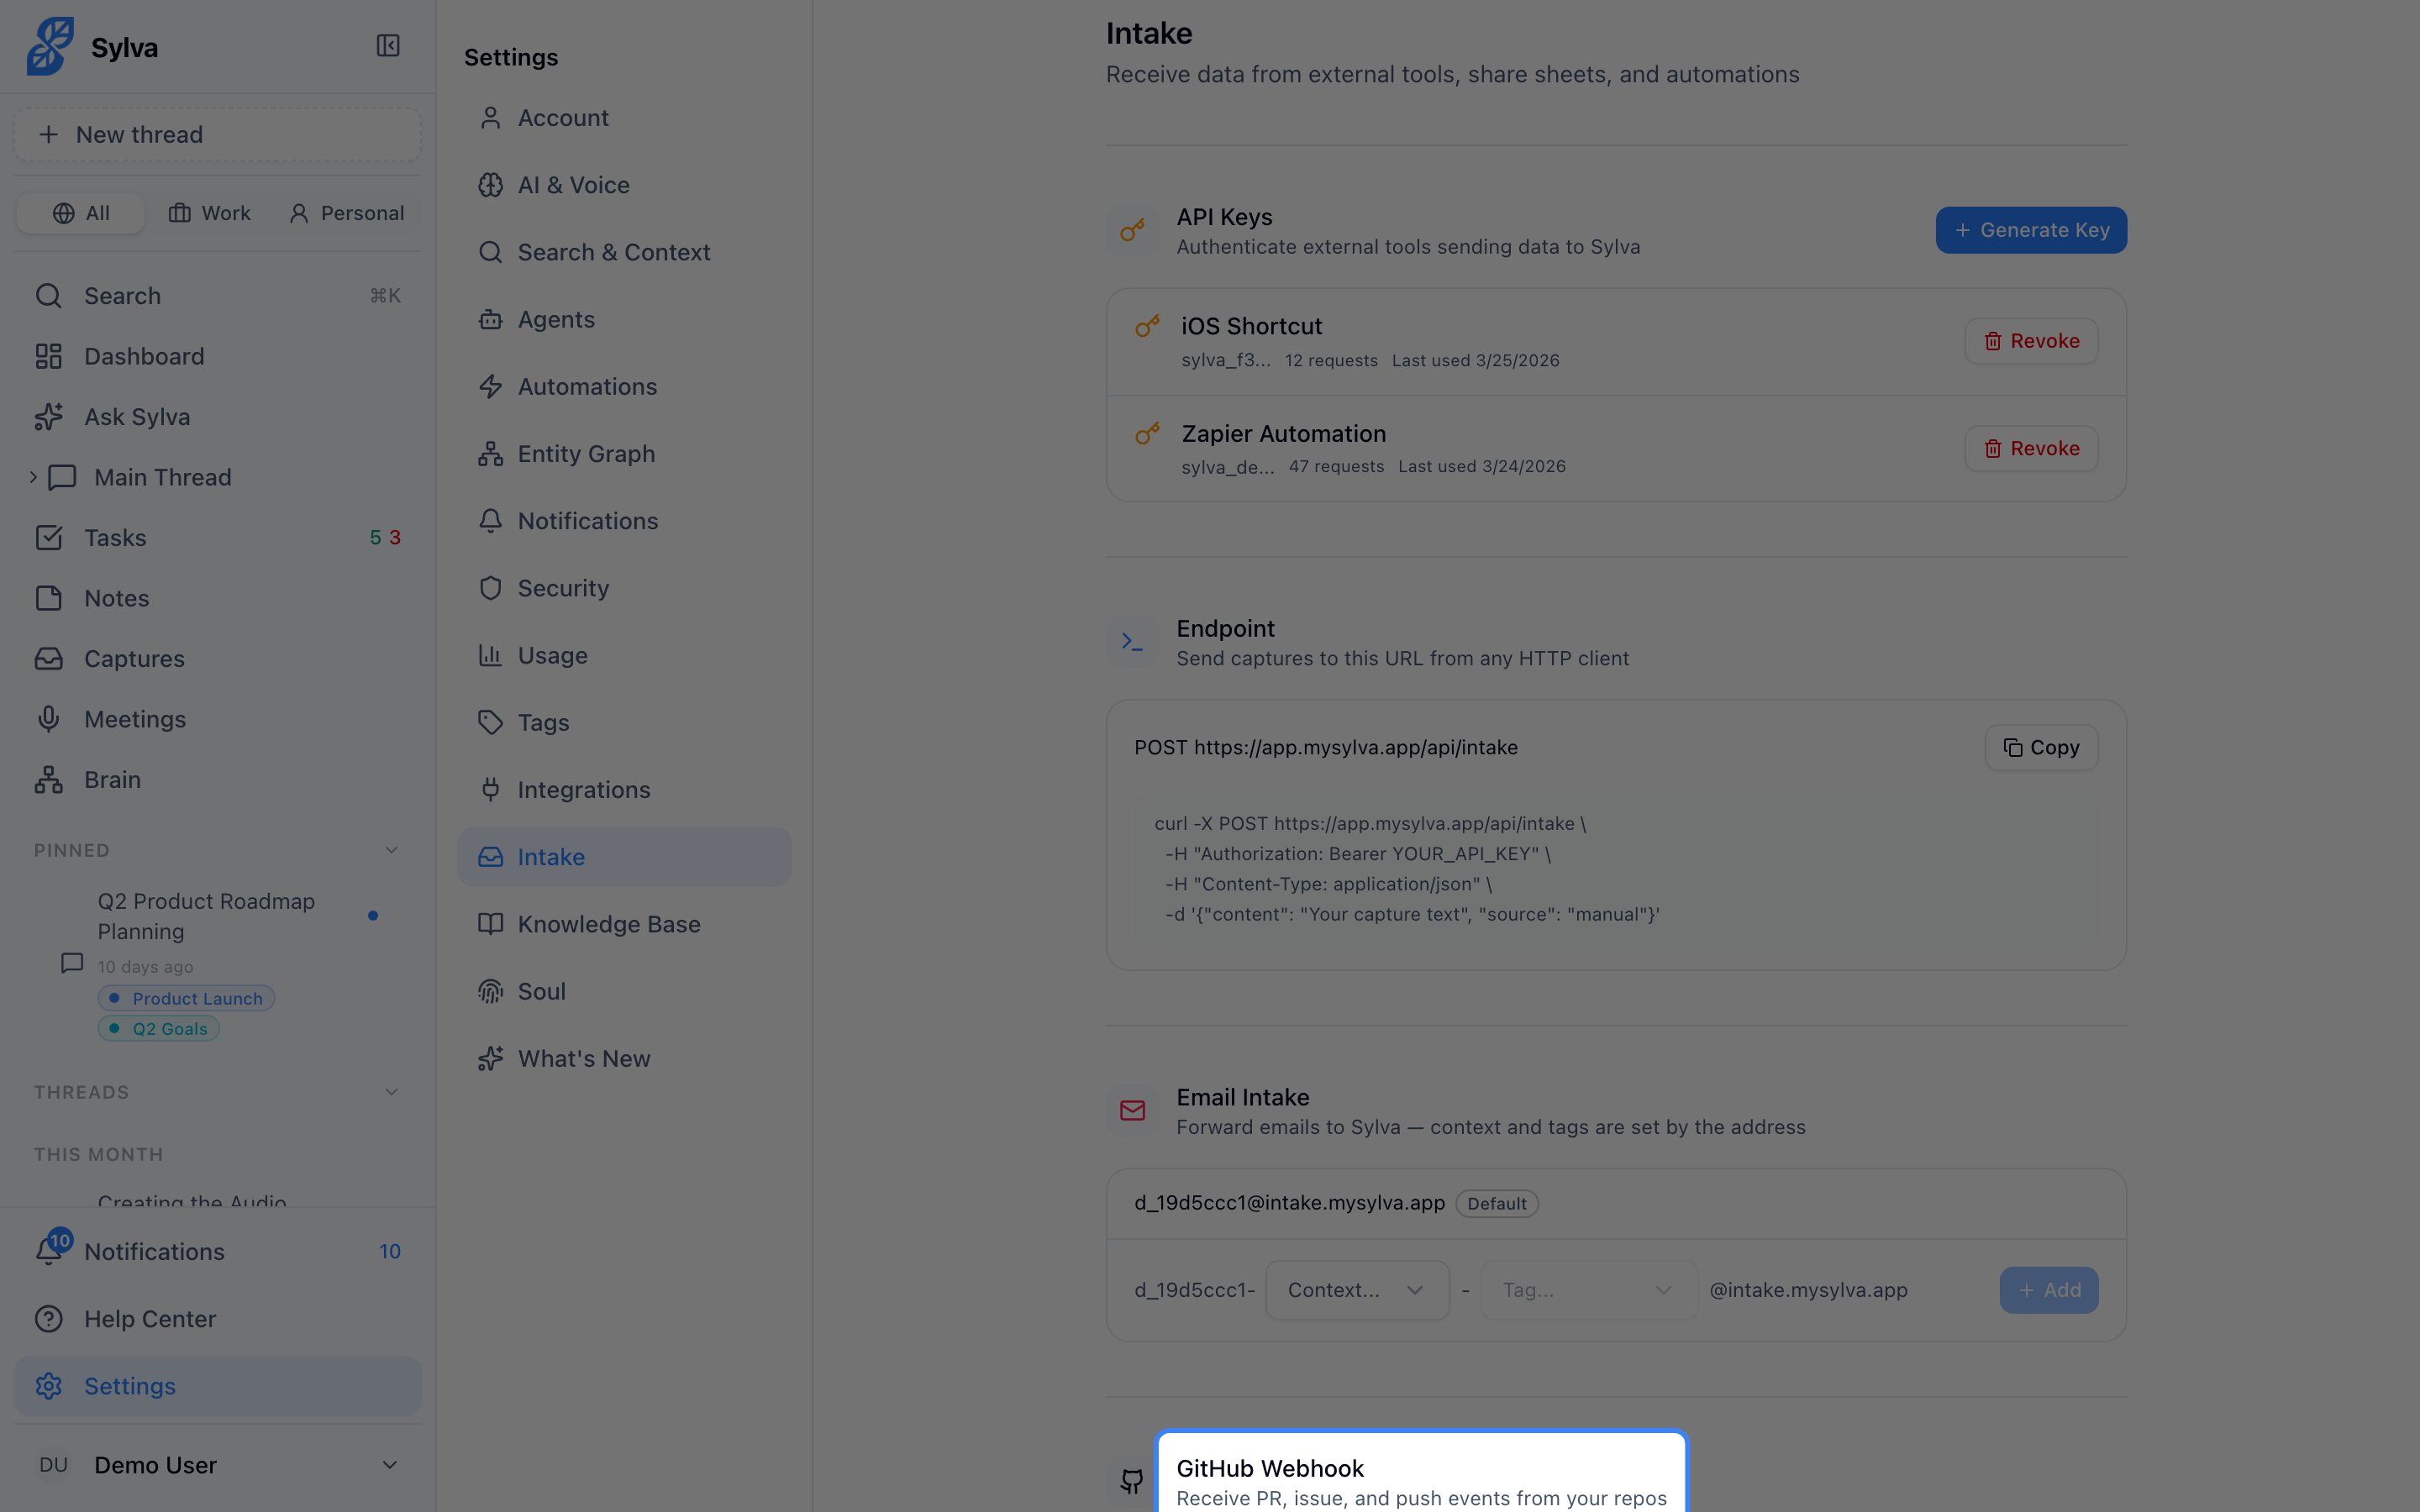
To set this up:
- Go to Settings > Intake and copy your GitHub webhook URL
- In your GitHub repository, go to Settings > Webhooks > Add webhook
- Paste the Sylva webhook URL into the Payload URL field
- Set Content type to
application/json - Choose Let me select individual events and enable the events you care about
- Click Add webhook
Supported events:
- Pull requests — opened, closed, merged, review requested
- Issues — opened, closed, labeled, assigned
- Issue comments — new comments on issues and PRs
- Pushes — commits pushed to any branch
- Releases — new releases published
Each event arrives as a capture in Sylva with structured metadata, so you can ask things like "What PRs were merged this week?" or "Are there any open issues assigned to me?"
REST API
For anything not covered by email or GitHub, the REST API lets you push custom captures into Sylva programmatically. Use it to connect internal tools, build automations, or pipe in data from services like Zapier or Make.
Creating API Keys
- Go to Settings > Intake
- Click Generate Key
- Give the key a descriptive name (e.g., "Zapier automation" or "CI pipeline")
- Copy the key immediately — it won't be shown again
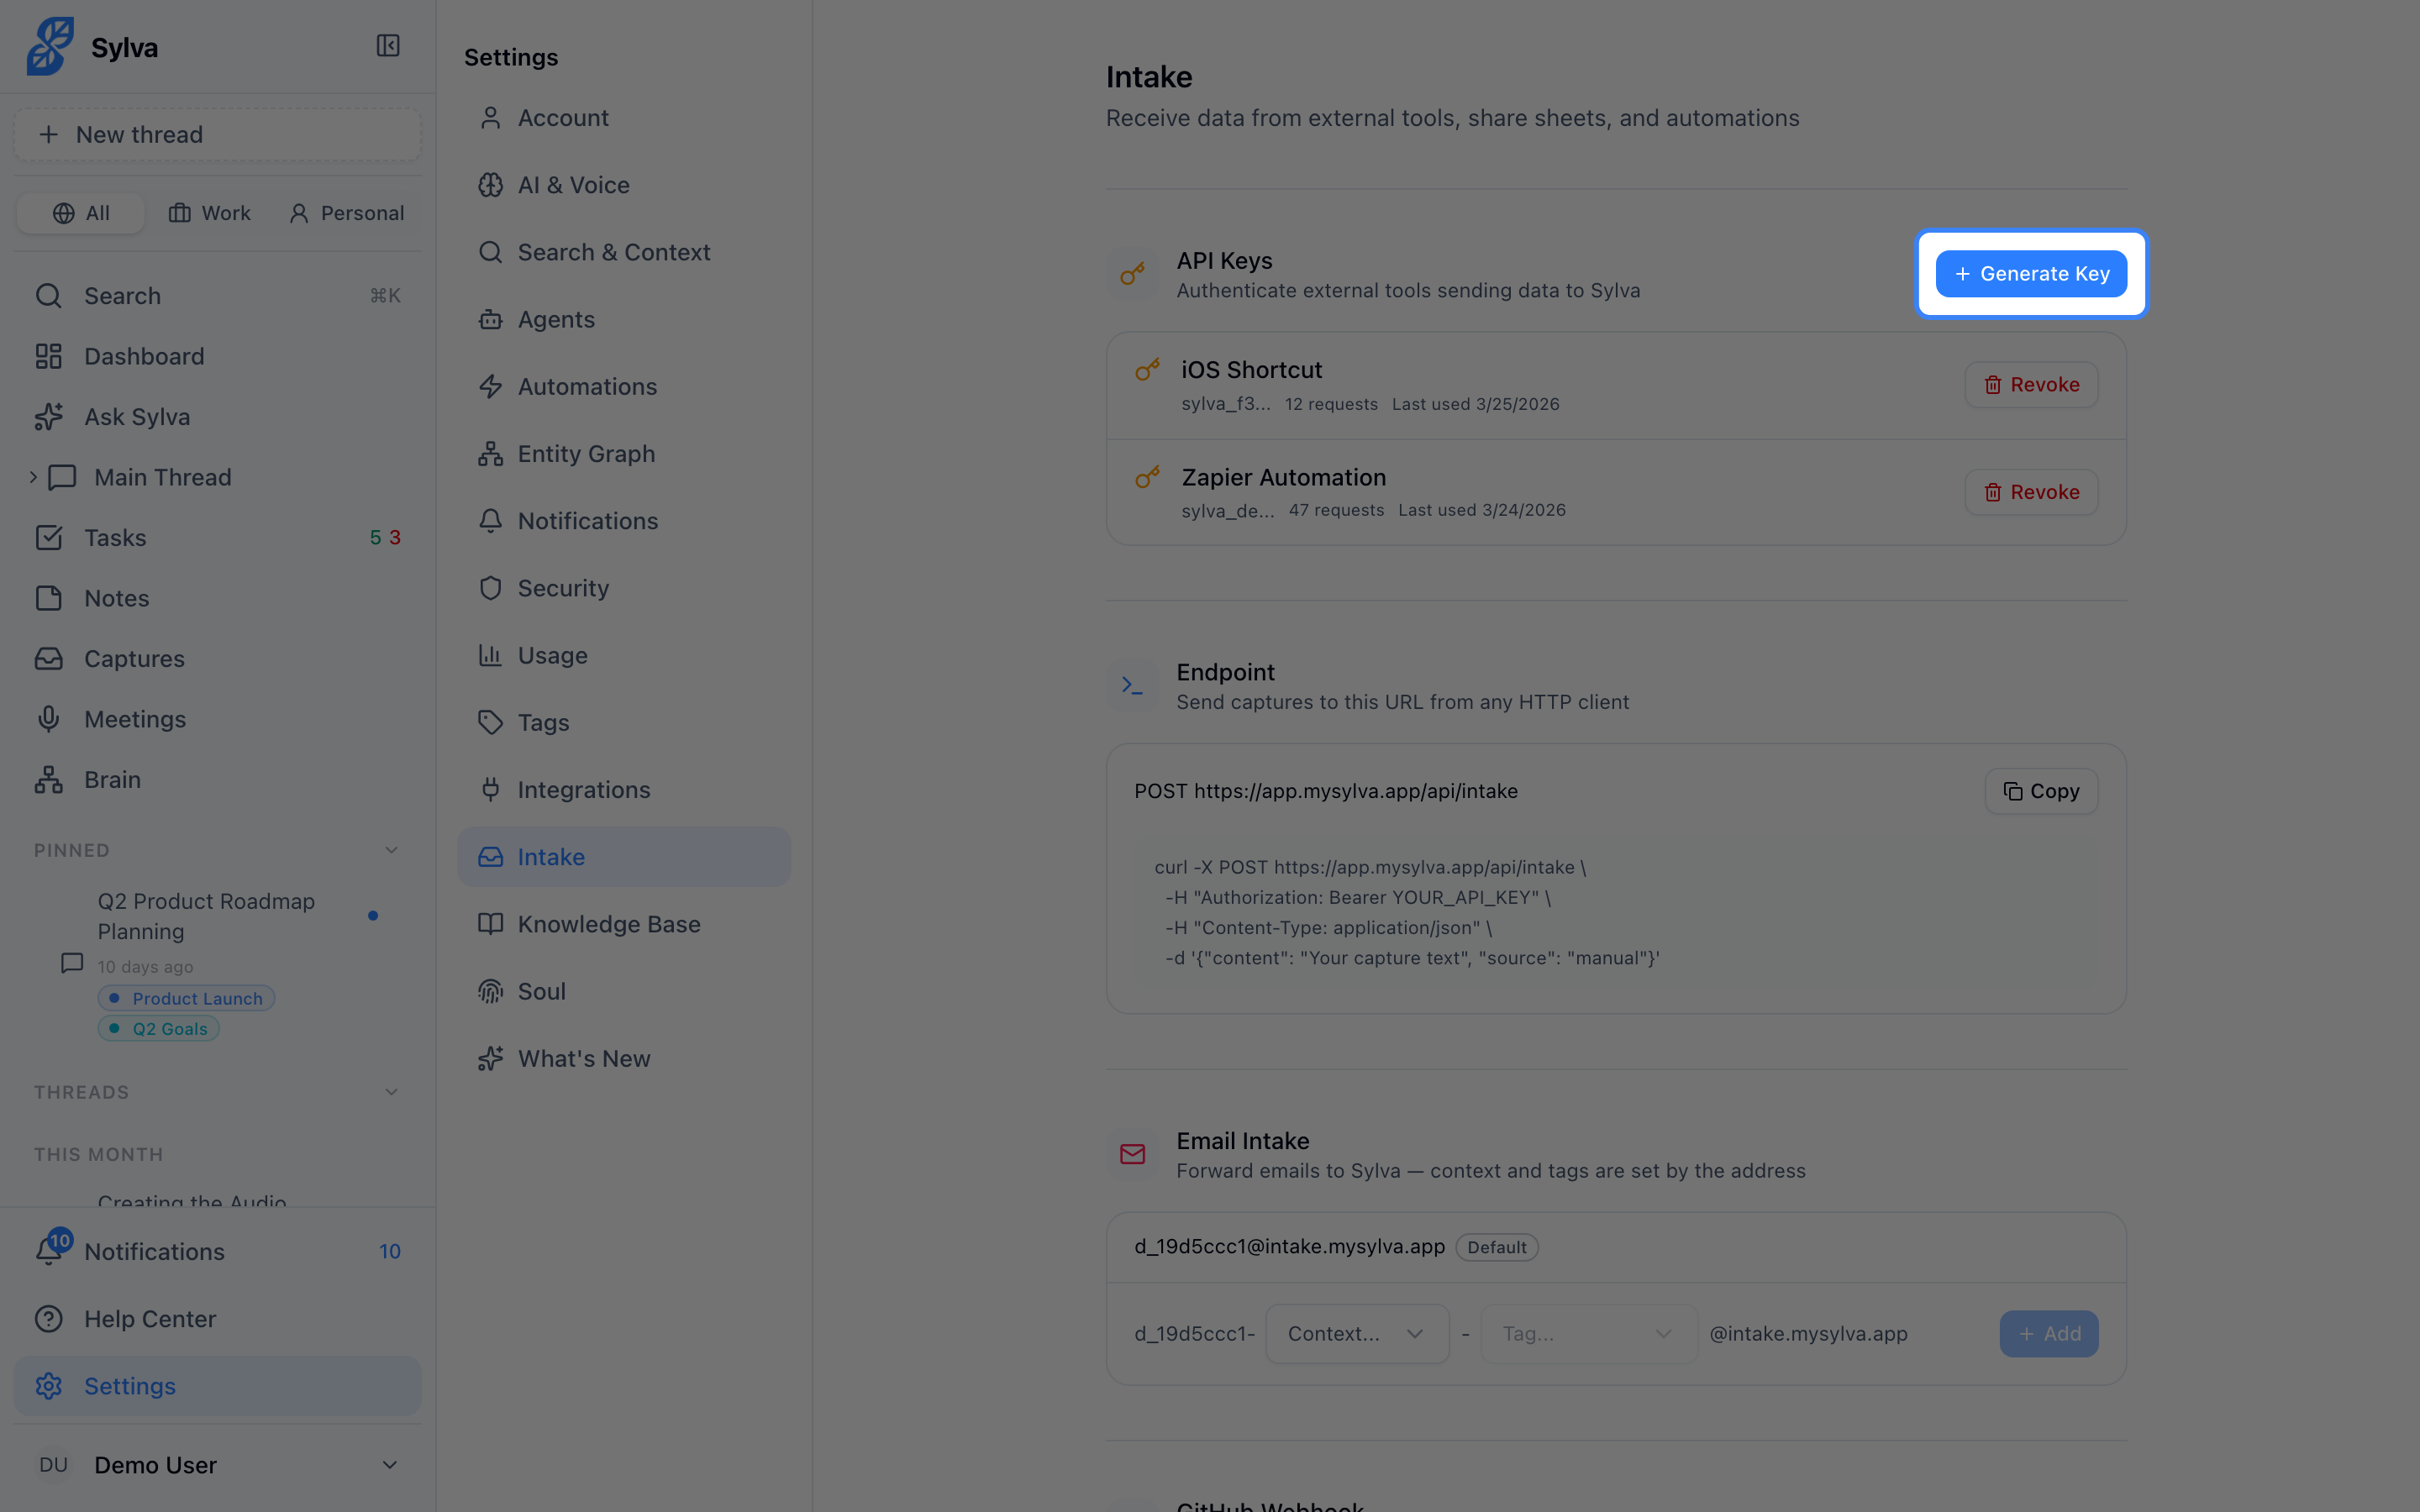
You can create multiple keys for different integrations and revoke any key at any time from the same page.
Sending Data
Send a POST request to /api/captures with your API key in the Authorization header:
bash
curl -X POST https://app.mysylva.app/api/captures
-H "Authorization: Bearer YOUR_API_KEY"
-H "Content-Type: application/json"
-d '{
"title": "Weekly metrics report",
"text": "Revenue up 12% WoW. Churn down to 3.1%.",
"url": "https://internal-dashboard.example.com/reports/42"
}'
The title field is required. Both text and url are optional but recommended — they give Sylva's AI more to work with when you search or ask questions later.
Rate limit: 1,000 requests per hour per API key. The response headers include X-RateLimit-Remaining so you can monitor usage programmatically.
PWA Share Target
When you install Sylva as a Progressive Web App on your device, it registers as a share target in your operating system's share sheet. This means you can share content to Sylva from virtually anywhere — your browser, file manager, photo gallery, or any app that supports the system share action.
Supported content:
- Web pages — shares the page title and URL
- Text — shares plain text content
- Images — JPEG, PNG, GIF, WebP, SVG
- Documents — PDF and plain text files
To use it, tap or click the share button in any app, select Sylva from the share sheet, and the content is sent directly into your captures. No copy-pasting, no switching apps.
Monitoring Activity
The Recent Activity section at the bottom of Settings > Intake shows a log of all incoming intake events — emails received, webhook deliveries, API calls, and shared files. Each entry shows the source, timestamp, and processing status (success or failure).
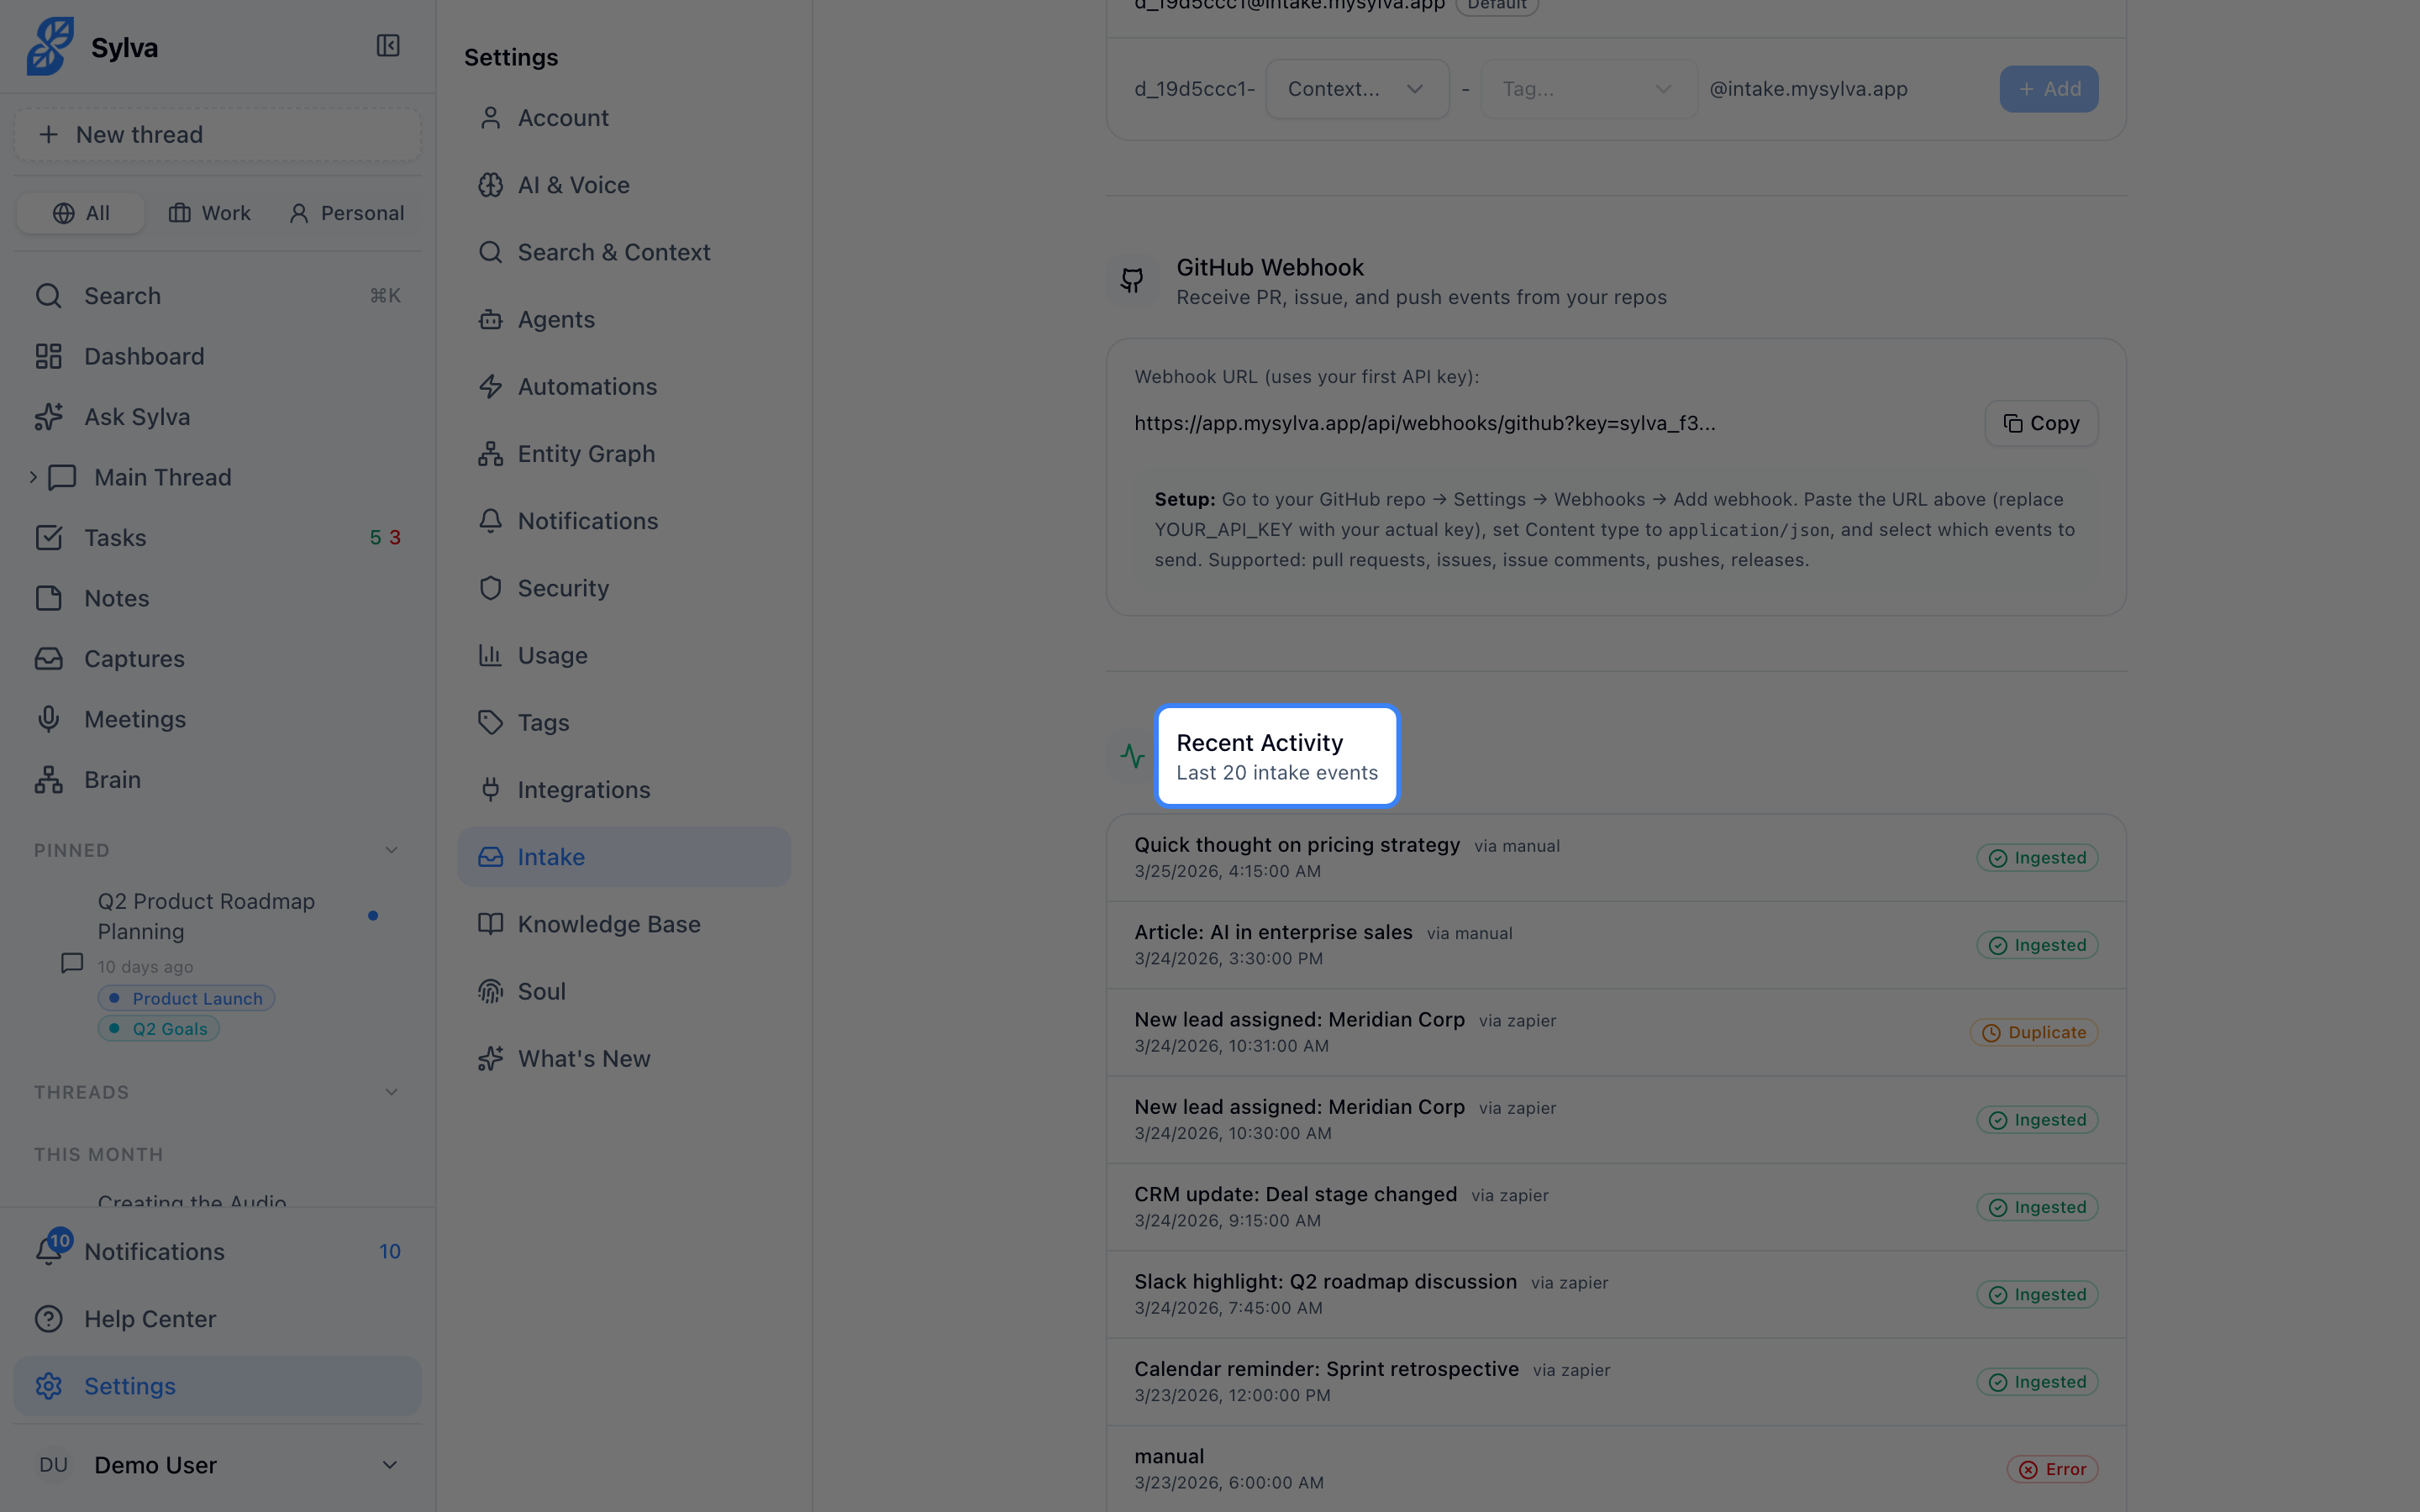
This is the first place to check if something you sent doesn't seem to be arriving. Failed deliveries include error details to help you troubleshoot.
Enabling the Intake System
The Intake System is controlled by a feature flag. If you don't see the Intake option under Settings, go to Settings > Admin and enable Intake API. Once enabled, the full intake configuration page — API keys, email address, webhook URLs, and activity log — becomes available.