Sylva's intake system lets you push information in from other tools — via API, email, or webhooks — so everything you need to track lands in one place without manual copy-pasting.
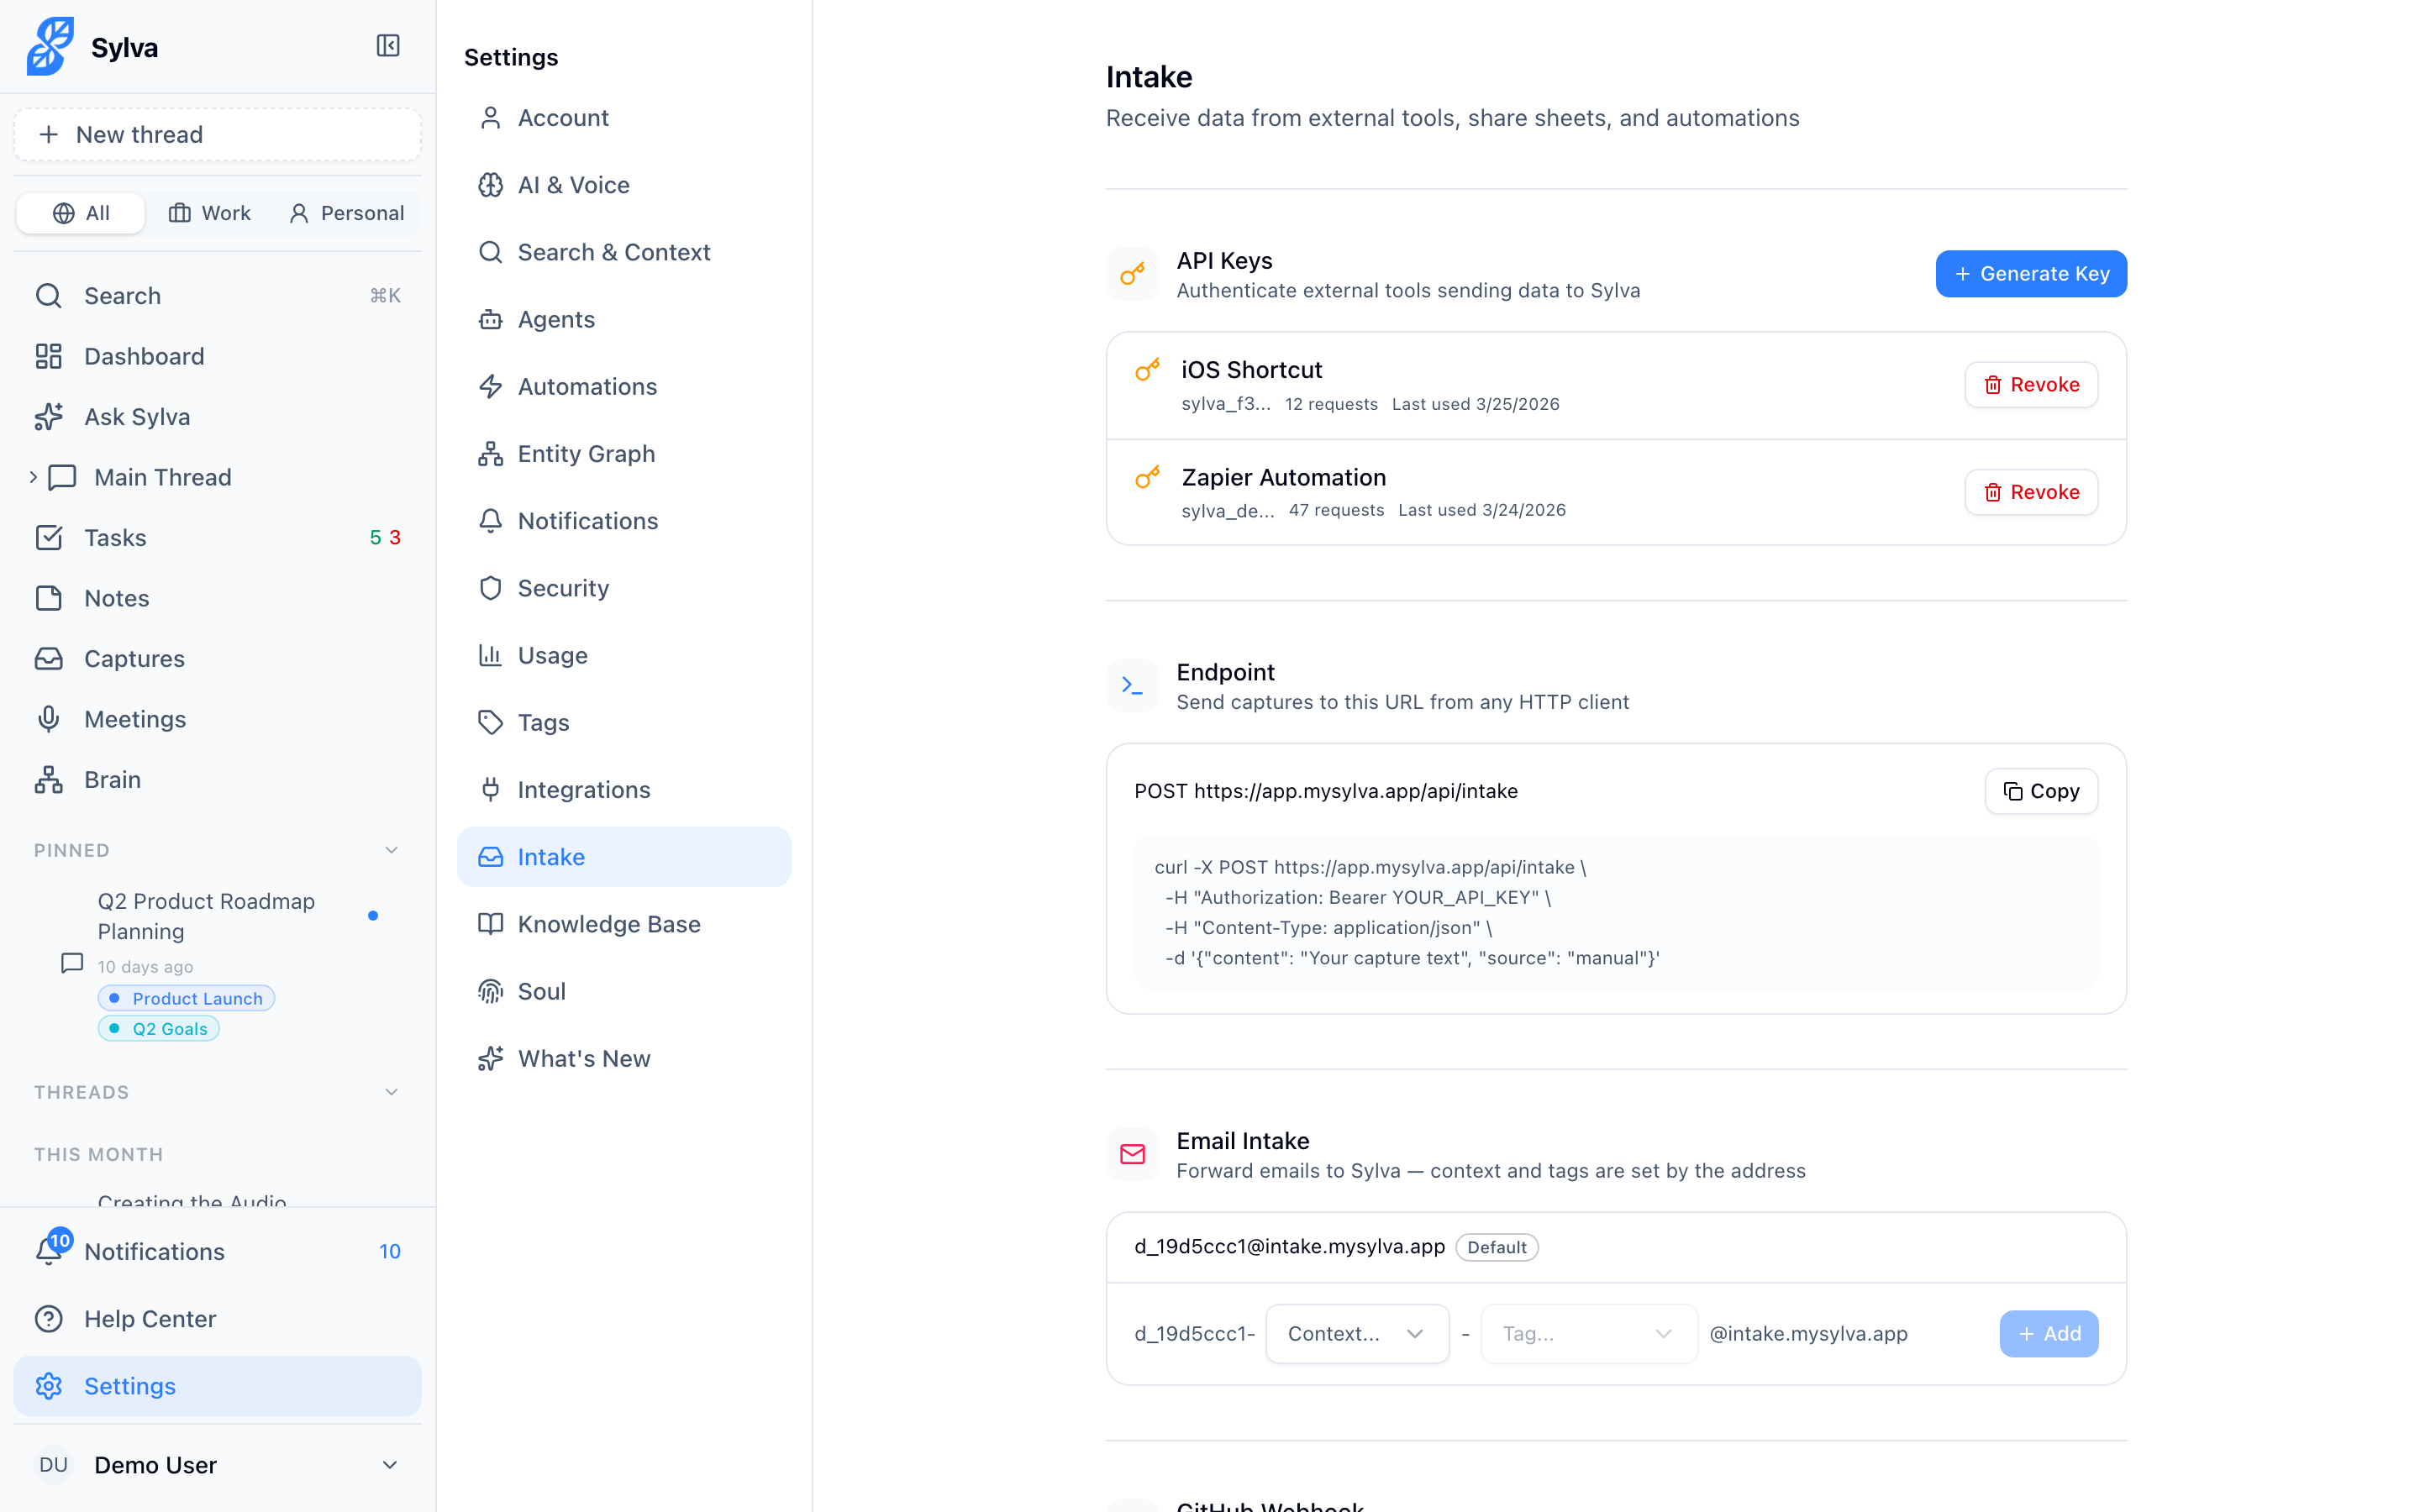
API Keys
API keys let you send data to Sylva programmatically — from scripts, automations, or any tool that can make HTTP requests.
To generate and manage API keys:
- Go to Settings > Integrations
- In the API Keys section, click Generate New Key
- Give the key a descriptive name (e.g., "Zapier automation" or "Internal script") so you can identify it later
- Copy the key immediately — Sylva only displays it once
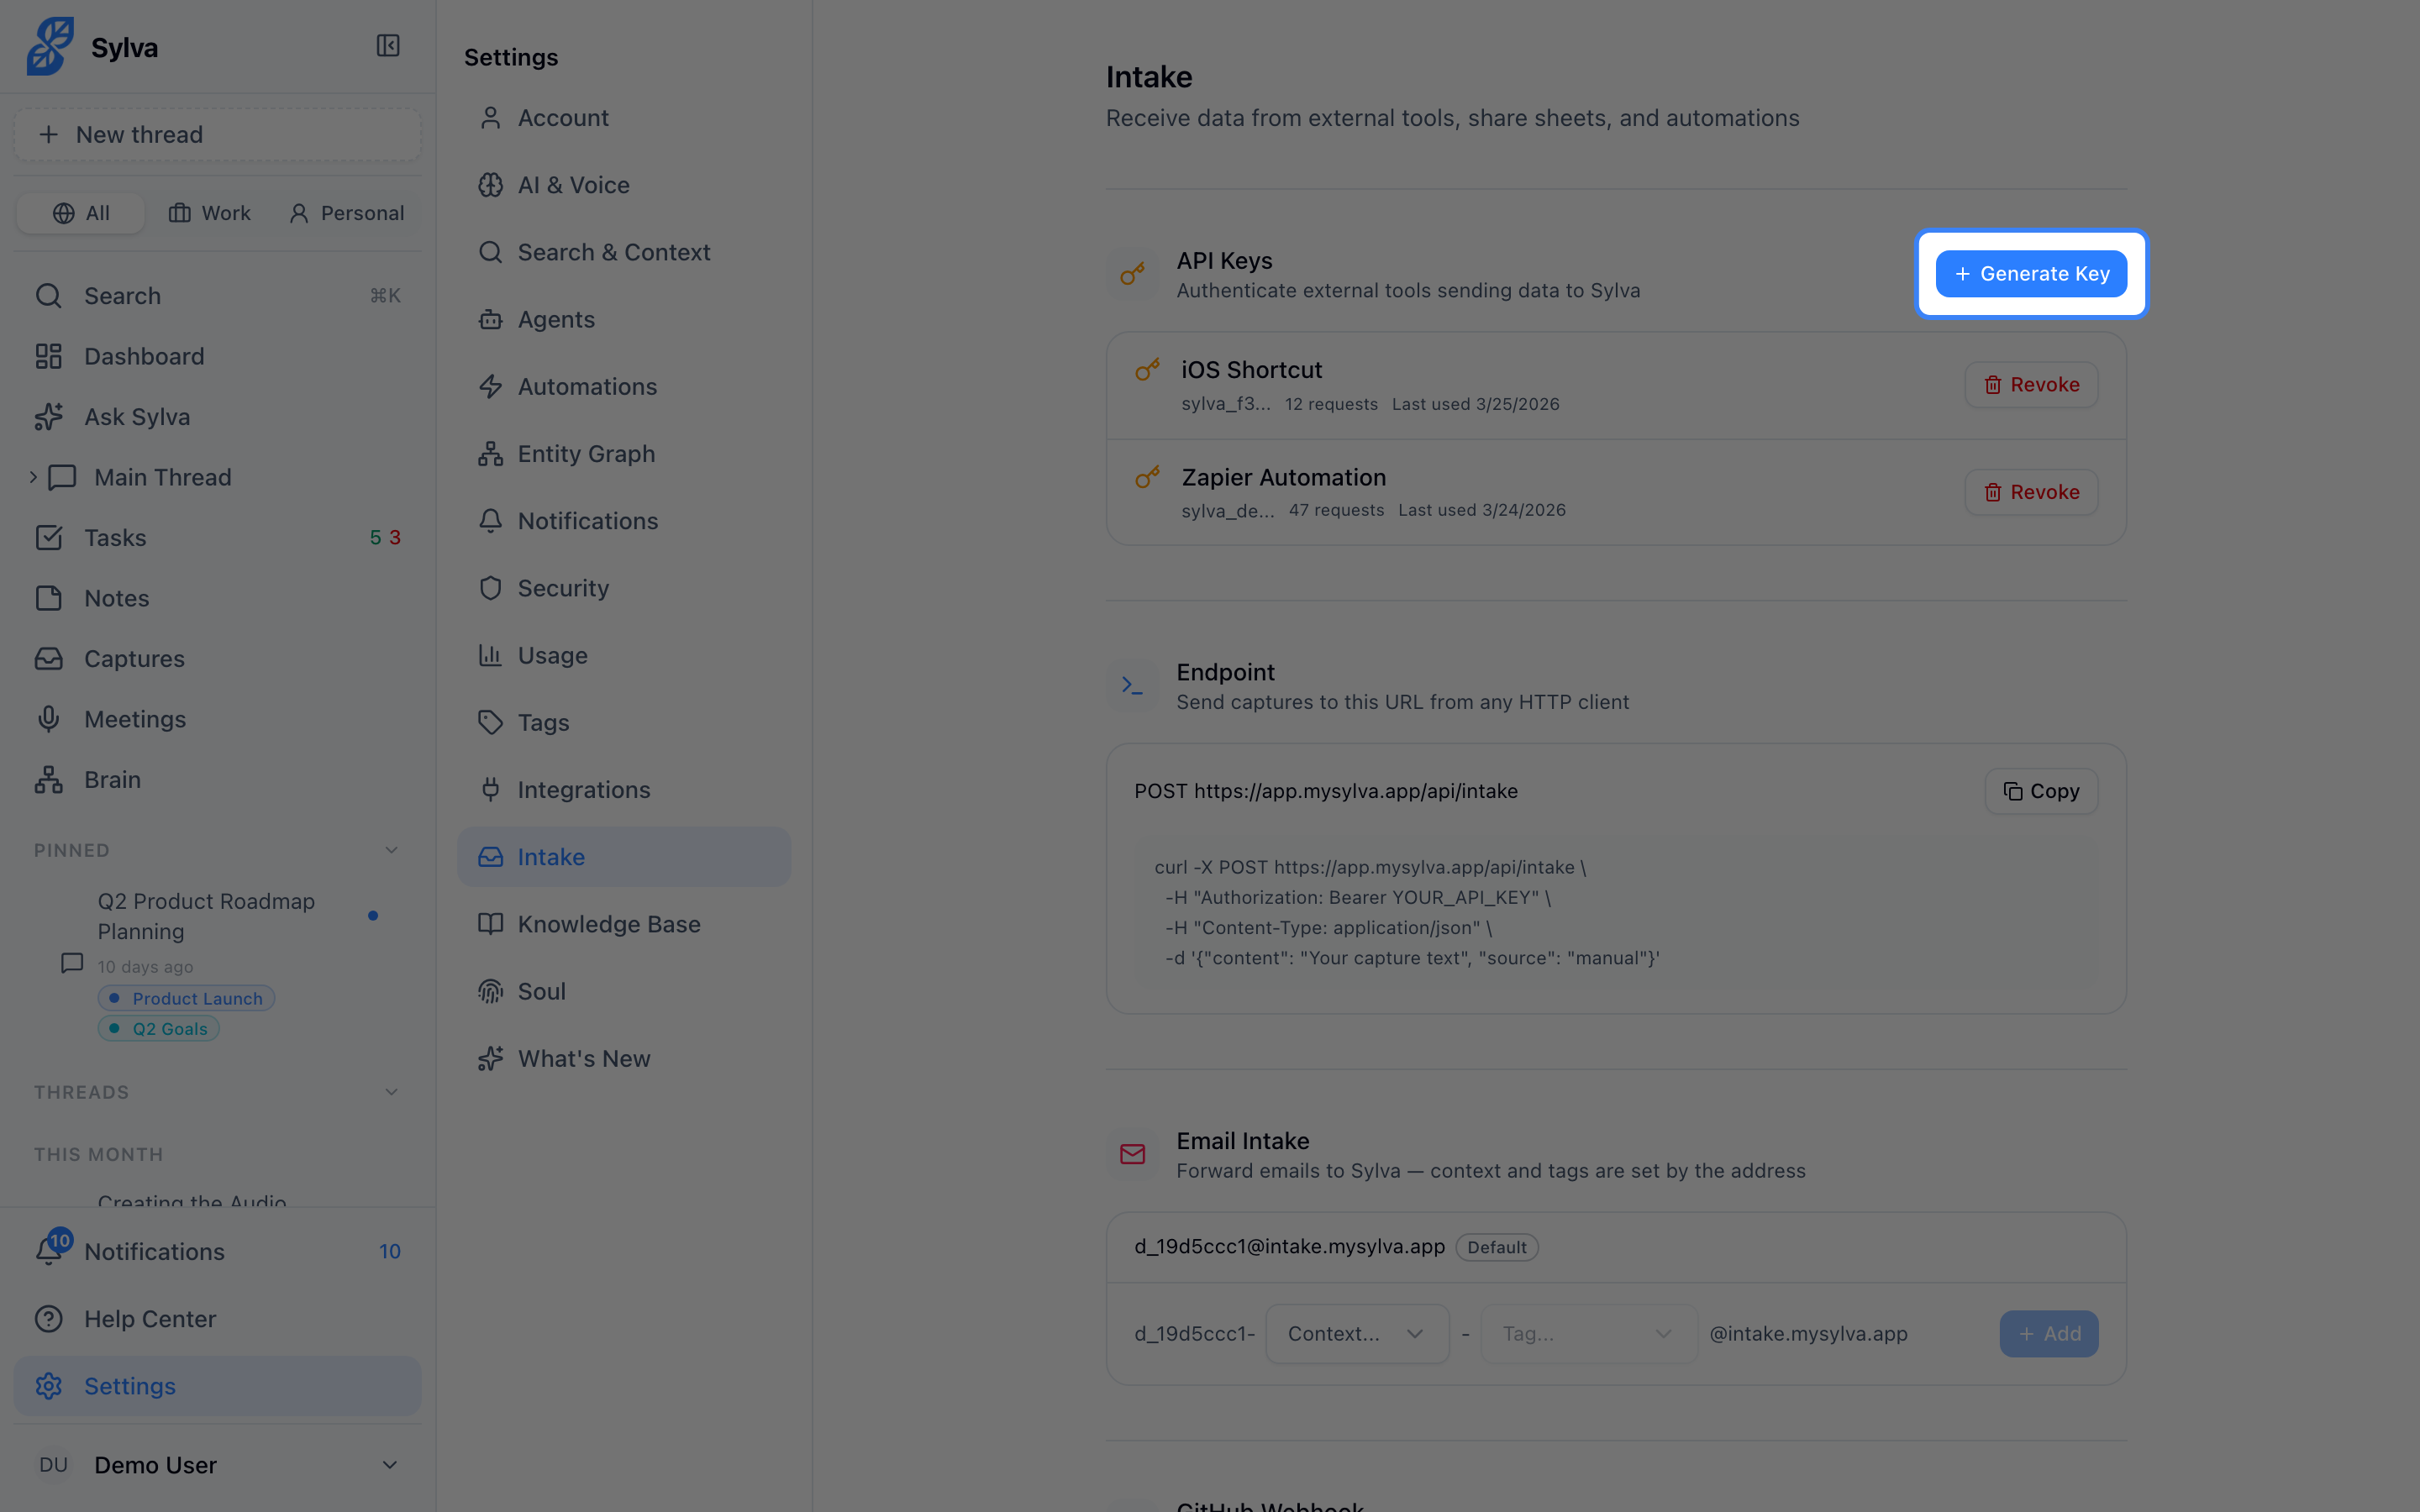
Each key is scoped to your account. You can have multiple active keys at once, which is useful when different services need independent access. To revoke a key, click the Delete button next to it in the key list. Revocation is instant — any request using that key will fail immediately.
Use the key by including it in the Authorization header of your requests:
Authorization: Bearer YOUR_API_KEY
The primary endpoint for sending data in is POST /api/captures. Send a JSON body with a captures array containing one or more items, each with source, content, and optionally title, source_url, context (work or personal), and captured_at.
Email Intake
Email intake gives you a unique Sylva email address you can forward messages to — or use as a destination in email rules and filters. Anything sent to that address becomes a capture in your Sylva account.
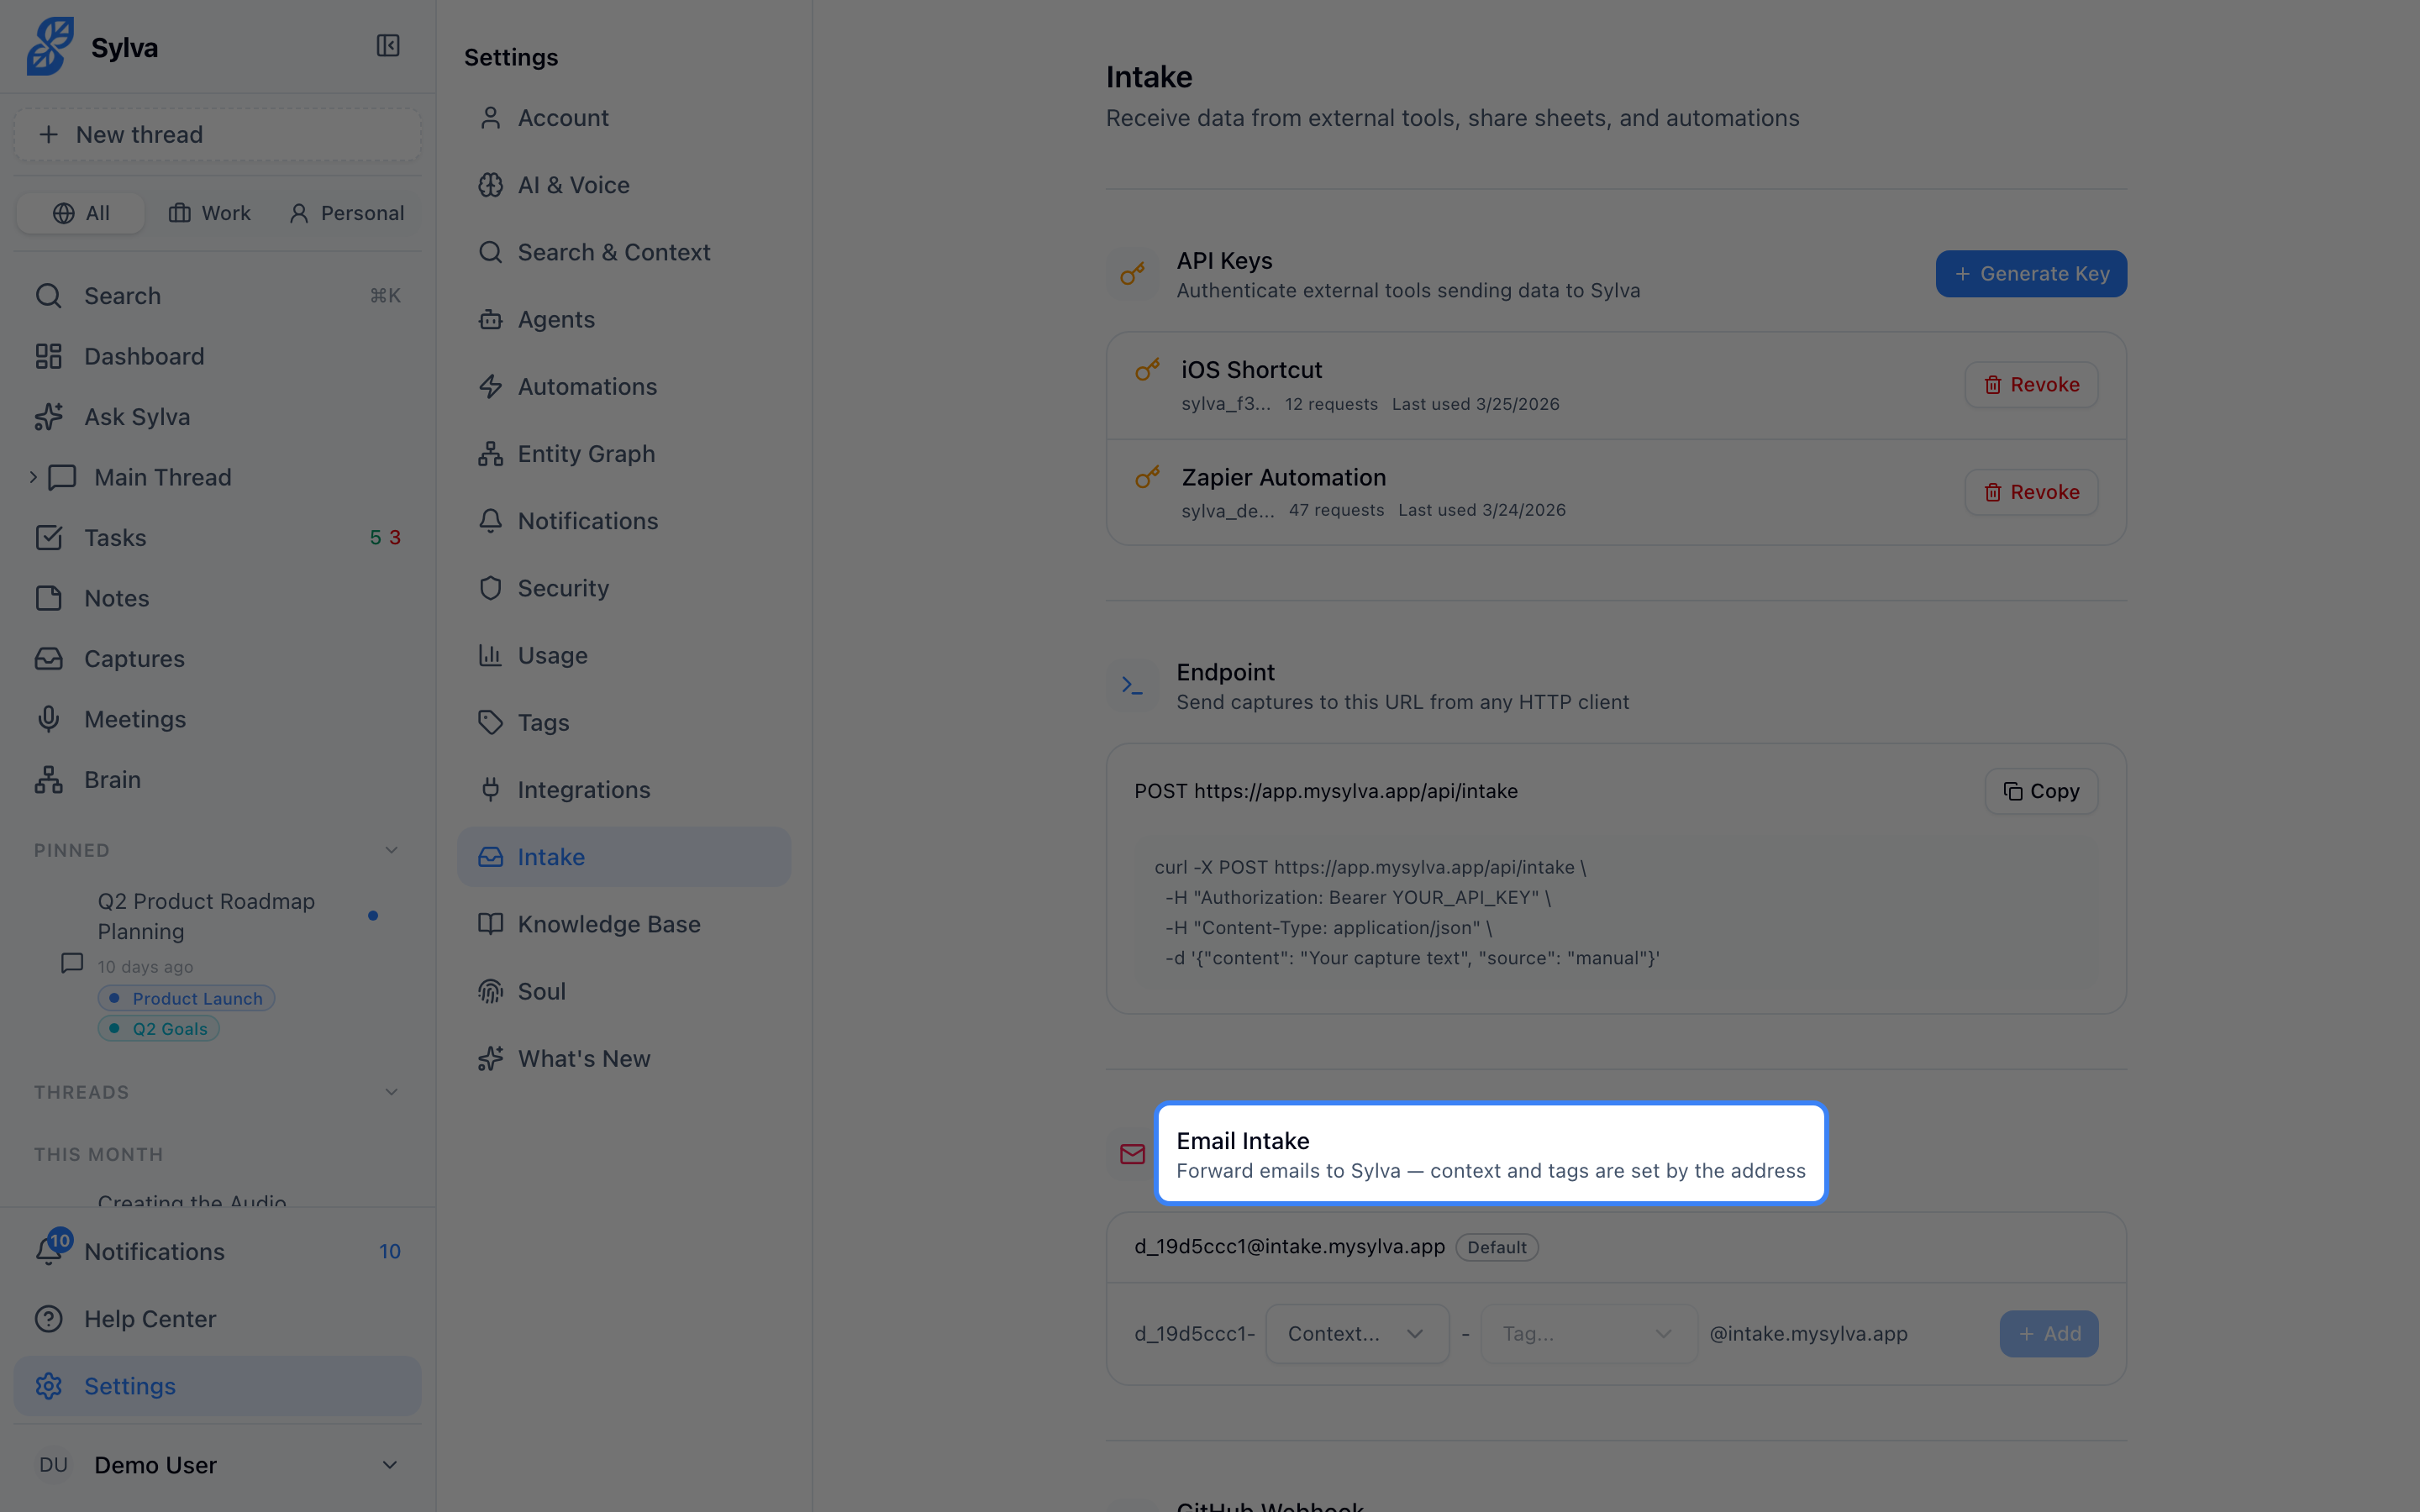
Find your intake address in Settings > Integrations under the Email Intake section. Common uses:
- Forward a newsletter you want Sylva to summarize later
- Set up a Gmail or Outlook filter that automatically routes messages from a specific sender to your intake address
- BCC your intake address when sending something you want Sylva to track
Sylva processes the subject line as the capture title and the email body as the content. Attachments in supported formats (PDF, plain text, images) are included with the capture.
GitHub Webhooks
GitHub webhooks let Sylva automatically capture activity from your repositories — new issues, pull requests, comments, and more — without polling or manual entry.
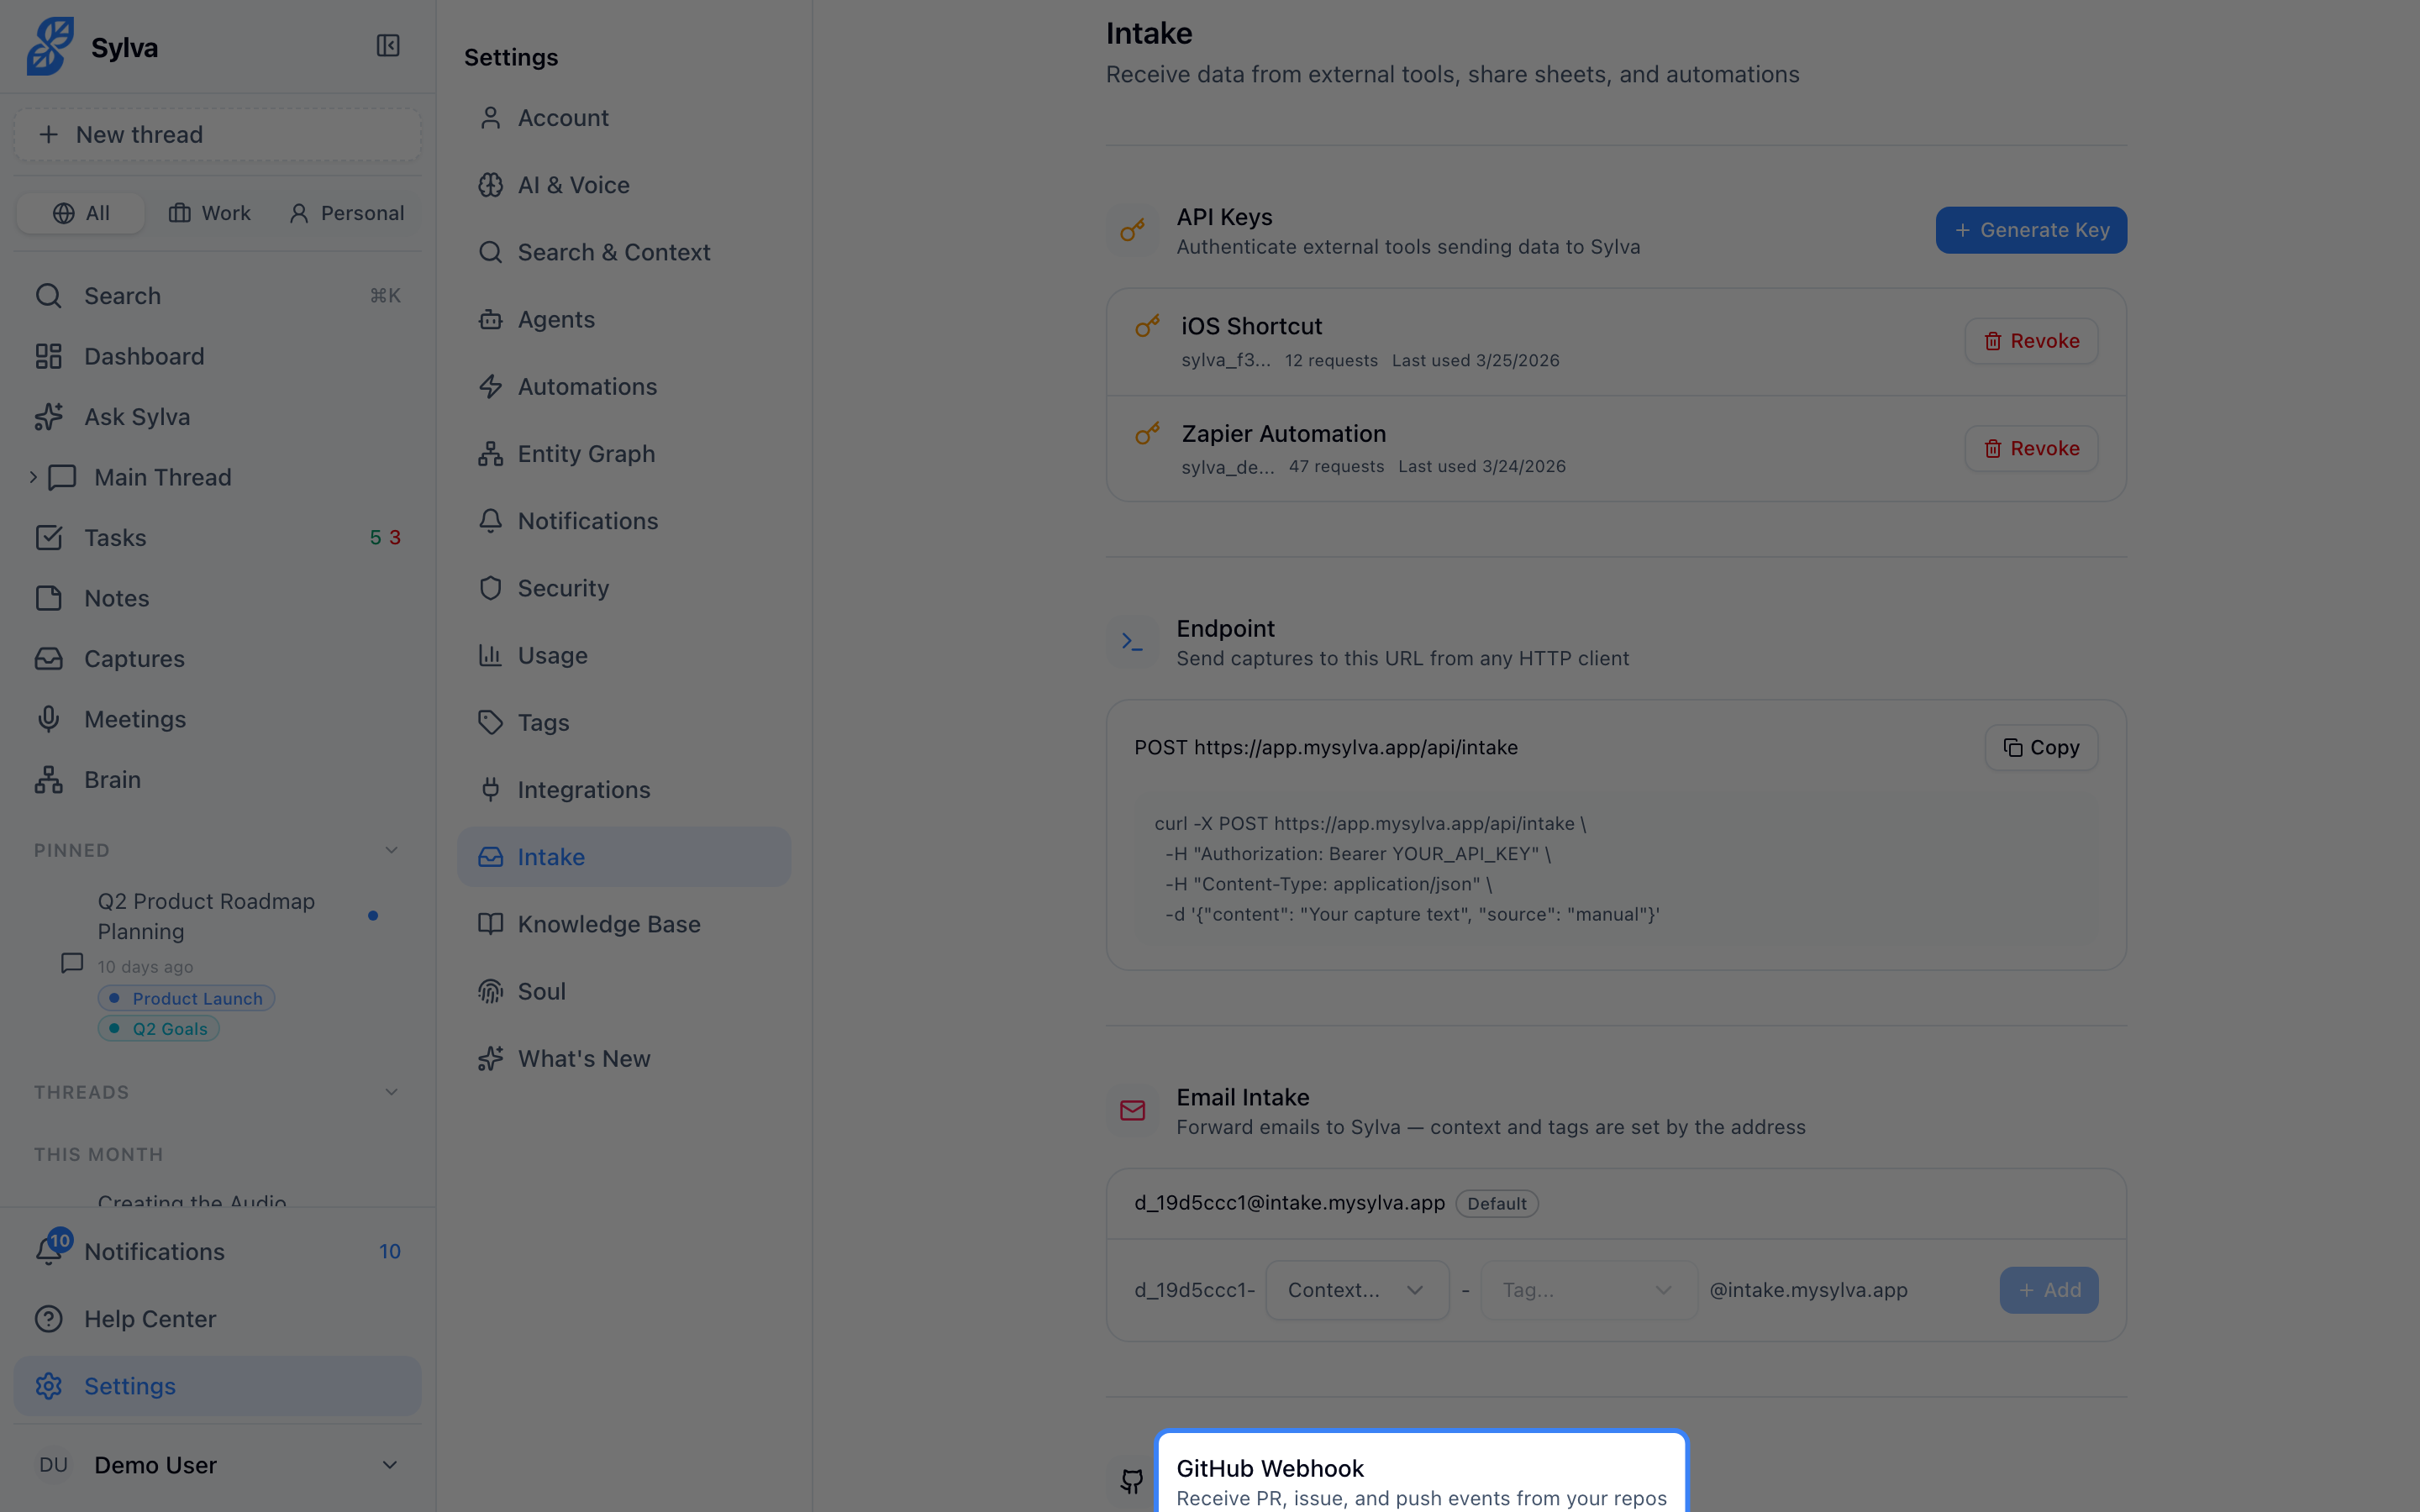
To set up a GitHub webhook:
- Go to Settings > Integrations and find the GitHub Webhooks section
- Copy the webhook URL displayed there — it follows the format
https://app.sylva.ai/api/webhooks/github/{your-unique-id} - In GitHub, navigate to your repository's Settings > Webhooks and click Add webhook
- Paste the Sylva webhook URL into the Payload URL field
- Set Content type to
application/json - Choose which events to send — Sylva supports:
- Issues — opened, closed, edited, assigned
- Pull requests — opened, merged, closed, review requested
- Issue comments and PR comments
- Push events (commit summaries)
- Click Add webhook in GitHub to activate it
Once configured, Sylva creates captures from incoming webhook payloads and associates them with the relevant repository and author. You can assign a default context (Work or Personal) for all GitHub captures in the webhook settings.
Rate Limiting
Sylva enforces rate limits on intake endpoints to ensure reliability for all users:
- API endpoints — 120 requests per minute per API key. Each request can contain multiple captures in the
capturesarray, so batch when possible - Email intake — 60 messages per hour per intake address
When you exceed a rate limit, Sylva returns a 429 Too Many Requests response with a Retry-After header indicating how many seconds to wait. Most HTTP client libraries and automation platforms (Zapier, Make, n8n) handle this automatically by retrying after the specified delay.
If you consistently hit limits, batching is the most effective fix — a single API call with 20 captures in the array counts as one request, not twenty.