Sylva helps you track things you need to do, pulling tasks right out of your conversations or letting you create them manually.

Creating Tasks
There are several ways to create tasks:
- Ask Sylva — Tell Sylva naturally in a conversation. Say things like "Remind me to send the report by Friday" or "I need to follow up with Sarah next week" and Sylva creates a task automatically
- From meeting transcripts — After a meeting is transcribed, click Extract Tasks and Sylva's AI will find action items in the transcript. You can review and edit them before saving. Each extracted task automatically includes a link back to the source meeting in its metadata, so you can always trace an action item to the conversation it came from
- From email captures — When an email is captured through the intake system and contains something actionable, Sylva's AI can automatically extract tasks from it
- From GitHub events — When Sylva captures GitHub activity — such as issues assigned to you, review requests, or mentions — it can extract tasks from those events automatically
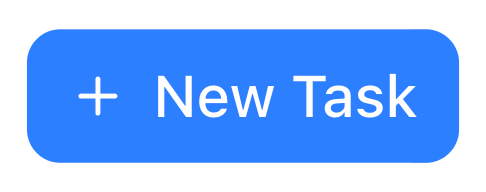
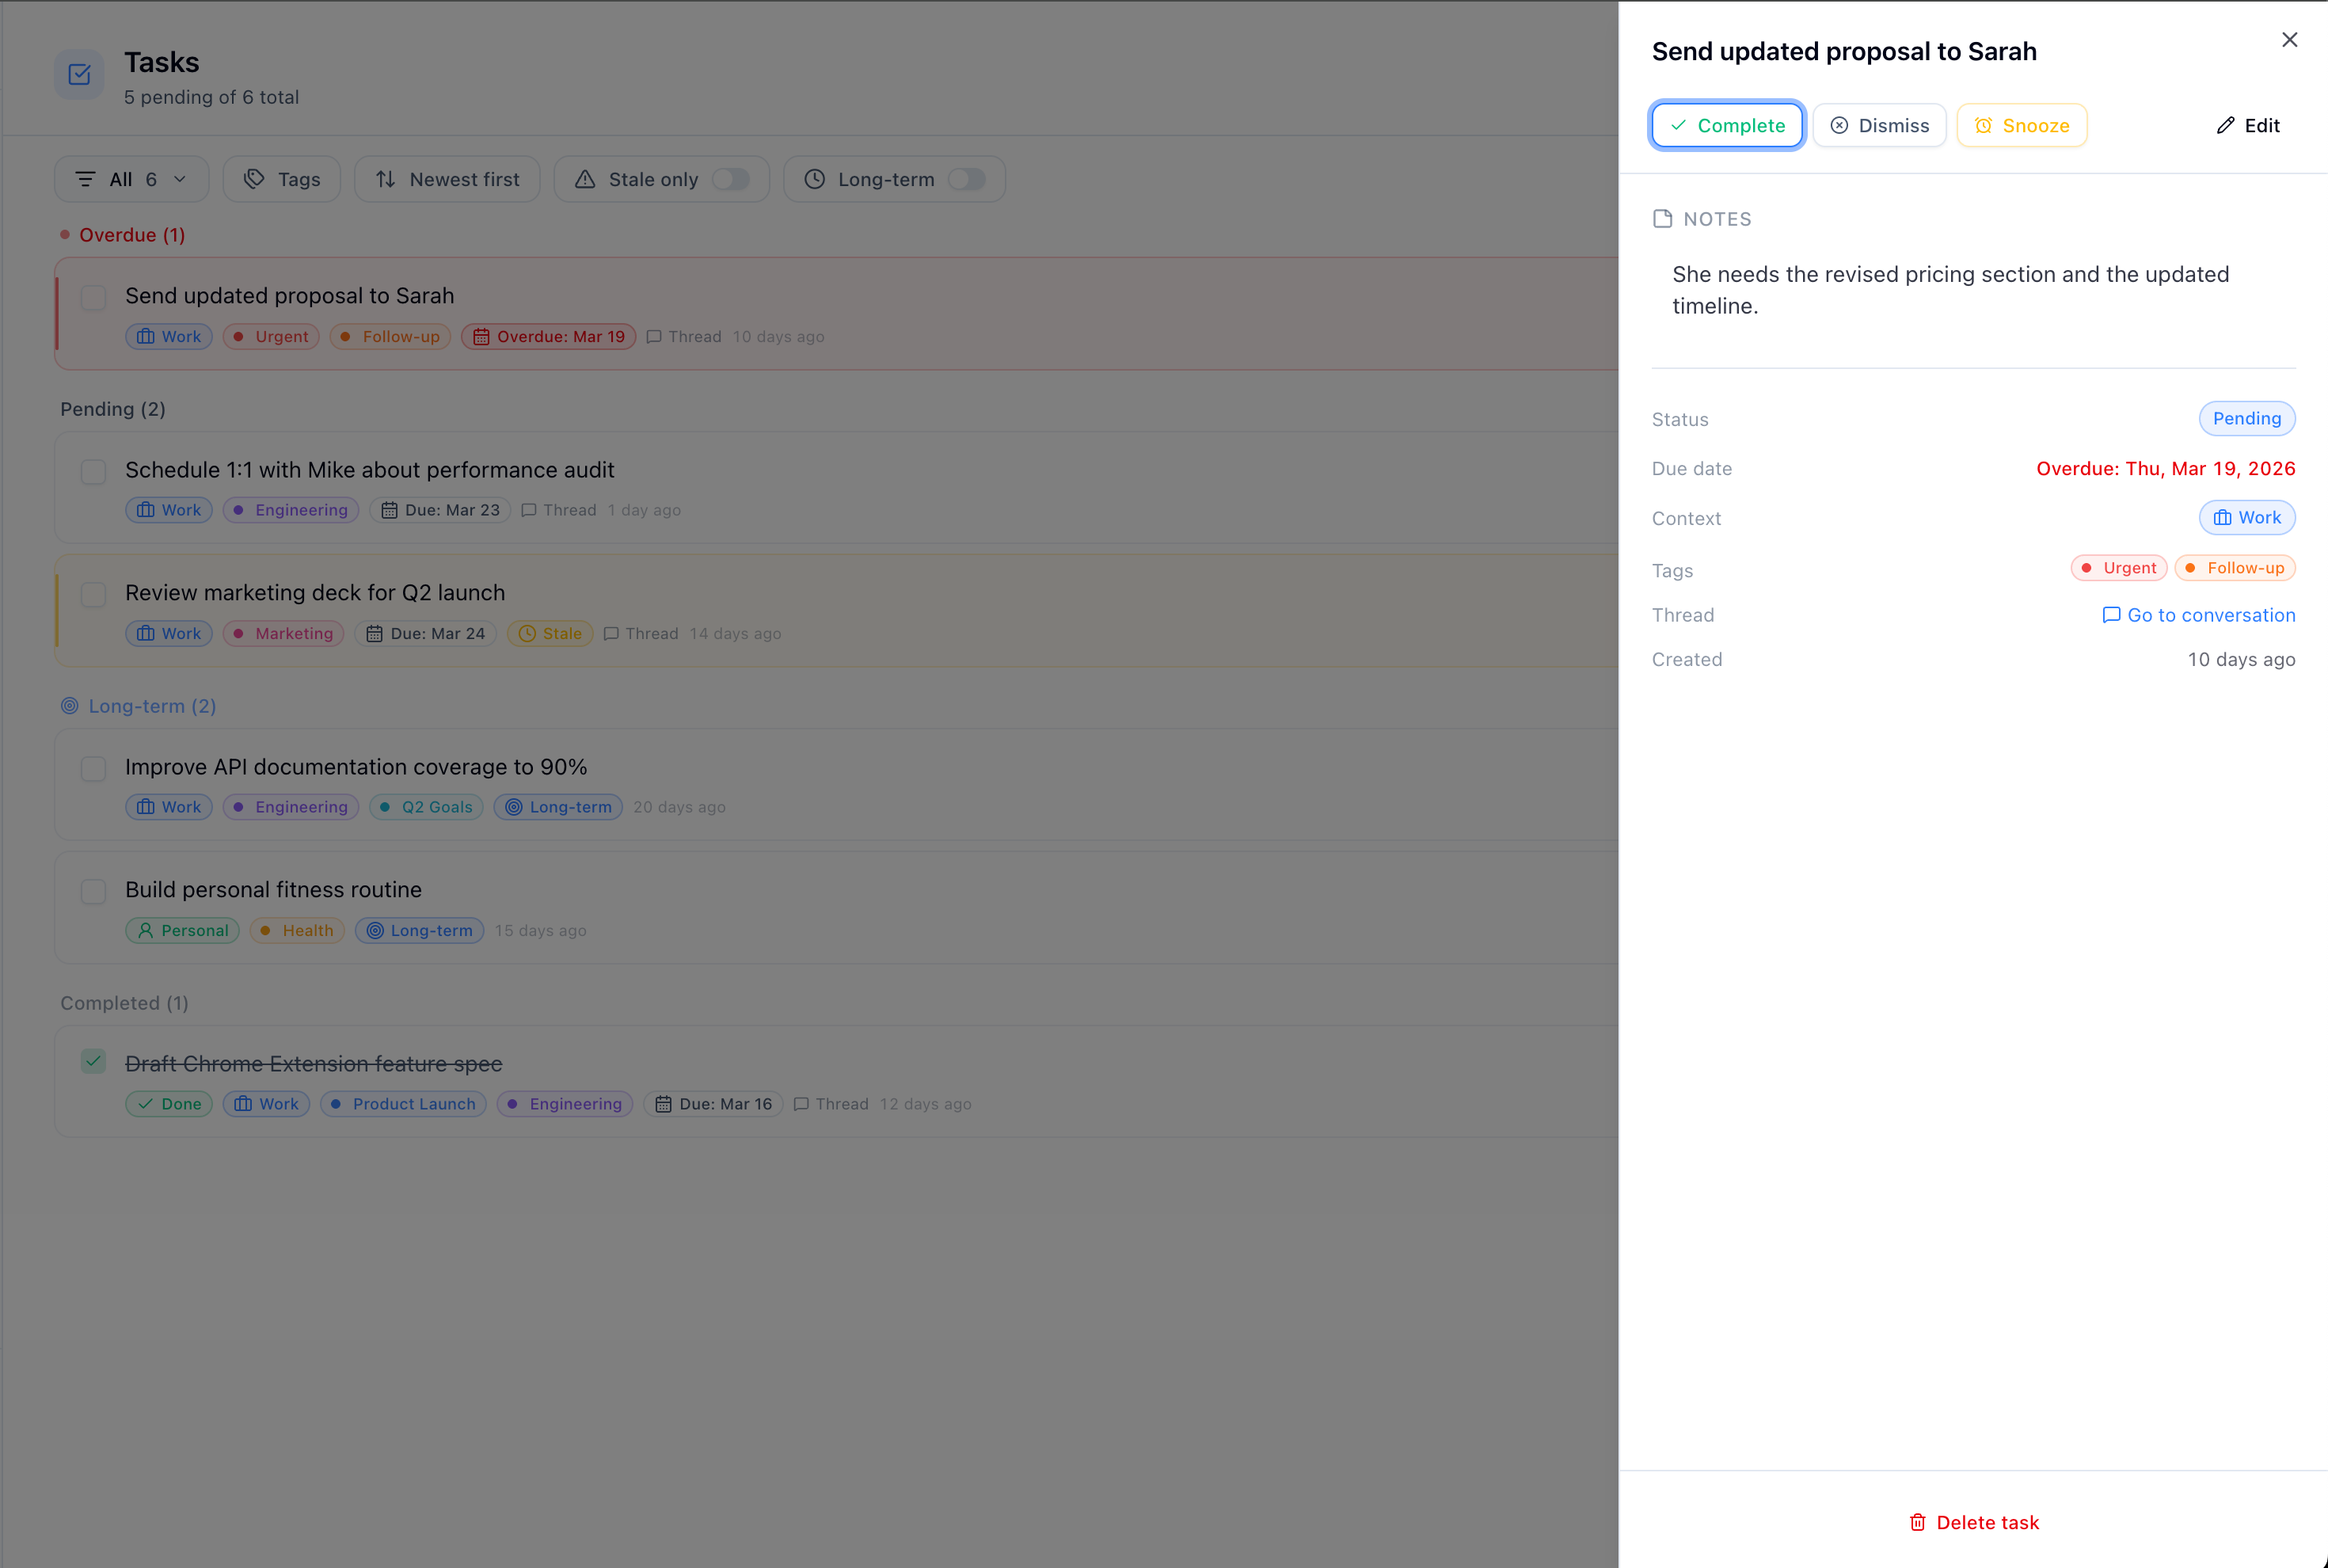
- Direct input — Go to the Tasks page and click Create Task to add one yourself
When creating a task, you can assign it a context (Work or Personal) so it stays organized with the rest of your content.
Managing Tasks
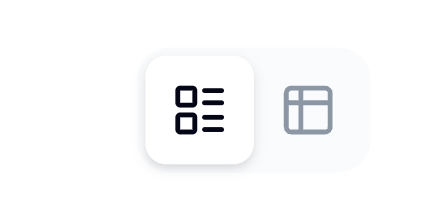
The Tasks page gives you two ways to view your tasks:
- Card view — Each task is shown as a card with its status, due date, tags, and description. This is the default view
- Table view — A spreadsheet-style layout with sortable columns (name, status, due date, tags, context). Click any column header to sort. Great for scanning a long list quickly
Switch between views using the view switcher in the top-right corner of the page.
In either view, you can:
- Filter by status (Pending, Done, Overdue, or Long-term) using the status dropdown

- Filter by tags to focus on a specific category of tasks
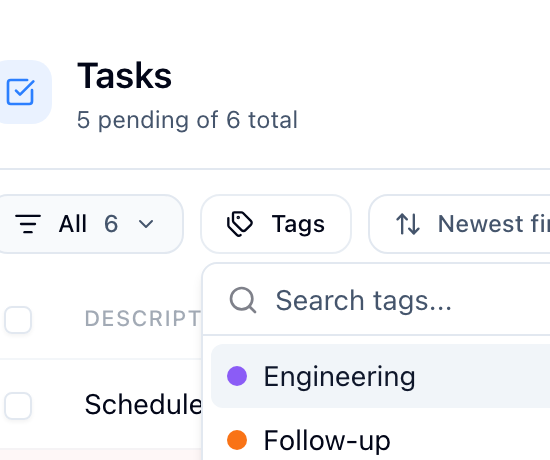
- Sort tasks by date, name, status, or tags
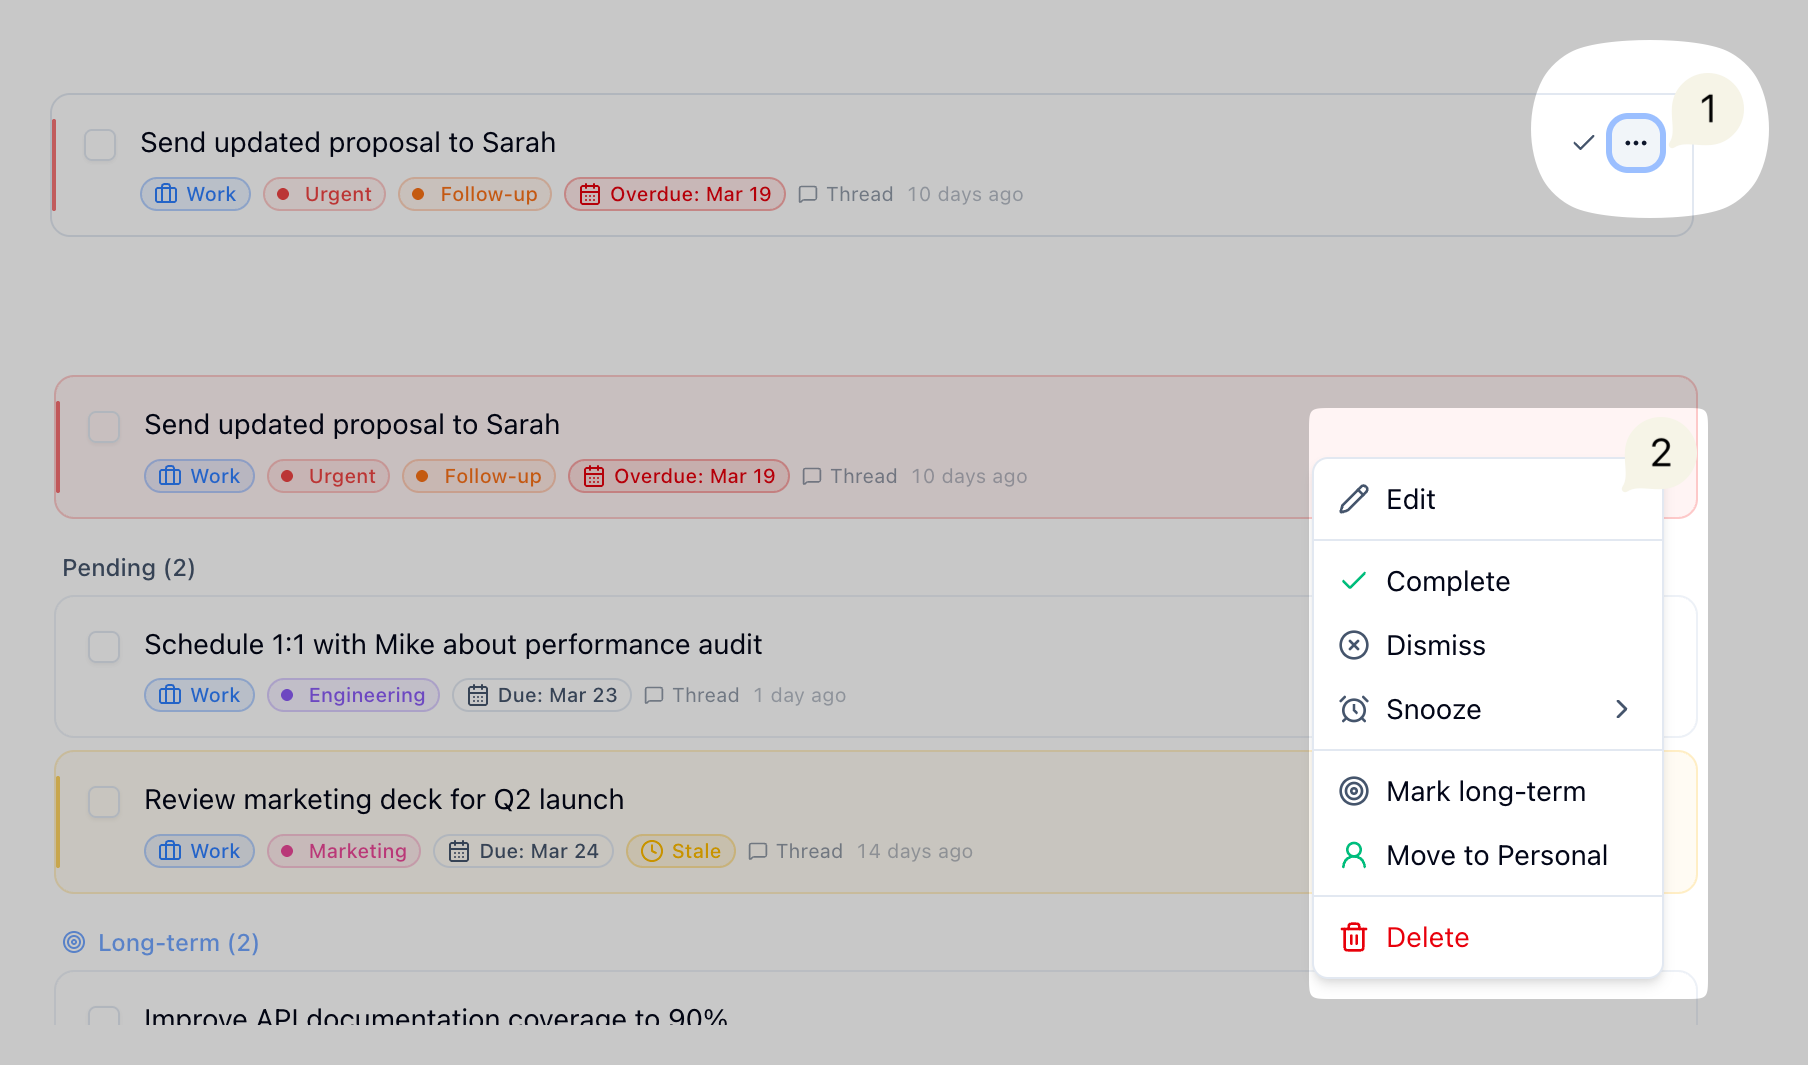
- Complete tasks by checking them off
- Snooze tasks to hide them temporarily — choose a preset time or set a custom snooze with a specific date and time
- Edit tasks to update the title, due date, context, or tags
- Delete tasks you no longer need
- Select multiple tasks in table view for bulk actions
Each task card has an actions menu for quick operations like completing, snoozing, editing, or deleting.
Long-term Tasks
Marking a task as Long-term designates it as an ongoing objective that doesn't have a hard deadline. When a task is set to long-term:
- The due date is automatically cleared (if one was set) and the due date field is hidden
- Long-term tasks appear at the bottom of the task list, below regular pending tasks but above completed and dismissed tasks
- They are sorted by creation date (oldest first by default)
- When you sort the list by due date, long-term tasks still appear at the bottom and use their creation date for ordering instead
You can toggle long-term on or off when creating a task, editing a task, or from the task's action menu.
Task Descriptions
Each task can have a description — a longer note where you can add details, context, or reminders about what the task involves. Click on any task to open its detail panel, where you can view and edit the description inline. The detail panel appears alongside the task list so you can work with both at once, and you can resize the panel to your preference.
Tags
Tags let you categorize your work however you like — by project, priority, team, or anything else that makes sense for your workflow. Tags work across tasks, notes, meetings, threads, and captures, giving you a consistent way to organize everything in Sylva.
- Create tags in Settings > Tags — give each tag a name, color, and context (Work, Personal, or All)
- Assign tags to items using the tag picker (tasks, notes) or the Tags submenu in dropdown menus (meetings, threads, captures)
- Filter by tags on the Tasks, Notes, Meetings, and Captures pages to show only items with specific tags
Tags appear as colored badges on your task cards, note cards, meeting cards, capture cards, and thread items in the sidebar, making it easy to scan for what you need at a glance.
Here's how tagging works in each area:
- Tasks — Use the tag picker when creating or editing a task. Filter by tags on the Tasks page.
- Notes — Use the tag picker in the note editor (appears below the title). Tags show on note cards in the list view and on the note detail page. Filter by tags on the Notes page.
- Meetings — Open the dropdown menu (...) on any meeting card and use the Tags submenu to toggle tags on or off. Tags show as badges on meeting cards. Filter by tags on the Meetings page.
- Threads — Open the dropdown menu (...) on any thread in the sidebar and use the Tags submenu to toggle tags. Tags show as badges below the thread title in the sidebar.
- Captures — Hover over any capture card and click the tag icon to open a tag popover where you can toggle tags. Tags show as badges on capture cards. Filter by tags on the Captures page.
Auto-Extract Tasks
When this is enabled (in Settings > AI & Voice), Sylva listens for task-like statements in your conversations and creates tasks automatically without you having to ask. For example, if you say "I should update the budget spreadsheet tomorrow," Sylva will create a task for it.