Sylva has a built-in meeting recording and transcription system so you can capture, search, and act on everything discussed. You can either record audio directly in Sylva or import an existing transcript file.
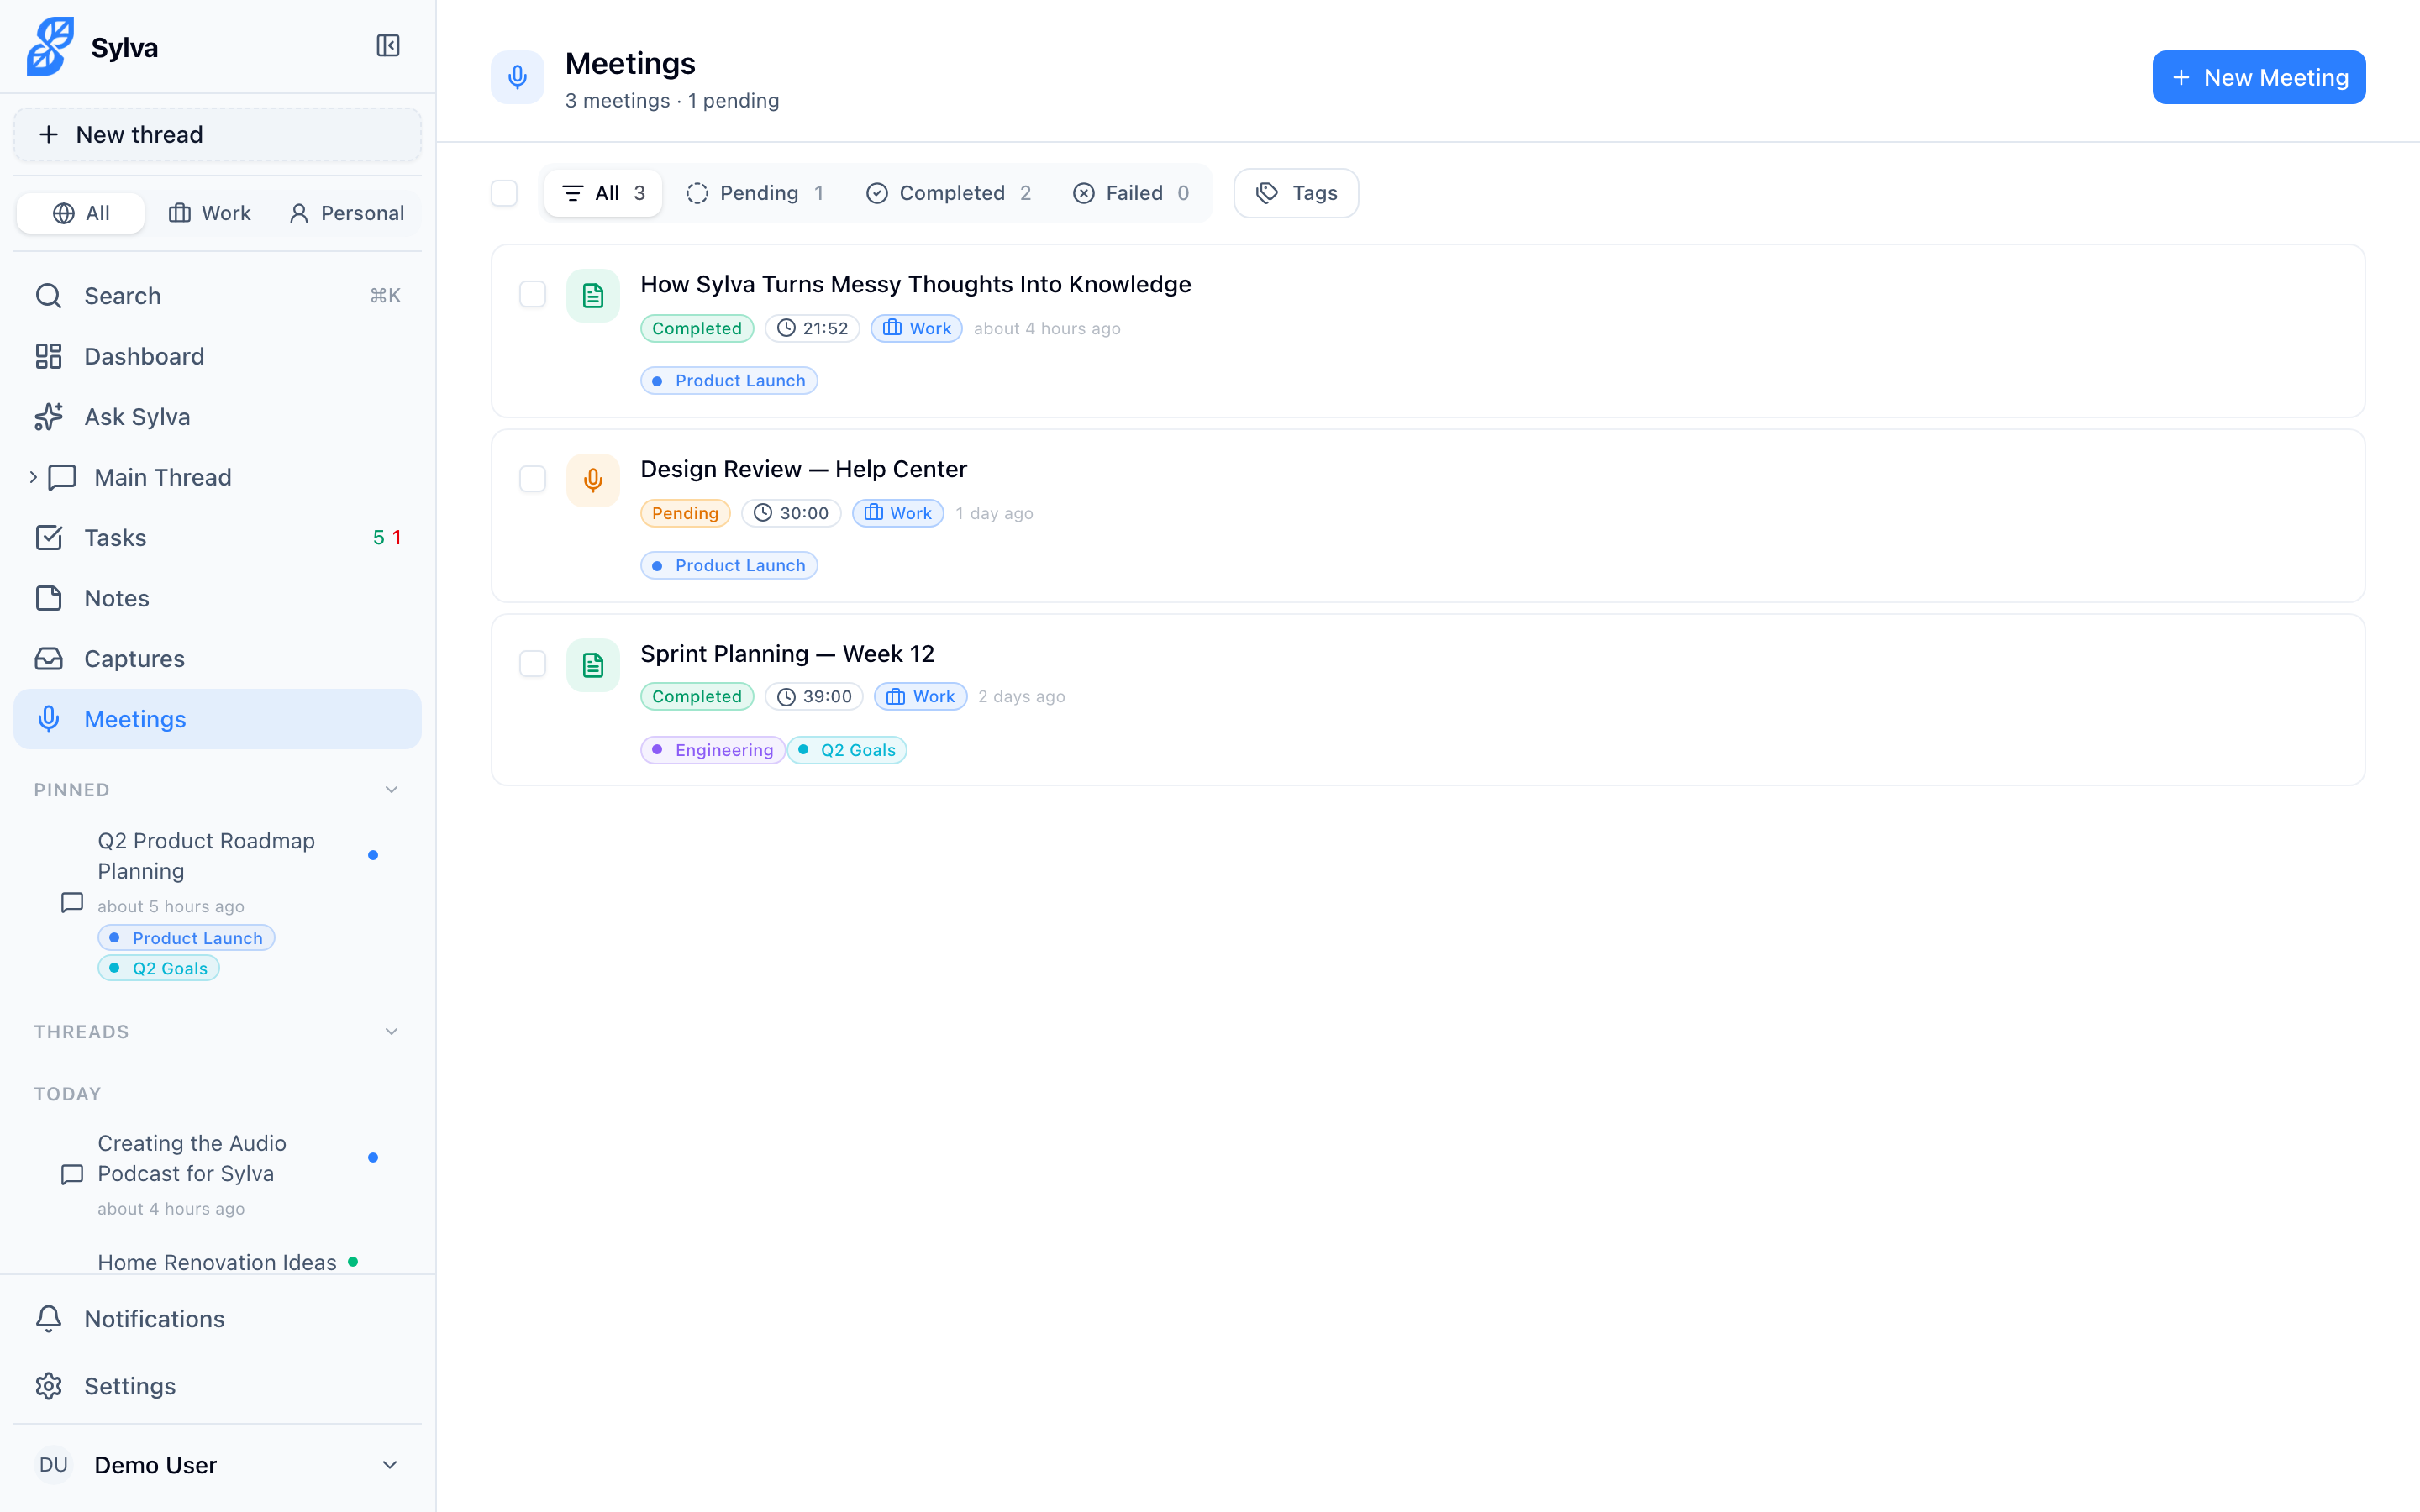
Here is an overview of the Meetings page where all your recordings are listed:
Getting a Meeting Into Sylva
There are three ways to create a meeting in Sylva:
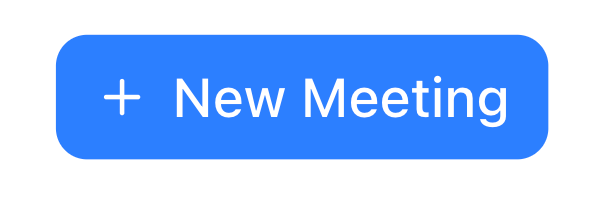
- Record live — Click New Meeting to capture audio in real time (see Recording a Meeting below)
- Upload audio — Click Upload > Audio to upload a pre-recorded audio file for transcription
- Import a transcript — Click Upload > Transcript to import a transcript file directly, skipping the recording and transcription steps entirely
The Upload button on the Meetings page is a dropdown with two options: Audio and Transcript.
Importing a Transcript
If you already have a transcript from Zoom, Microsoft Teams, or another tool, you can import it directly without uploading any audio.
- On the Meetings page, click Upload > Transcript
- Drop or browse for your transcript file — Sylva accepts .vtt (WebVTT) and .txt files in WebVTT format
- Give the meeting a title, optionally set a context and link to a thread
- Click Import
Sylva parses the file and automatically:
- Creates transcript segments with timestamps from the file
- Identifies speakers in the order they appear and populates the Speaker Manager panel with their names
- Indexes the transcript for search and Ask AI (embeddings are generated in the background)
- Sets the meeting status to completed — no transcription step needed
The WebVTT format is the standard used by Zoom cloud recordings, Microsoft Teams, and many other meeting platforms. A typical VTT file looks like this:
WEBVTT

1
00:00:01.000 --> 00:00:05.500
Jane Smith: Let's start with the project update.

2
00:00:06.000 --> 00:00:12.000
John Doe: Sure, we finished the backend work last week.
Sylva reads the speaker name before the colon on each line and uses it as the display name in the Speaker Manager. Speakers appear in the panel in the order they first speak in the transcript.
After importing, you can use all the same features as a recorded meeting — Ask AI, Extract Tasks, download transcripts, rename speakers, and search within the transcript.
Recording a Meeting
To start a new recording, click the New Meeting button from the Dashboard or sidebar.
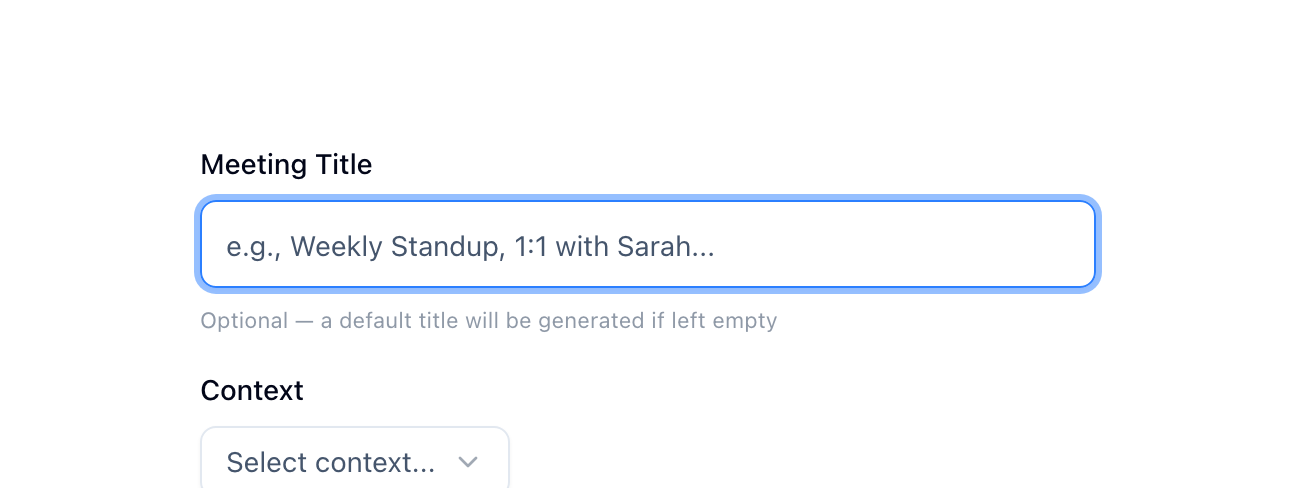
- Optionally give your meeting a title — if you leave it blank, Sylva defaults to "Untitled"
- Optionally set a context (Work or Personal) to keep the recording organized with the rest of your content. If you already have a context selected in the sidebar, Sylva uses that as the default — you can change it or clear it before recording
- Choose your audio source from the dropdown (see Choosing an Audio Source below)
- Click Start Recording — your browser captures the audio from your selected source
- During the recording, you'll see a dual-button control layout — a Pause button and a Stop button side by side
- Use Pause and Resume as needed throughout the meeting (see Pause & Resume Recording below)
- Click Stop when the meeting ends
- The audio uploads directly to cloud storage using a signed URL — this keeps the transfer fast and efficient, even for large files
While you record, Sylva continuously backs up audio chunks to your browser's local storage (IndexedDB). This means your recording is protected from the moment you hit Start Recording — even if your browser crashes, your laptop dies, or your internet drops, the audio is safe on your device and can be recovered later.
Audio Upload and Conversion
When you stop a recording or upload a file, Sylva converts the audio to WebM/Opus format directly in your browser before sending it to cloud storage. This client-side conversion produces significantly smaller files while maintaining the audio quality you need for accurate transcription — a raw WAV file that might be hundreds of megabytes becomes a fraction of that size in WebM/Opus.
Audio uploaded in MP3, M4A, WAV, and other supported formats goes through the same conversion pipeline automatically. Sylva uses the browser's WebCodecs API for this conversion, so on browsers that support WebCodecs (Chrome 94+, Edge 94+, and other Chromium-based browsers), the encoding runs natively and efficiently — there's no noticeable delay before the upload begins. The encoding happens entirely on your device, so the original file never leaves your browser — only the compressed WebM/Opus version is uploaded. This saves storage space and speeds up the transfer, especially on slower connections.
The conversion uses a fixed bitrate of 13 kbps — specifically optimized for speech clarity at the smallest possible file size. At this bitrate, spoken words remain clear and intelligible for both playback and transcription, while producing files around 1 MB per 10 minutes of audio. This fixed encoding rate applies to all audio that passes through the conversion pipeline, regardless of the source format or original quality.
During the upload, a multi-stage progress bar shows exactly where things stand with labeled phases so you always know what Sylva is doing:
- Converting audio to web format — Your browser encodes the audio into WebM/Opus at the fixed 13 kbps speech-optimized bitrate. This stage appears only when conversion is needed — if you're already recording in WebM/Opus natively, Sylva skips it. The progress bar displays the label "Converting audio to web format" during this phase. This is the most CPU-intensive step, but it runs entirely on your device
- Uploading — The progress bar switches to an "Uploading" label as the converted file transfers to cloud storage via a signed URL. On slower connections, this stage can take a while for longer recordings — the progress bar shows the percentage so you know how much remains
- Saving — Sylva creates the meeting record, generates access URLs, and kicks off transcription. This final step is usually fast, but on congested networks the API calls may take a few extra seconds

The progress bar advances through each stage in sequence, so you always know whether Sylva is still converting, actively uploading, or finishing up. You can navigate away from the page during the upload stage — Sylva completes the transfer in the background — but avoid closing the browser tab during the Converting audio to web format stage, since that processing happens locally.
Recording Quality
The Recording quality setting in Settings > AI & Voice controls the bitrate Sylva uses when encoding audio to WebM/Opus. A higher bitrate produces richer audio but creates larger files that consume more of your storage quota.

There are three options:
- Low (13 kbps) — Uses approximately 1 MB per 10 minutes. Use this if storage is limited — it's optimized for voice and produces clear, intelligible speech recordings while keeping files tiny. This is the same 13 kbps bitrate used by the automatic conversion pipeline for uploaded files
- Standard (32 kbps) — Uses approximately 2.5 MB per 10 minutes. This is the best choice for typical voice notes and meetings — a good balance of clarity and file size
- High (128 kbps) — Uses approximately 10 MB per 10 minutes. Choose this for music, multi-speaker panels, or recordings where you need the highest transcription accuracy
The bitrate you choose applies to live recordings. Uploaded files that go through the conversion pipeline always use the fixed 13 kbps speech-optimized bitrate, regardless of this setting. If you're working within a tight storage quota, switching from High to Low can extend your available recording time by roughly 10×.
Storage Quota
Your recordings are stored in a shared audio storage quota. By default, each user has 200 MB of audio storage. The admin can adjust this limit per user from Settings > Admin — available options range from 50 MB to 1 GB, or unlimited.

When you approach your quota, keep an eye on file sizes — the Recording Quality section above gives you a sense of how much space each recording consumes. If you reach your quota, delete old recordings from the Meetings page to free space before recording or uploading new audio.
Choosing an Audio Source
Before you start recording, you can select which audio input Sylva uses. Click the audio source dropdown to choose from:
- Default microphone — Uses whatever microphone your operating system has set as the default. This is the pre-selected option
- Specific audio device — Pick a particular microphone, headset, or USB audio interface connected to your computer
- System audio (share tab/computer audio) — Captures audio playing through your computer, which is useful for recording remote meetings where participants are on a browser-based call

Microphone Picker
The audio source dropdown appears on the New Meeting page before you start recording. Sylva uses the browser's getUserMedia API to enumerate your audio input devices, so every connected microphone, headset, and USB audio interface appears as a separate option. Select the one you want and Sylva routes that device's audio into the recording.
Device persistence — Sylva stores your selected device ID and audio source type (microphone vs. system audio) in your browser's localStorage. The next time you start a new recording, the dropdown automatically restores your previous selection. If the previously selected device is no longer available (e.g., you unplugged a USB headset), Sylva falls back to the default microphone and updates the stored preference accordingly.
System Audio Capture
When you select System Audio, Sylva uses the browser's getDisplayMedia API to capture audio from your computer rather than from a microphone. After you click Start Recording, your browser opens its own sharing picker — a system dialog asking which tab, window, or screen to share. You must check the "Share audio" checkbox at the bottom of this browser dialog for Sylva to receive any audio. If you skip this checkbox, no audio is captured and your recording will be silent.
System audio capture is ideal for recording remote meetings running in another browser tab (Google Meet, Zoom Web, Microsoft Teams) without needing to use a microphone at all. Keep in mind that system audio captures only what your computer plays — it won't include your own voice unless the remote meeting app loops your audio back through the speakers.
Pause & Resume Recording
The Pause button appears alongside the Stop button as soon as a recording is active. Hit Pause any time you need to temporarily stop capturing audio — during a coffee break, a sidebar conversation, or an interruption that doesn't belong in the transcript.
When you pause:
- The recording status indicator switches from a red pulse to a steady amber indicator, giving you an immediate visual cue that recording is paused — not stopped
- The audio waveform stops animating and holds still, reinforcing that no audio is being captured
- The Pause button switches to a Play button — click it to resume recording from exactly where you left off
- The Stop button remains available, so you can end the meeting directly from a paused state without resuming first

Paused time is excluded from the total recording duration. Sylva tracks only the time you're actively capturing audio, so your meeting length stays accurate. If you record for 30 minutes, pause for 10 minutes, then record for another 20 minutes, your meeting duration shows as 50 minutes — not 60. This keeps your duration meaningful and your transcript tightly focused on the actual conversation.
You can pause and resume as many times as you need during a single recording session. Each resumed segment picks up seamlessly — the final audio and transcript read as one continuous recording with the paused gaps removed.